Please note this post may contain affiliate links picked by me (Jay) that I have deemed may be of interest or relevant to you the reader of this.
These links do not affect the cost of the thing if you decide to purchase but i may get a little money if you choose to purchase.
For more information on my affiliate link policy click here.
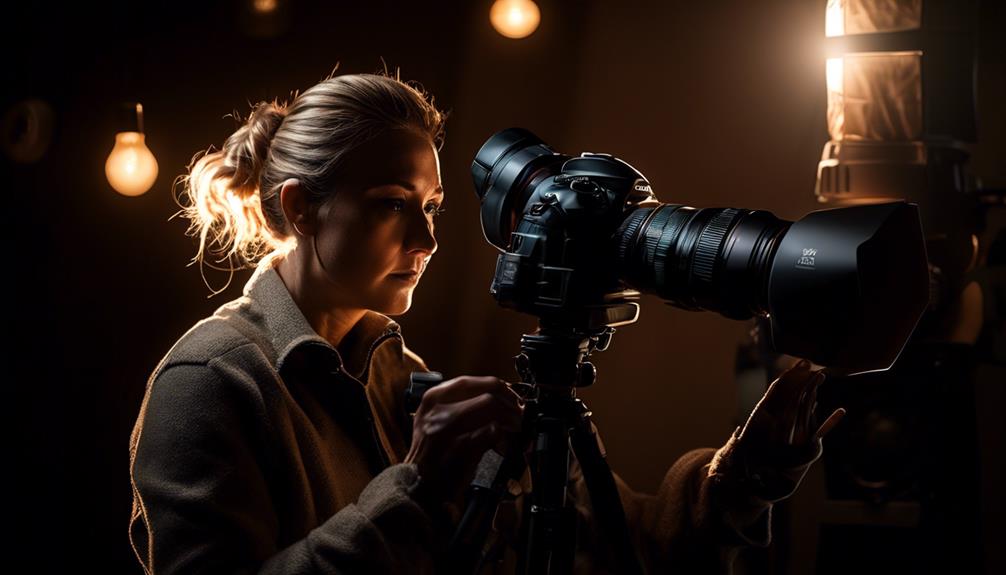
Picture this: you're about to capture a breathtaking moment with your camera, but the lighting is all wrong. Don't fret! That's where the magic of superior lighting techniques comes into play. With the right lighting, you can transform an ordinary photo into a mesmerizing work of art.
From the timeless allure of natural light to the versatility of artificial light, there are countless techniques that can take your photography to new heights. But why are some lighting techniques considered superior? Well, my friend, let me tell you a little secret – it all boils down to understanding the importance of shadows and knowing how to use reflectors, diffusers, and exposure settings effectively.
And if you're feeling particularly adventurous, I'll also reveal some creative lighting techniques that will make your artistic vision come to life. So, buckle up and get ready to uncover the captivating world of lighting in photography.
Key Takeaways
- Mastering creative lighting techniques can greatly enhance the impact and quality of photographs.
- Different lighting techniques can be used to achieve various effects and create mood and atmosphere in images.
- Shadows play a crucial role in adding depth, dimension, and visual interest to photographs.
- Reflectors and diffusers can be effective tools in controlling and manipulating light to achieve desired results in photography.
Natural Light Vs. Artificial Light
When it comes to capturing stunning photographs, understanding the differences between natural light and artificial light is crucial. As a photographer, I've explored the nuances of both types of lighting and have come to appreciate the unique advantages and disadvantages they offer.
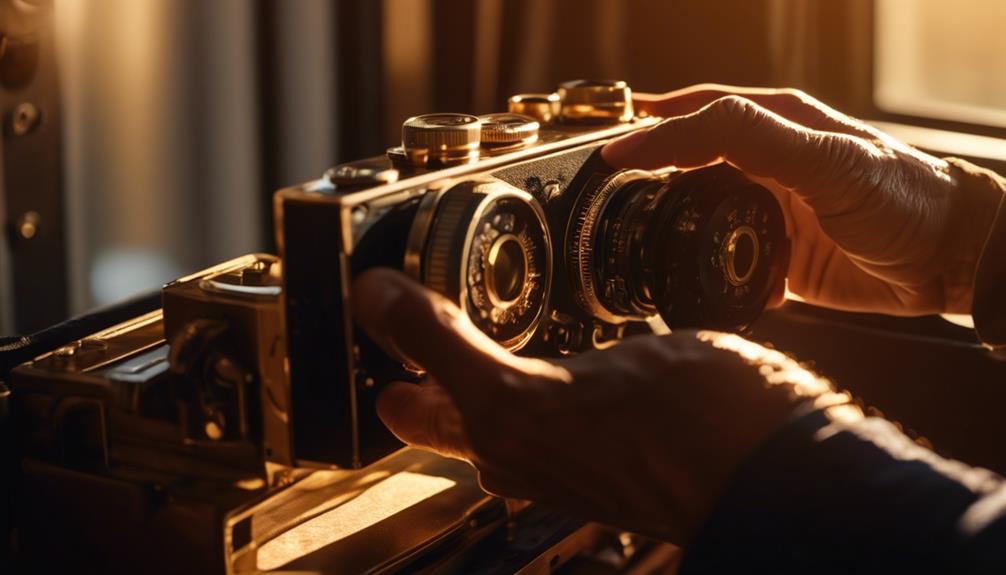
Indoor photography often relies on artificial light sources, such as studio lighting or off-camera flash, to create the desired effect. The advantage of using artificial light indoors is that it gives you complete control over the lighting conditions. You can adjust the intensity, direction, and color temperature to suit your creative vision. This level of control allows for precise and consistent results, making it ideal for professional shoots.
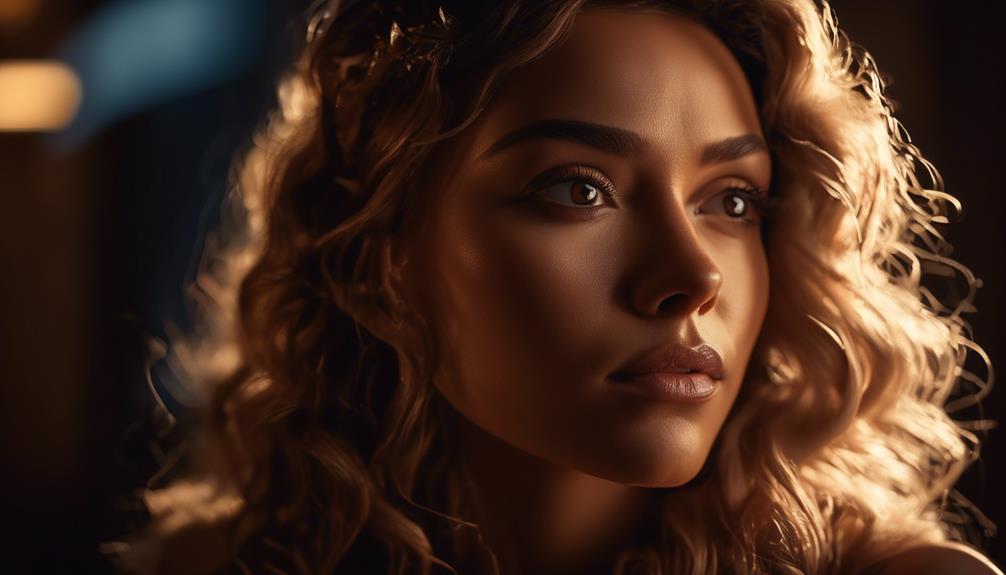
On the other hand, outdoor photography presents a different set of challenges and opportunities. Natural light, whether it's the soft glow of sunrise or the dramatic hues of sunset, can add a magical touch to your images. The advantage of shooting outdoors is the vast array of lighting options available. You can experiment with different times of the day, weather conditions, and locations to create unique and visually stunning photographs.
However, it's important to note that outdoor photography also comes with its own set of disadvantages. The unpredictability of weather and lighting conditions can make it challenging to achieve consistent results. Factors such as harsh sunlight, shadows, and reflections can affect the overall quality of your images.
Understanding the Importance of Shadows
Having explored the advantages and disadvantages of both natural and artificial light in photography, it's essential to now delve into the significance of shadows and how they can enhance the overall impact of your images. Shadows play a crucial role in creating depth, dimension, and mood in your photographs. By understanding the importance of shadows, you can take your photography to new heights.
One technique that utilizes shadows effectively is low key lighting. This technique involves using a minimal amount of light to create a dark and dramatic atmosphere. By intentionally casting shadows on certain areas of your subject, you can add a sense of mystery and intrigue to your images. Low key lighting is often used in portrait photography to create a sense of depth and emphasize certain features, such as a subject's eyes or facial contours.
On the other hand, high key lighting is a technique that utilizes bright and even lighting to create a soft, ethereal look. This technique minimizes shadows, resulting in a clean and airy aesthetic. High key lighting is commonly used in fashion and product photography to create a sense of purity and elegance.
Understanding the interplay between light and shadows is crucial for creating visually impactful images. By strategically using shadows, whether through low key lighting or high key lighting, you can add depth, mood, and interest to your photographs. So, embrace the power of shadows and let them elevate your photography to new levels of creativity and innovation.
Using Reflectors and Diffusers Effectively
To enhance the lighting in your photography and create stunning effects, mastering the use of reflectors and diffusers is essential. Reflectors and diffusers are powerful tools that allow you to manipulate and control light, giving you the ability to create the perfect lighting conditions for your photographs. Understanding reflector placement, diffuser types, and techniques will take your photography to the next level.
When it comes to reflector placement, it's all about finding the right angle and distance to bounce and redirect light. By positioning a reflector opposite your light source, you can fill in shadows and create a more balanced and evenly lit scene. Experimenting with different reflector sizes and materials will give you a range of effects. From silver reflectors that produce a crisp and cool light to gold reflectors that add warmth and richness, each reflector has its own unique characteristics.
Diffusers, on the other hand, are used to soften harsh light and create a more diffused and flattering illumination. There are different types of diffusers available, such as umbrellas, softboxes, and scrims, each with its own purpose and effect. Umbrellas and softboxes are great for creating a soft and even light, while scrims are perfect for diffusing sunlight and reducing contrast in outdoor shoots.
When using diffusers, it's important to consider their placement and angle. By positioning a diffuser between your subject and the light source, you can soften the light and eliminate harsh shadows. Adjusting the distance between the diffuser and the subject will further control the intensity of the light and create the desired effect.
Mastering the use of reflectors and diffusers will give you the ability to control and shape light in your photography. By understanding reflector placement, diffuser types, and techniques, you can create innovative and captivating images that showcase your unique style and vision. So, grab your reflectors and diffusers, and let your creativity shine!
Mastering Exposure Settings for Different Lighting Conditions
Now that we have mastered the use of reflectors and diffusers to enhance our lighting techniques, it's time to delve into the exciting world of mastering exposure settings for different lighting conditions. As photographers, we know that lighting plays a crucial role in capturing the perfect shot. Whether it's low light photography or balancing ambient light, understanding exposure settings can make all the difference in achieving stunning results.
To help you navigate through the complexities of exposure settings, let's take a look at the following table:
| Lighting Condition | Shutter Speed | Aperture | ISO |
|---|---|---|---|
| Low Light | Slow | Wide | High |
| Balancing Ambient | Variable | Flexible | Low |
*Table 1: Exposure settings for different lighting conditions*
When it comes to low light photography, it's important to compensate for the lack of light by adjusting your camera settings accordingly. To capture more light, consider using a slower shutter speed to allow for a longer exposure. Additionally, widening your aperture will enable more light to enter the lens, resulting in brighter images. Increasing the ISO sensitivity can also help in low light situations, but be cautious as it may introduce noise to your photographs.
In situations where you need to balance ambient light, such as photographing a subject against a bright background, having variable shutter speed is crucial. Adjusting the shutter speed allows you to control the amount of light entering the camera. Similarly, having a flexible aperture setting enables you to adjust the depth of field, ensuring that your subject is properly exposed while maintaining the desired background lighting. In these situations, keeping the ISO low can help maintain image quality and reduce noise.
Creative Lighting Techniques for Artistic Photography
Let's explore some incredible lighting techniques that will take your artistic photography to the next level. Lighting is a crucial element in photography, and by mastering creative lighting techniques, you can create stunning and impactful images that truly stand out. Here are four techniques that can help you achieve just that:
- Low Key Lighting: This technique involves using a minimal amount of light to create a dramatic and moody atmosphere. By strategically placing light sources and using shadows to your advantage, you can create images that evoke a sense of mystery and intrigue. Low key lighting is perfect for capturing portraits or still life subjects with a touch of cinematic flair.
- High Key Lighting: On the opposite end of the spectrum, high key lighting is all about achieving a bright and airy look. By flooding the scene with ample light, you can eliminate shadows and create a soft, ethereal effect. High key lighting is often used in fashion and beauty photography to create a clean and flawless look.
- Backlighting: This technique involves placing the main light source behind your subject, creating a halo effect and emphasizing the silhouette. Backlighting is a fantastic way to add depth and dimension to your images, especially when shooting outdoor scenes or capturing subjects with interesting shapes and textures.
- Colored Gels: If you're looking to add a pop of color and create a vibrant atmosphere, using colored gels on your light sources can work wonders. By placing a gel in front of your light, you can cast a colored light onto your subject, transforming the mood and adding visual interest.
Frequently Asked Questions
Can You Recommend Any Specific Brands or Types of Artificial Lights That Are Commonly Used in Photography?
As a photographer, I've experimented with various brands and types of artificial lights for my work.
When it comes to artificial lights in photography, there are several options that are commonly used. Some popular brands include Profoto, Godox, and Elinchrom. Each brand has its own unique features and advantages.
While artificial lights offer control and consistency, they can sometimes lack the natural feel of natural lighting. It's important to consider the pros and cons before choosing the right artificial lights for your photography needs.
How Can I Effectively Use Natural Light to Create Dramatic and Artistic Effects in My Photographs?
Well, let me tell you, using natural light to create dramatic and artistic effects in your photographs is like having a secret weapon in your back pocket.
It's all about finding that perfect balance between light and shadow. Let me tell you, when you nail it, the results are mind-blowing.
You can achieve high contrast, stunning depth, and a sense of magic that artificial lights just can't replicate.
Are There Any Specific Tips or Tricks for Using Reflectors and Diffusers to Enhance Lighting in Outdoor Photography?
Using reflectors and diffusers can greatly enhance the lighting in outdoor photography. Reflectors bounce light back onto the subject, creating a more even and flattering illumination.
Diffusers soften harsh sunlight, resulting in a more natural and pleasing effect. These techniques allow for more control over the lighting conditions, ensuring stunning and professional-looking photographs.
Additionally, utilizing off-camera flash techniques for outdoor portraits can add depth and dimension to your images, taking your photography to the next level.
What Are Some Common Exposure Settings That Photographers Use in Different Lighting Conditions?
When it comes to photography, exposure settings play a crucial role in capturing the desired mood and tone of a photograph. Different exposure settings can dramatically alter the overall feel of an image, whether it's a bright and airy scene or a moody and dramatic one.
When shooting in low light conditions, it's important to consider factors such as ISO, aperture, and shutter speed to achieve the perfect balance and avoid unwanted noise or blur. These settings can truly enhance the magic of photography in any lighting situation.
Can You Provide Examples of Creative Lighting Techniques That Can Add a Unique and Artistic Touch to My Photographs?
Sure!
When it comes to indoor photography, creative lighting techniques can really elevate your photos to the next level.
One technique I love is using shadows to add depth and dimension. By strategically placing your light source and playing with the angles, you can create interesting and dramatic shadows that add a unique and artistic touch to your photographs.
It's a fantastic way to bring innovation and creativity to your work.
Conclusion
In conclusion, understanding the various lighting techniques in photography can make a world of difference in capturing stunning images. Whether you choose natural or artificial light, the key is to embrace shadows and use reflectors and diffusers effectively.
By mastering exposure settings and exploring creative lighting techniques, you can create artistic photographs that truly stand out. So, don't be afraid to experiment and let your creativity shine – after all, the world is your oyster when it comes to lighting in photography!