Please note this post may contain affiliate links picked by me (Jay) that I have deemed may be of interest or relevant to you the reader of this.
These links do not affect the cost of the thing if you decide to purchase but i may get a little money if you choose to purchase.
For more information on my affiliate link policy click here.
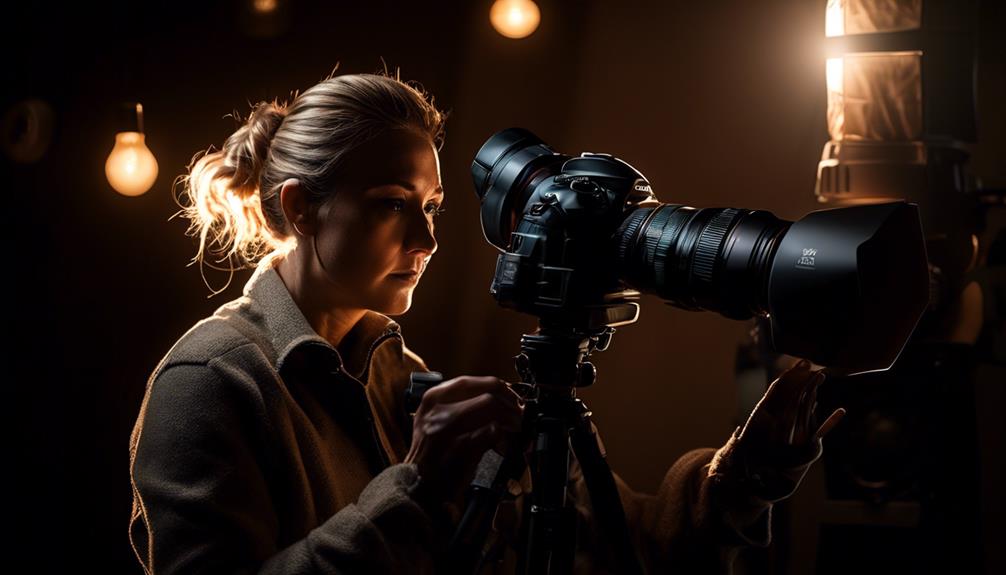
As I stood behind my camera, capturing the world through my lens, I realized that mastering the art of light exposure is the key to unlocking the true potential of a photograph. It's like a delicate dance between the subject and the light, where a perfect balance can transform a simple image into a breathtaking masterpiece.
But how does one achieve this mastery? Well, fear not, for in this discussion, I will reveal the top techniques that will help you perfect light exposure in your photography, whether you're a budding enthusiast or a seasoned professional.
So, let's dive into the world of light and discover the secrets that will elevate your images to new heights.
Key Takeaways
- Metering modes, such as spot metering and matrix metering, help determine optimal exposure settings.
- Utilizing natural light during the golden hour can provide soft, warm lighting for photographs.
- Reflectors can fill in shadows and create even lighting, reducing contrast in harsh sunlight.
- Balancing artificial and natural light can create a seamless blend and enhance the subject of the photograph.
Understanding the Basics of Exposure
Understanding the basics of exposure is crucial for any photographer looking to capture stunning and well-balanced images. In the world of photography, exposure refers to the amount of light that enters the camera and hits the image sensor. It's the foundation upon which all successful photographs are built.
To achieve the perfect exposure, photographers must have a solid understanding of the metering modes and the exposure triangle.
Metering modes are tools that measure the amount of light in a scene and help the camera determine the optimal exposure settings. There are different metering modes available, such as spot metering, center-weighted metering, and matrix metering. Each mode has its own strengths and is suitable for different shooting scenarios. By mastering these metering modes, photographers can ensure accurate exposure in any lighting situation.
The exposure triangle is another essential concept to understand. It consists of three elements: aperture, shutter speed, and ISO. Aperture refers to the size of the lens opening, which determines the amount of light that enters the camera. Shutter speed controls the duration of time the camera's shutter remains open, influencing the amount of light that reaches the sensor. ISO, on the other hand, measures the camera's sensitivity to light. By balancing these three elements, photographers can achieve the desired exposure for their images.
Understanding the basics of exposure allows photographers to have full control over their images. It empowers them to create visually compelling photographs that capture the essence of a moment. By mastering the metering modes and the exposure triangle, photographers can confidently experiment with different lighting conditions and push the boundaries of their creativity.
Utilizing Natural Light to Enhance Photos
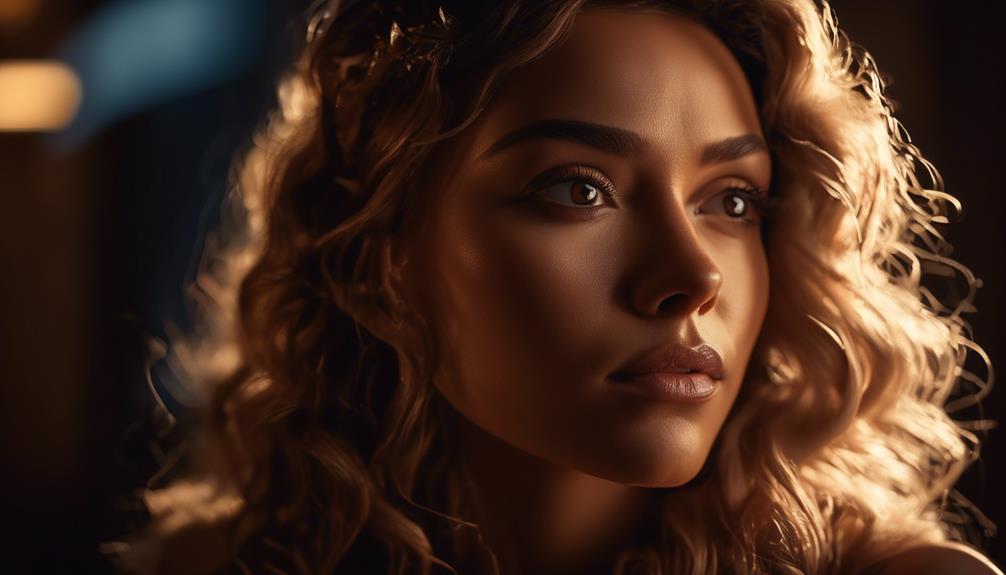
How can we harness the power of natural light to elevate our photos to the next level? As a photographer, I'm always on the lookout for innovative techniques to enhance the quality of my images. One of the most effective ways to do this is by utilizing natural light to create stunning photos.
One of the best times to capture beautiful natural light is during the golden hour. This is the period of time shortly after sunrise or before sunset when the sun is low in the sky, producing a soft, warm glow. The golden hour provides a magical quality of light that can transform an ordinary scene into something extraordinary. To make the most of this time, I make sure to plan my shoots accordingly and position my subject or composition to take full advantage of the soft, golden light.
Another technique I employ is the use of reflectors in outdoor light photography. Reflectors are tools that bounce light back onto the subject, filling in shadows and creating a more even, flattering light. They come in various sizes and materials, such as white, silver, or gold, each producing a different effect. Reflectors are especially helpful when shooting in harsh sunlight, as they can help soften the shadows and reduce the contrast in the scene.
Mastering the Use of Artificial Lighting
Can artificial lighting take your photography to the next level? Absolutely! Mastering the use of artificial lighting opens up a world of creative possibilities and allows you to capture stunning images in any situation.
Here are three key techniques that will help you make the most of artificial lighting:
- Effective placement of light sources: The way you position your light sources can dramatically impact the mood and atmosphere of your photographs. Experiment with different angles and distances to create interesting shadows, highlights, and textures. Placing the light source at a 45-degree angle to your subject can create beautiful, soft lighting with gentle shadows. Don't be afraid to play around and see how different placements affect the overall look of your images.
- Using diffusers and reflectors for soft lighting: Artificial lighting can sometimes be harsh and unflattering. To achieve a softer, more natural look, consider using diffusers and reflectors. Diffusers soften the light by spreading it out and reducing harsh shadows. They can be as simple as a white sheet or a purpose-built diffuser attachment. Reflectors, on the other hand, bounce light back onto your subject, filling in shadows and adding a beautiful glow. Experiment with different types of diffusers and reflectors to achieve the desired effect.
- Balancing artificial and natural light: Combining artificial and natural light can create stunning results. By strategically placing your artificial light source to complement the existing natural light, you can enhance your subject and add depth to your images. For example, if you're shooting indoors with a window nearby, position your artificial light to mimic the direction and intensity of the natural light coming in. This will create a seamless blend of both light sources and give your photos a more natural and professional look.
Mastering artificial lighting is a skill that takes time and practice. But with these techniques, you'll be able to take your photography to new heights and capture incredible images that truly stand out. So go ahead, unleash your creativity, and let artificial lighting elevate your photography!
Balancing Light and Shadows for Dramatic Effects
To create captivating and dramatic photographs, mastering the art of balancing light and shadows is essential. The way light interacts with different elements in a photograph can greatly impact the overall mood and atmosphere. By carefully controlling highlights and lowlights, photographers can create dynamic contrast that adds depth and visual interest to their images.
One technique for achieving this balance is by incorporating backlighting. This involves placing the main source of light behind the subject, creating a halo effect and casting dramatic shadows in the foreground. This technique can be used to create atmospheric compositions, where the subject is silhouetted against a glowing background. The contrast between the dark subject and the bright background adds a sense of mystery and intrigue to the photograph.
Another technique to consider is using reflectors and diffusers to manipulate the light. Reflectors bounce light back onto the subject, filling in shadows and adding a soft, even illumination. This can help to balance out the exposure and create a more pleasing image. Diffusers, on the other hand, are used to soften harsh light and reduce contrast. They can be particularly useful when shooting in bright sunlight or when working with artificial lighting.
Advanced Techniques for Creative Light Exposure
I have discovered a range of advanced techniques that allow for truly creative light exposure in photography. These techniques push the boundaries of traditional lighting setups and offer a world of possibilities for capturing unique and artistic images.
Here are three innovative approaches to consider:
- Creative lighting setups for unique exposure: One way to achieve creative light exposure is by experimenting with different lighting setups. Instead of relying on the usual front or side lighting, try incorporating backlighting or using multiple light sources from different angles. These setups can create interesting shadows, highlights, and textures, adding depth and dimension to your photographs. Don't be afraid to think outside the box and explore unconventional lighting arrangements.
- Experimenting with unconventional light sources for artistic exposure: Another way to enhance your light exposure is by using unconventional light sources. Instead of relying solely on studio lights or natural sunlight, try incorporating sources such as candles, fairy lights, or neon signs. These unique light sources can add a touch of whimsy, drama, or even mystery to your images. Experiment with different intensities, colors, and placements to achieve the desired effect.
- Playing with light painting and long exposures: Light painting involves using a handheld light source, such as a flashlight or sparkler, to create light trails or patterns while the camera's shutter is open for an extended period. This technique allows you to have complete control over the light and enables you to paint with light in your images. Long exposures, on the other hand, capture the movement of light over time. By using a slow shutter speed, you can capture mesmerizing light trails from moving objects, such as cars or stars.
Frequently Asked Questions
How Can I Minimize Lens Flare When Shooting in Bright Sunlight?
When shooting in bright sunlight, I've found a few tricks to minimize lens flare and reduce glare.
First, I make sure to use a lens hood or my hand to shield the lens from direct sunlight.
I also adjust my shooting angle to avoid pointing directly at the sun.
Lastly, I sometimes use a polarizing filter to help reduce reflections and enhance color saturation.
These techniques have greatly improved the quality of my photos in bright sunlight.
What Are Some Common Mistakes Photographers Make When Using Artificial Lighting?
Common mistakes photographers make when using artificial lighting include:
- Overexposing the subject
- Using harsh and direct light
- Neglecting to balance the artificial light with the ambient light
To avoid these errors, here are some tips for using artificial lighting:
- Experiment with different light sources, modifiers, and positions
- Learn to control the intensity and direction of the light
- Don't be afraid to play with shadows and highlights
Are There Any Specific Camera Settings I Should Use to Capture Light Trails in Long Exposure Photography?
When capturing light trails in long exposure photography, there are specific camera settings that can help achieve stunning results.
By adjusting the shutter speed to a longer duration, such as several seconds or even minutes, you can capture the movement of light over time, creating beautiful motion blur effects.
Additionally, using a low ISO setting and a small aperture can help maintain image quality and control the amount of light entering the camera.
These techniques open up a world of creative possibilities for astrophotography and capturing dynamic scenes.
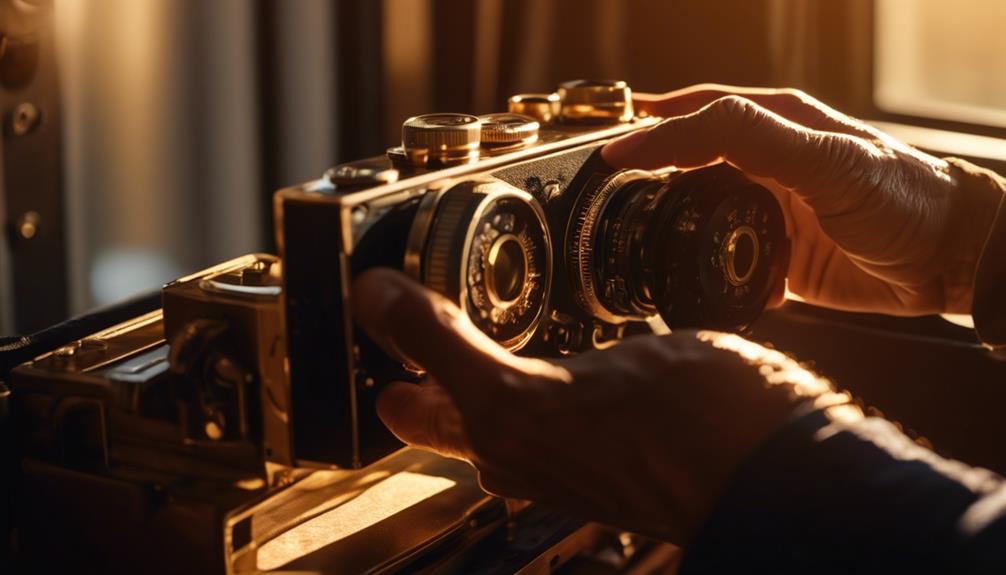
Can You Recommend Any Affordable Lighting Equipment for Beginners?
Sure!
When it comes to affordable lighting equipment options for beginners, there are a few options to consider.
One option is to use natural light by positioning your subject near a window or shooting outdoors during the golden hour.
Another option is to invest in a basic speedlight or a continuous LED light panel, which can provide soft and diffused lighting on a budget.
These options are great for beginners looking to experiment and create stunning photos without breaking the bank.
How Can I Effectively Use Backlighting to Create Stunning Silhouettes in My Photos?
When it comes to creating stunning silhouettes in my photos, using backlighting has been a game changer.
By strategically positioning my subject in front of a strong light source, I can achieve those striking shadowy outlines that add depth and drama to my images.
This technique allows me to play with contrasts and shapes, resulting in visually captivating photographs.
It's just one of the many ways I use natural light creatively and explore different creative lighting techniques to push the boundaries of my photography.
Conclusion
In conclusion, mastering light exposure is essential for capturing stunning photographs.
Did you know that 90% of professional photographers believe that understanding and controlling light is the key to creating impactful images?
By learning the basics of exposure, utilizing natural and artificial lighting, and experimenting with light and shadows, you can elevate your photography skills to new heights.
So grab your camera and start exploring the world of light, because the possibilities are endless!