Please note this post may contain affiliate links picked by me (Jay) that I have deemed may be of interest or relevant to you the reader of this.
These links do not affect the cost of the thing if you decide to purchase but i may get a little money if you choose to purchase.
For more information on my affiliate link policy click here.
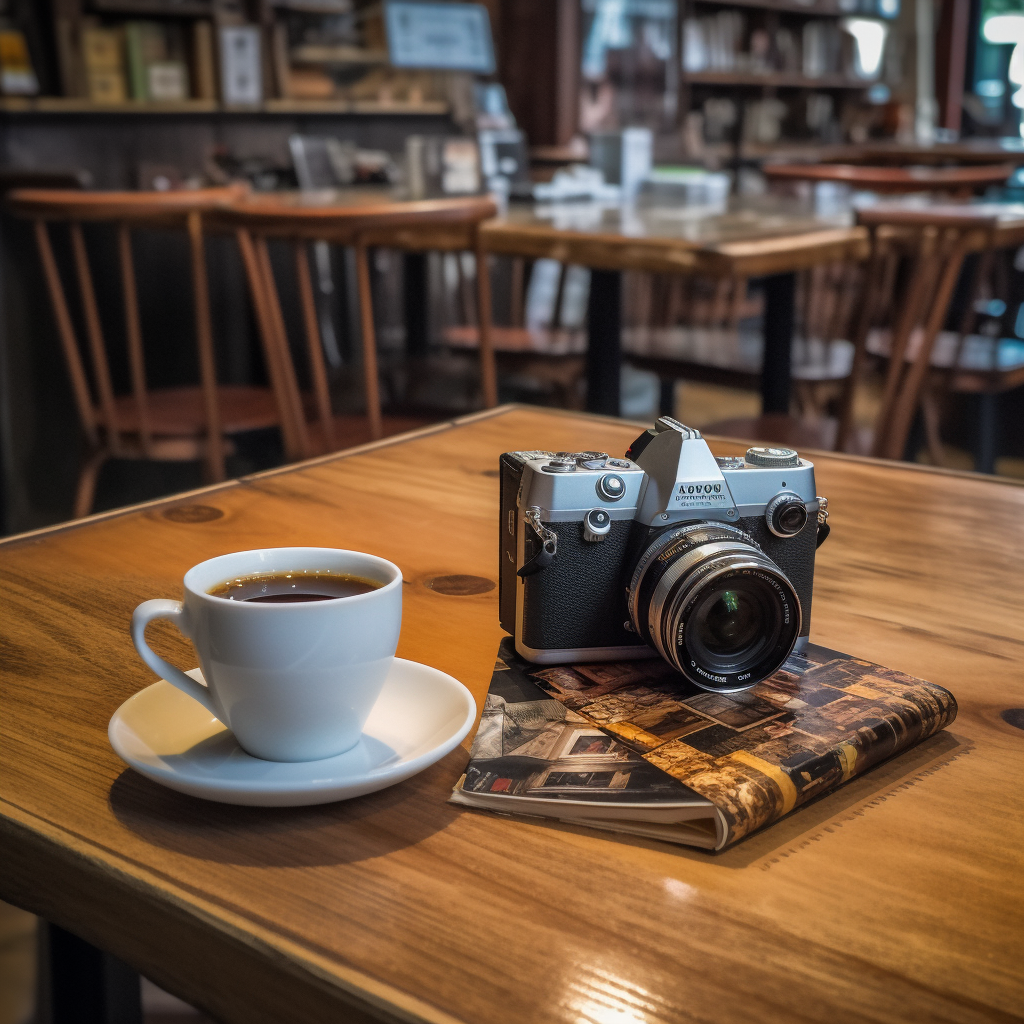
Mastering the Basics: A Beginner’s Guide to Photography
Welcome to The Photography Junkie, your go-to source for all things photography! Whether you’re a seasoned pro or just starting out, we’ve got you covered. In this article, we’ll be taking a deep dive into mastering the basics of photography.
Photography is an art form that allows us to capture moments in time and freeze them forever. But it’s not just about pressing a button on a camera – there are a lot of factors that go into creating a great photograph. Let’s start with the basics.
Understanding Exposure
Exposure is the amount of light that enters the camera and hits the sensor or film. It’s determined by three factors: aperture, shutter speed, and ISO.
Aperture controls the amount of light that enters the camera. It’s measured in f-stops, with lower numbers indicating a larger opening and more light. A wider aperture creates a shallower depth of field, which can be used to isolate a subject from the background.
Shutter speed controls how long the sensor or film is exposed to light. It’s measured in fractions of a second, with faster speeds allowing less light in. A faster shutter speed can be used to freeze motion, while a slower speed can create motion blur.
ISO measures the sensitivity of the sensor or film to light. A higher ISO allows for faster shutter speeds and smaller apertures, but can introduce noise or grain in the image.
To get a properly exposed photo, you need to balance these three factors. For example, if you want a shallow depth of field for a portrait, you might choose a wide aperture of f/2.8, a shutter speed of 1/125th of a second, and an ISO of 100. But if you’re shooting in low light, you might need to increase the ISO to 1600 to get a properly exposed photo.
Choosing the Right Camera and Lens
When it comes to cameras, there are two main types: DSLRs and mirrorless cameras. DSLRs have a mirror inside the camera body that reflects light from the lens to the viewfinder, while mirrorless cameras use an electronic viewfinder or the rear LCD screen to display the image.
Both types of cameras have their advantages and disadvantages. DSLRs tend to have longer battery life and a wider range of lenses available, while mirrorless cameras are often more compact and have faster autofocus.
As for lenses, the type you choose will depend on what you want to shoot. A wide-angle lens, such as a 16-35mm, is great for landscape photography, while a telephoto lens, such as a 70-200mm, is ideal for sports and wildlife. A prime lens, such as a 50mm f/1.8, is great for portraits and low-light situations.


Composition
Composition is the arrangement of visual elements in a photograph. It’s what separates a snapshot from a great photo. There are several compositional techniques that can be used to create a visually appealing image.
The rule of thirds is a common technique where the frame is divided into thirds both horizontally and vertically, and the subject is placed along one of the lines or at the intersection points. This creates a sense of balance and interest in the image.
Leading lines are lines that lead the viewer’s eye through the photo, such as a road or a fence. They can create a sense of depth and draw attention to the subject.
Symmetry is when the elements in the photo are balanced on either side of the frame. This creates a sense of harmony and can be used to emphasize the subject.
Understanding Light
Light is the foundation of photography. Without it, there would be no photo. But not all light is created equal. The direction, color, and quality of light can all affect the mood
and look of a photograph.
Direction of light refers to the angle from which the light is coming. Front light, where the light source is behind the photographer, can create a flat and even lighting on the subject. Side light, where the light source is to the left or right of the subject, can create more depth and texture by casting shadows. Backlight, where the light source is behind the subject, can create a dramatic and silhouette effect.
Color temperature is the warmth or coolness of light, measured in Kelvin. Natural light from the sun has a color temperature that changes throughout the day, from warm tones during sunrise and sunset to cool tones during midday. Artificial light sources, such as tungsten or fluorescent bulbs, also have their own color temperatures. Adjusting the white balance setting on your camera can help correct for the color temperature of the light source and produce more accurate colors in your photos.
Quality of light refers to how harsh or soft the light is. Harsh light, such as direct sunlight, can create strong shadows and highlights. Soft light, such as on a cloudy day or from a diffused light source, can create a more even and flattering light on the subject. Using a reflector or diffuser can also help control the quality of light and fill in shadows.
Shooting in Manual Mode
While shooting in automatic or semi-automatic modes can be convenient, shooting in manual mode gives you complete control over your camera settings and allows you to be more creative with your photography.
To shoot in manual mode, adjust the aperture, shutter speed, and ISO settings to get the exposure you want. Use the light meter in your camera to help guide you in setting the correct exposure. Don’t be afraid to experiment with different settings to achieve the look you want.
Post-Processing
Post-processing is the editing stage of photography where you can enhance and adjust your photos. There are several software programs available, such as Adobe Lightroom and Photoshop, that can help you edit your photos.
Common editing techniques include adjusting exposure, contrast, and saturation. You can also crop your photos or apply filters to achieve a certain look or mood. But be careful not to overdo it – editing should enhance the photo, not make it look unnatural or fake.
|
|


Practice, Practice, Practice
Like any skill, photography takes practice to master. Don’t be discouraged if your photos don’t turn out how you imagined at first. Keep practicing and experimenting with different techniques and settings. Study the work of other photographers and take note of what you like and what you don’t like.
And remember, if you have any questions or want to share your work with others, don’t hesitate to use the community section on our website. We’re all here to learn and grow as photographers together.
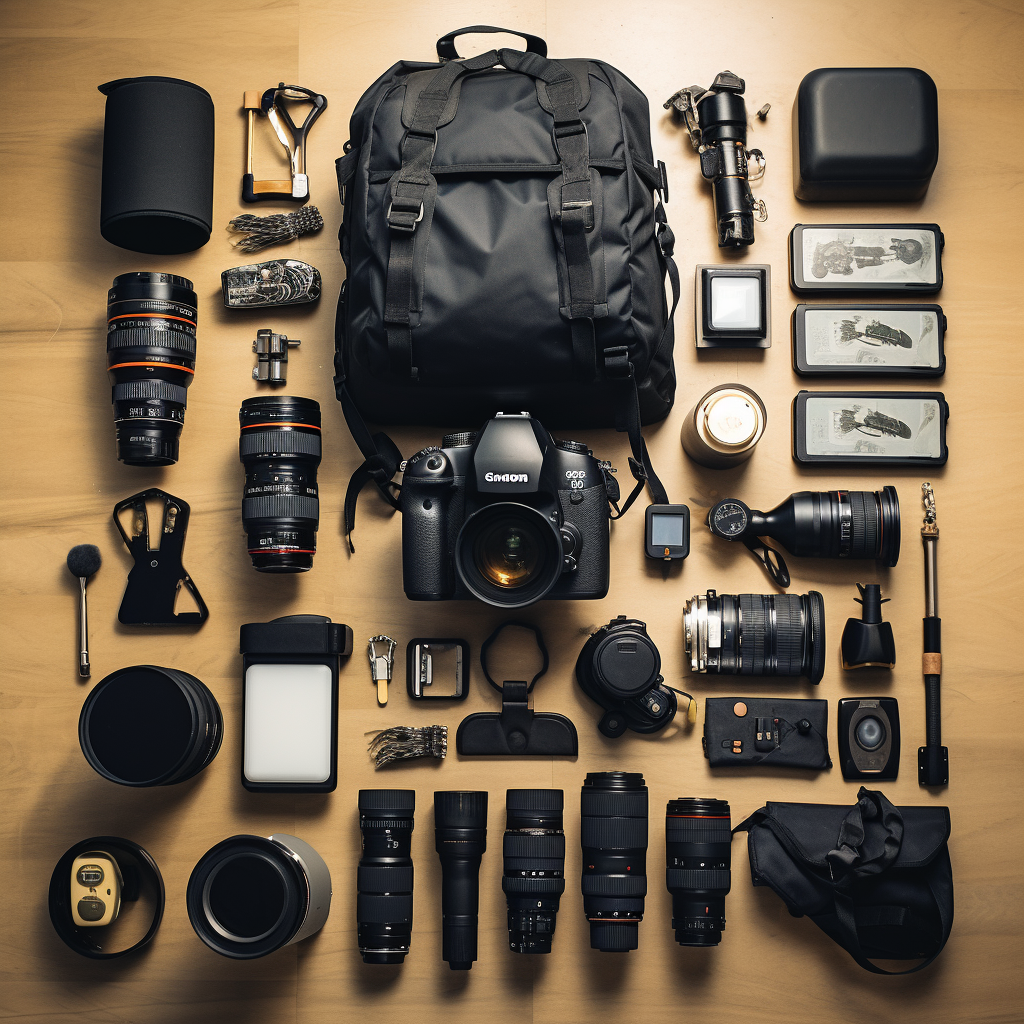
Gear Recommendations
As promised, here are some gear recommendations to help you get started with photography:
Camera:
- Canon EOS Rebel T7 DSLR Camera
- Nikon D3500 DSLR Camera
- Sony Alpha a6000 Mirrorless Camera
Lenses:
- Canon EF 50mm f/1.8 STM Lens
- Nikon AF-S DX NIKKOR 35mm f/1.8G Lens
- Sony 50mm f/1.8 OSS Lens
Accessories:
- Tripod: Manfrotto MT055XPRO3 Aluminum Tripod
- Memory Card: SanDisk 64GB Extreme PRO SDXC UHS-I Memory Card
- Camera Bag: Lowepro ProTactic BP 350 AW II Camera Backpack
Conclusion
Mastering the basics of photography is essential for any photographer, whether you’re a beginner or a pro. Understanding exposure, choosing the right camera and lens, composition, understanding light, shooting in manual mode, and post-processing are all