Please note this post may contain affiliate links picked by me (Jay) that I have deemed may be of interest or relevant to you the reader of this.
These links do not affect the cost of the thing if you decide to purchase but i may get a little money if you choose to purchase.
For more information on my affiliate link policy click here.
Did you know that over 70% of photographers struggle with capturing high-quality images in low-light conditions? As a passionate night photographer myself, I understand the challenges that come with shooting in the dark.
However, fear not! There is a way to overcome these obstacles and unlock the beauty of the night through your lens. In this discussion, we will explore the crucial first step you need to take to achieve approved night photography.
Get ready to discover the key that will unlock a world of stunning nocturnal imagery, captivating light trails, and mesmerizing starry skies.
Key Takeaways
- Adjusting white balance and ISO sensitivity are crucial for capturing natural and accurate images in night photography.
- Good camera lenses with wide apertures and the use of a sturdy tripod can help capture sharp and detailed images in low light.
- Experimenting with different shutter speeds can freeze motion or create light trails in night photography.
- Utilizing innovative light sources and techniques, such as light trails, steel wool photography, light stencils, and multiple exposures, can enhance the creativity and impact of night photographs.
Understanding Camera Settings
Understanding camera settings is the key to unlocking the full potential of your night photography. When it comes to capturing stunning images in low light conditions, two camera settings that you should pay attention to are white balance adjustment and ISO sensitivity control.
First, let's talk about white balance adjustment. This setting allows you to control the color temperature of your photos. Different light sources emit different colors, and adjusting the white balance ensures that your images look natural and accurate. For example, if you're shooting under streetlights, you may need to adjust the white balance to compensate for the yellowish hue they produce.
Next, let's explore ISO sensitivity control. ISO determines how sensitive your camera's sensor is to light. Increasing the ISO value allows you to capture brighter images in low light situations. However, be mindful of the trade-off – higher ISO settings can introduce digital noise, which can degrade image quality. Experiment with different ISO values to find the right balance between brightness and noise.
Understanding and mastering these camera settings will empower you to create breathtaking night photographs. So, don't be afraid to experiment and push the boundaries of your creativity. Remember, innovation and exploration are the hallmarks of great photography.
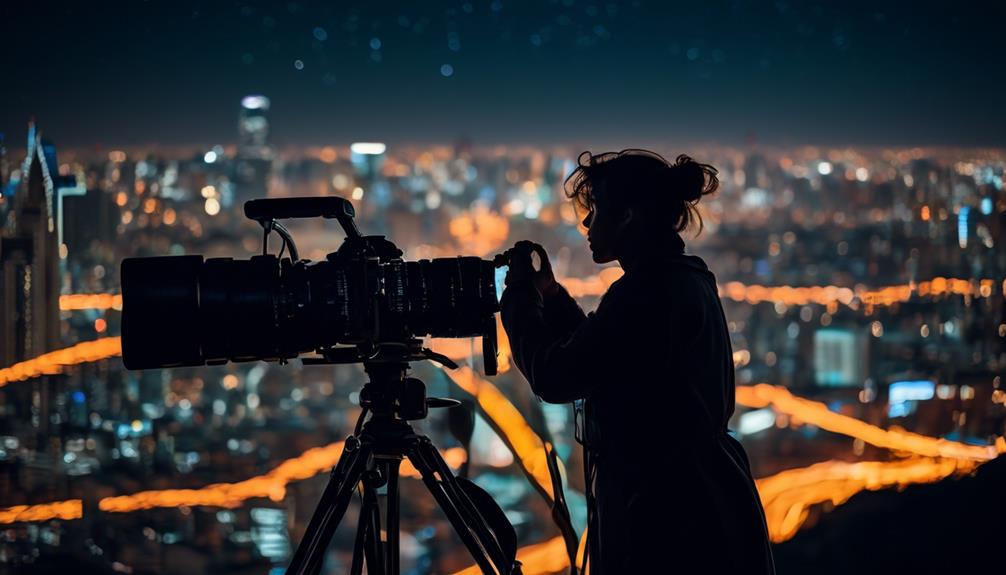
Choosing the Right Equipment
When it comes to capturing stunning nighttime images, selecting the right equipment is crucial for achieving professional-quality results. As an aspiring night photographer, I understand the importance of having the right tools to capture those breathtaking shots. Here are four essential items that will help you elevate your night photography game:
- Camera Lenses: Investing in a good set of camera lenses is paramount for capturing sharp and detailed images in low light conditions. Look for lenses with wide apertures, such as f/1.4 or f/2.8, as they allow more light to enter the camera sensor, resulting in brighter and clearer photos.
- Tripod: Stability is key when shooting long exposure shots at night. A sturdy tripod will keep your camera steady, preventing any unwanted blur caused by camera shake. Look for lightweight and portable options that are easy to carry around during your night photography adventures.
- Remote Shutter Release: Using a remote shutter release allows you to trigger your camera without physically touching it, minimizing the risk of camera shake. This is especially useful when shooting long exposures or time-lapse sequences.
- Lens Filters: Consider adding lens filters to your night photography arsenal. Filters like neutral density (ND) filters can help you control the amount of light entering your lens, allowing for longer exposure times and creating stunning light streaks or smooth water effects.
Mastering Exposure and Shutter Speed
To capture stunning nighttime images, mastering exposure and shutter speed is essential for achieving the desired effects. When it comes to night photography, achieving proper brightness and capturing motion effectively are two key factors that can make or break your images.
Exposure refers to the amount of light that enters the camera sensor. In low light conditions, it's important to find the right balance between letting in enough light to capture the scene and avoiding overexposure. This can be achieved by adjusting the camera's ISO, aperture, and shutter speed settings.
Shutter speed, on the other hand, determines the duration for which the camera's sensor is exposed to light. When shooting at night, longer shutter speeds are often required to gather enough light, especially in low-light situations. However, using longer shutter speeds can also result in motion blur, which may or may not be desired depending on the effect you want to achieve.
To capture motion effectively, you can experiment with different shutter speeds. For example, using a faster shutter speed can freeze motion, while a slower shutter speed can create a sense of movement or light trails.
Mastering exposure and shutter speed in night photography requires practice and experimentation. By understanding how to achieve proper brightness and capturing motion effectively, you'll be able to create stunning images that showcase the beauty of the night.
Utilizing Light Sources and Techniques
As I ventured into the world of night photography, I quickly discovered the power of utilizing various light sources and techniques to create captivating and dynamic images. In low light conditions, it's essential to think outside the box and explore innovative ways to illuminate your subjects.
Here are four creative light painting techniques that can take your night photography to the next level:
- Light Trails: Capture the mesmerizing trails of light created by moving objects, such as cars or people. Set a long exposure and use a handheld light source to paint trails of light in the scene. Experiment with different colors and patterns to add a touch of magic to your images.
- Steel Wool Photography: This technique involves spinning a bundle of burning steel wool to create sparks that form beautiful patterns. Use a long exposure and a tripod to capture the swirling sparks against a dark background. Ensure safety precautions are taken while practicing this technique.
- Light Stencils: Cut out shapes or patterns from a piece of cardboard and attach it to a light source. By moving the light source behind the stencil during a long exposure, you can create striking and intricate designs.
- Multiple Exposures: Combine multiple exposures of different light sources to create surreal and dreamlike images. Experiment with different light painting techniques and blend them together in post-processing to achieve unique and visually compelling results.
Editing and Post-Processing Techniques
Editing and post-processing techniques play a crucial role in enhancing the impact and visual appeal of your night photography images. Once you have captured those breathtaking shots, it's time to bring them to life through the power of editing.
First and foremost, color grading techniques are essential in night photography. They allow you to manipulate the colors in your image, creating a mood and atmosphere that enhances the overall aesthetic. Whether you want to intensify the blues in a cityscape or add warmth to a starry night sky, color grading gives you the creative control to make your images truly captivating.
Another important aspect of post-processing is noise reduction. Shooting in low-light conditions can often result in noisy images, with unwanted grain and speckles. Thankfully, there are various noise reduction methods available that can help you eliminate or reduce these imperfections. From using specialized software to employing specific techniques, noise reduction ensures that your night photographs remain sharp and detailed.
Frequently Asked Questions
How Do I Deal With Noise in My Night Photography Images?
When dealing with noise in my night photography images, my first step is to reduce it through long exposure techniques. By using longer shutter speeds, I can capture more light and minimize the noise caused by low light conditions.
Additionally, I make sure to use a low ISO setting to further reduce noise. This combination of techniques allows me to capture stunning night shots with minimal noise.
The result is sharp, clear images that truly showcase the beauty of the night.
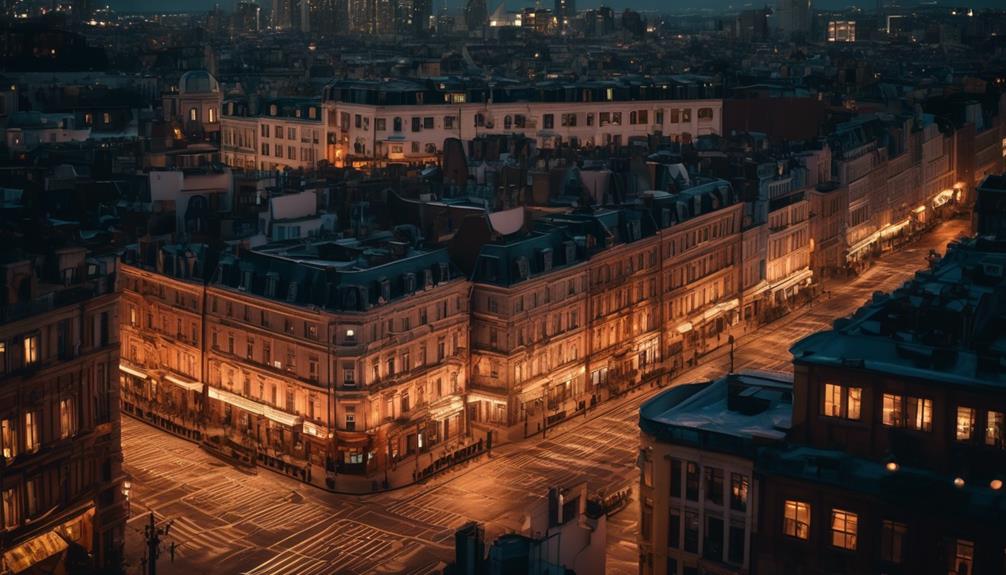
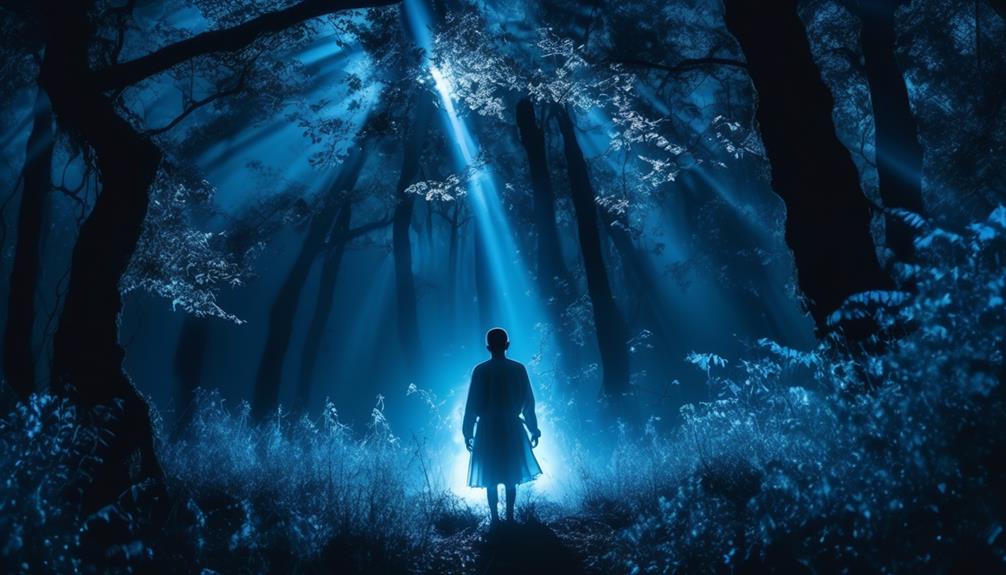
What Are the Best Locations for Night Photography?
When it comes to night photography, the first step is finding the perfect location.
Urban settings offer a vibrant backdrop with city lights and architecture, while natural landscapes provide a serene and mystical atmosphere.
Experimenting with light painting techniques can also add a touch of creativity to your night shots.
Whether you choose to capture the energy of the city or the tranquility of nature, night photography offers endless possibilities for innovation and pushing the boundaries of your creativity.
How Can I Capture Star Trails in My Night Photos?
To capture star trails in my night photos, my first step is setting up a long exposure shot.
I adjust my camera settings to a low ISO, small aperture, and slow shutter speed. This allows more light to enter the lens, revealing the stunning trails of stars as they move across the night sky.
It's like painting with light, creating a mesmerizing masterpiece in the dark.
It's an exhilarating way to capture the magic of the night.
Are There Any Safety Precautions I Should Take When Doing Night Photography?
When it comes to night photography, safety should always be a priority. Before heading out, I make sure to pack my essential night photography equipment, like a sturdy tripod and a remote shutter release.
I also take some precautions to ensure my own safety. I always let someone know where I'll be shooting and carry a flashlight for visibility.
Additionally, I do some research beforehand to find the best locations and tips for long exposure shots.
These steps help me capture stunning night photos while staying safe.
What Are Some Creative Composition Techniques for Night Photography?
When it comes to night photography, the first step is to understand the importance of composition.
By using creative techniques, such as light painting and long exposure, you can capture stunning and innovative shots.
Light painting allows you to add unique elements of light to your photographs, while long exposure tips help to create beautiful streaks and trails.
These techniques not only enhance your images but also showcase your creativity and innovation in night photography.
Conclusion
So there you have it, the first step to approved night photography is understanding camera settings, choosing the right equipment, mastering exposure and shutter speed, utilizing light sources and techniques, and editing and post-processing techniques.
With these skills in your arsenal, you'll be well on your way to capturing stunning night-time shots like a pro. Imagine standing beneath a starry sky, capturing the Milky Way in all its glory.
With the right knowledge and techniques, this dream can become a reality.