Please note this post may contain affiliate links picked by me (Jay) that I have deemed may be of interest or relevant to you the reader of this.
These links do not affect the cost of the thing if you decide to purchase but i may get a little money if you choose to purchase.
For more information on my affiliate link policy click here.
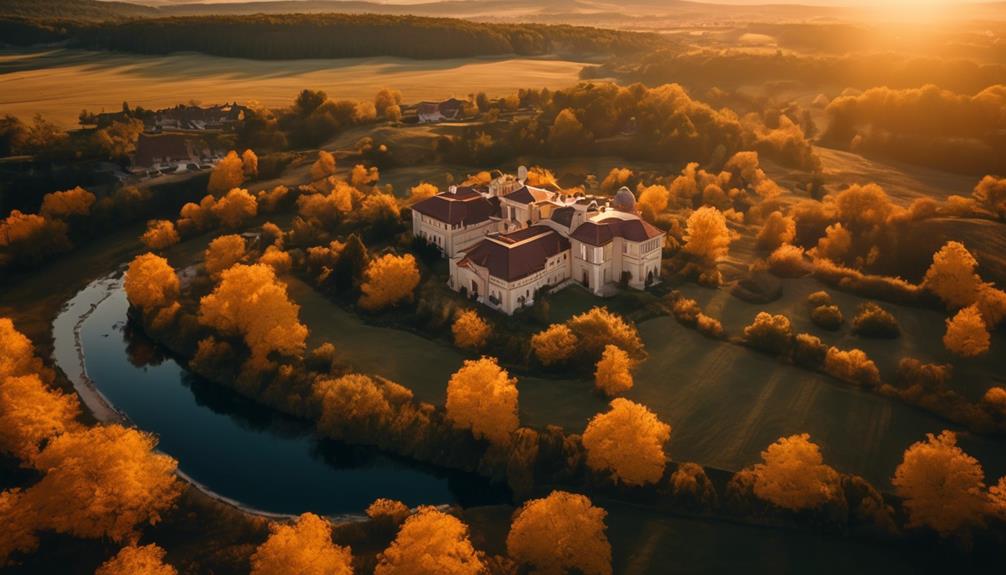
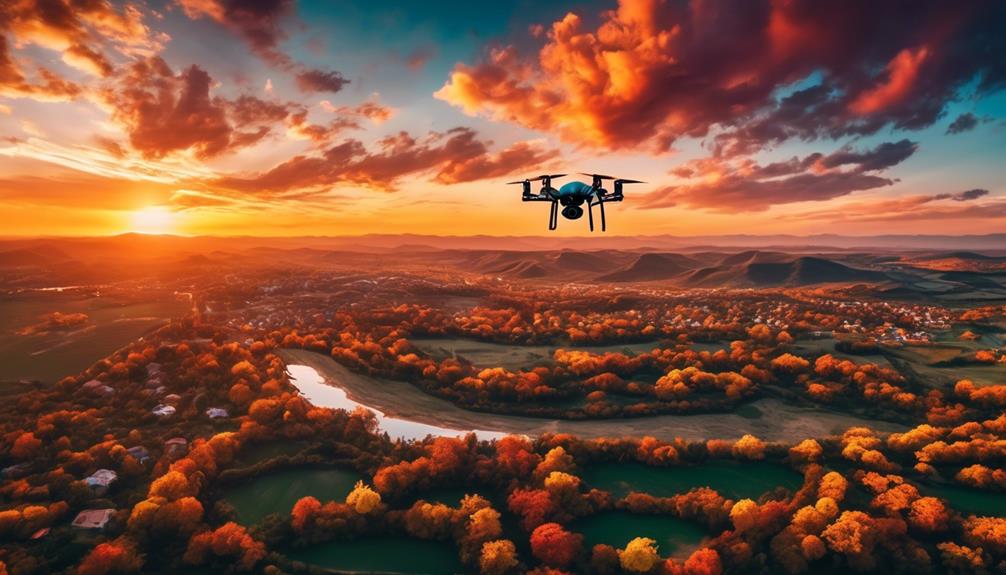
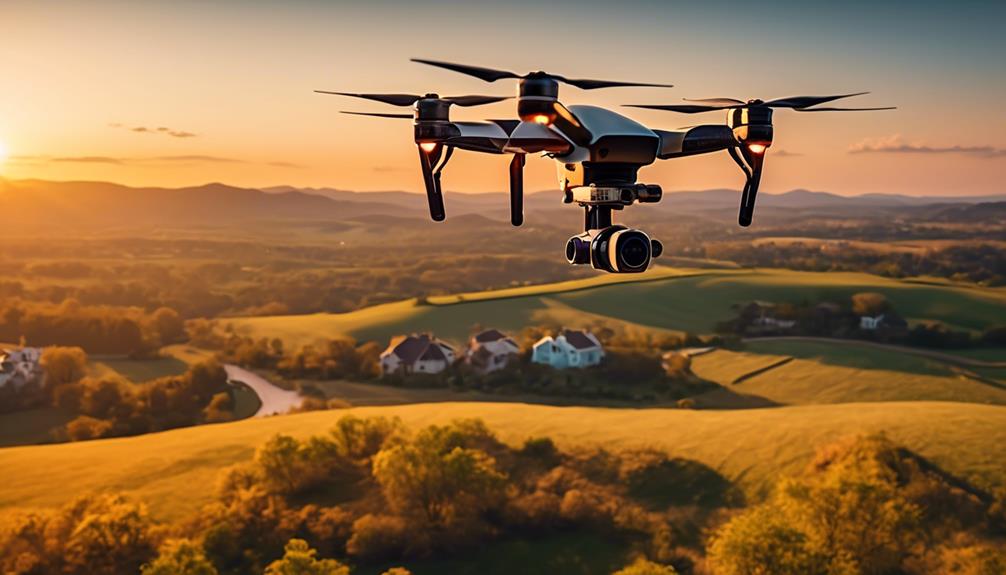
Have you ever wondered how to capture stunning aerial shots with your drone? Well, look no further because I'm here to unlock the top drone photography settings for newbies like you.
From understanding ISO, shutter speed, and aperture to mastering white balance and color profiles, there are a plethora of settings that can take your drone photography to the next level.
But don't worry, I'll guide you through it all, including focus and metering modes, image format and compression, and the eternal debate of auto versus manual camera settings.
So, get ready to elevate your aerial photography game and create jaw-dropping images that will leave everyone in awe. But first, let's dive into the world of drone photography settings and unravel the secrets to capturing breathtaking shots from above.
Key Takeaways
- Adjusting ISO, shutter speed, and aperture settings can greatly impact the quality and creative outcome of drone photographs.
- Understanding color temperatures and using different color profiles can enhance the look and feel of drone photos.
- Choosing between JPEG and RAW formats affects file size and post-processing capabilities.
- Shooting in manual mode allows for complete control over camera settings and the ability to achieve unique and creative results.
ISO, Shutter Speed, and Aperture
When it comes to drone photography, understanding ISO, shutter speed, and aperture is essential for capturing stunning aerial shots. These three settings play a crucial role in determining the quality and creativity of your photographs. Let's dive into each one and explore how they can elevate your drone photography game.
First, let's talk about ISO. In low light situations, such as during sunrise or sunset, you'll need to increase the ISO to capture more light and avoid grainy images. However, be cautious not to set it too high, as it can introduce digital noise. Finding the right balance is key.
Next, shutter speed controls the amount of time the camera's sensor is exposed to light. A faster shutter speed freezes motion, which is particularly useful when shooting moving subjects. On the other hand, a slower shutter speed allows for longer exposure times, creating stunning light trails or silky smooth water effects. Experimenting with different shutter speeds can add a dynamic element to your aerial shots.
Lastly, aperture determines the depth of field in your photographs. A wide aperture (low f-number) creates a shallow depth of field, where only a small portion of the image is in focus, while the background is beautifully blurred. This technique can be used to highlight a specific subject or create a dreamy atmosphere. Conversely, a narrow aperture (high f-number) increases the depth of field, ensuring that the entire scene is sharp and in focus.
White Balance and Color Profiles
Now that we've covered the essential settings of ISO, shutter speed, and aperture for drone photography, let's explore another important aspect: white balance and color profiles.
Understanding color temperatures and creating a custom white balance are crucial for achieving stunning and accurate colors in your drone photographs. Color temperature refers to the warmth or coolness of the light in a scene. Different light sources emit light with varying color temperatures, ranging from warm (yellowish) to cool (bluish). By adjusting the white balance settings on your drone camera, you can ensure that the colors in your photos appear natural and true to life.
For example, if you're shooting during golden hour, when the sun casts warm, golden tones, you may want to set your white balance to a warmer temperature to enhance those hues.
Creating a custom white balance is particularly useful when shooting in challenging lighting conditions or when you want to achieve a specific creative effect. To do this, you need a neutral reference object, such as a gray card or a white piece of paper. Simply place the object in the scene, fill the frame with it, and use your drone camera's custom white balance feature to set the white balance based on that reference. This ensures that the colors in your photos are accurately captured, regardless of the lighting conditions.
In addition to white balance, many drone cameras offer different color profiles that can further enhance the look and feel of your photographs. These profiles are like digital filters that apply specific color adjustments to your images. Experimenting with different color profiles can give your drone photos a unique and artistic touch, allowing you to express your creativity and style.
Focus and Metering Modes
To capture sharp and well-exposed drone photographs, understanding focus and metering modes is essential. These settings play a crucial role in determining the overall quality of your images. Let's dive into the world of focus and metering modes and unlock their potential for breathtaking aerial photography.
When it comes to focus, your drone camera offers different options such as single-point autofocus, continuous autofocus, and manual focus. The choice of focus mode depends on the subject and the desired effect. For instance, if you want to capture a landscape with maximum sharpness from foreground to background, using manual focus and adjusting the aperture for a larger depth of field is the way to go. On the other hand, if your subject is moving, continuous autofocus will help you maintain sharpness throughout the action.
Metering modes, on the other hand, determine how your drone camera calculates the exposure settings. Typically, you'll find three metering modes: matrix or evaluative metering, center-weighted metering, and spot metering. Matrix metering takes into account the entire scene, center-weighted metering prioritizes the center of the frame, and spot metering measures the exposure based on a specific point.
To achieve accurate exposure, it's important to understand how metering modes work in different lighting conditions. Additionally, exposure compensation allows you to adjust the exposure settings based on your creative vision. By increasing or decreasing the exposure value, you can control the brightness and darkness of your images, adding depth and drama to your shots.
Mastering focus and metering modes opens up a world of possibilities in drone photography. With a clear understanding of these settings, you can capture stunning images with precise focus and well-balanced exposure, pushing the boundaries of your creativity. So, go ahead, experiment, and unleash the full potential of your drone camera.
Image Format and Compression
Understanding the importance of image format and compression is crucial for optimizing the quality and storage efficiency of your drone photographs. When it comes to drone photography, there are two main image formats to consider: JPEG and RAW. Each has its own advantages and understanding compression techniques is key to making the right choice. Here are some key points to consider:
- JPEG vs RAW: JPEG is a compressed image format that reduces file size by discarding some image data. It's ideal for everyday photography as it produces smaller files and is widely supported. On the other hand, RAW is an uncompressed format that retains all the original image data. It provides greater flexibility for post-processing and allows you to capture more details and dynamic range.
- Understanding compression techniques: Compression is the process of reducing the size of a file without significantly affecting image quality. When shooting in JPEG, you can adjust the compression level to balance between file size and image quality. Higher compression levels result in smaller file sizes but may introduce more artifacts. It's important to find the right balance for your needs.
- Storage considerations: JPEG files are smaller in size compared to RAW files, which means they take up less storage space. This can be beneficial when you have limited storage capacity on your drone or need to capture a large number of images. However, it's important to keep in mind that JPEG files are already compressed and further compression can lead to a loss of image quality.
- Post-processing capabilities: RAW files contain all the original data captured by the drone's sensor, giving you more control over the editing process. You can adjust exposure, white balance, and other settings without degrading image quality. This is particularly useful if you plan on doing extensive post-processing or if you want to have more creative freedom with your photographs.
- Workflow considerations: Shooting in RAW requires additional steps in your workflow, as these files need to be processed and converted into a more common image format before they can be easily viewed or shared. This can be time-consuming, especially if you're working with a large number of images. However, the extra effort can be worth it if you prioritize image quality and post-processing capabilities.
Auto Vs Manual Camera Settings
As I explore the world of drone photography, I find myself faced with an important decision: should I let the camera make all the decisions for me, or should I take control and manually adjust the settings? This dilemma is one that every photographer encounters, and it can have a significant impact on the quality of your drone images. Let's take a closer look at the pros and cons of using auto mode versus manual mode.
| Auto Mode | Manual Mode |
|---|---|
| The camera automatically adjusts all settings, including exposure, focus, and white balance. | You have complete control over all camera settings, allowing you to fine-tune each aspect of your photo. |
| It is convenient and requires less technical knowledge. | It requires a deeper understanding of photography and the ability to make quick adjustments on the fly. |
| It can be useful for beginners or situations where you need to capture a quick shot. | It gives you the freedom to experiment and achieve unique and creative results. |
While auto mode may seem like the easy choice, it can often lead to images that lack depth and creativity. By using manual mode, you have the power to manipulate your camera settings to capture the exact image you envision. This level of control allows for greater artistic expression and the ability to capture stunning aerial shots.
That being said, it's important to note that manual mode does require a solid understanding of photography principles such as aperture, shutter speed, and ISO. It may take some practice and experimentation to master these concepts, but the results will be well worth the effort.
Frequently Asked Questions
How Can I Effectively Use the ISO, Shutter Speed, and Aperture Settings Together to Capture the Best Drone Photographs?
To capture the best drone photographs, I've found that effectively using the ISO, shutter speed, and aperture settings together is key. By incorporating ND filters, you can have better exposure control and capture stunning shots.
It's also crucial to understand the relationship between drone altitude and camera settings. By adjusting these settings based on your altitude, you can ensure optimal image quality and creativity.
What Are Some Common White Balance and Color Profiles Used in Drone Photography, and How Can They Enhance My Images?
White balance and color profiles play a crucial role in drone photography. By adjusting the white balance, you can ensure accurate color reproduction in your images.
Different color profiles, such as Standard, Vivid, or Natural, can add an artistic touch to your shots. Experimenting with these settings can completely transform the mood and atmosphere of your photographs.
However, it's important to note that post-processing is equally important in enhancing your drone images. Don't be afraid to get creative and explore different editing techniques to make your photos truly stand out.
Which Focus and Metering Modes Should I Use for Different Types of Drone Photography, Such as Landscape or Action Shots?
When it comes to achieving proper exposure in drone photography, focus and metering modes are key.
For landscape shots, I recommend using spot metering to capture the details and colors of the scenery.
Action shots, on the other hand, require a different approach. Switch to continuous autofocus and evaluative metering to capture the fast-paced movement.
What Image Format and Compression Options Are Recommended for Preserving the Quality of Drone Photographs?
When it comes to preserving the quality of drone photographs, the image format and compression options play a crucial role.
The two main formats to consider are JPEG and RAW. While JPEG is more common and offers smaller file sizes, RAW provides higher quality and more flexibility in post-processing.
However, it's important to note that compression can have a significant impact on image quality. So, for the best results, it's recommended to shoot in RAW format and avoid excessive compression to maintain the integrity of your drone photographs.
When Should I Rely on Auto Camera Settings Versus Manually Adjusting the Settings for My Drone Photography?
When it comes to drone photography, knowing when to rely on auto camera settings versus manually adjusting the settings is crucial. Understanding the exposure triangle is key to capturing stunning aerial shots.
While auto settings can be convenient, manually adjusting the camera settings allows for more control over the exposure, aperture, and ISO. This enables you to achieve the desired creative effects and capture the perfect lighting conditions for your drone photography.
Conclusion
So there you have it, dear drone photography newbies. Unlocking the top settings may seem daunting at first, but fear not! With a little practice and experimentation, you'll soon be soaring to new heights in your aerial photography endeavors.
Remember, the key is to embrace the power of technology while still honing your artistic eye.
So go forth, my fellow drone enthusiasts, and capture the world from a whole new perspective.
Happy flying!