Please note this post may contain affiliate links picked by me (Jay) that I have deemed may be of interest or relevant to you the reader of this.
These links do not affect the cost of the thing if you decide to purchase but i may get a little money if you choose to purchase.
For more information on my affiliate link policy click here.
As a beginner in the world of macro photography, I know how exciting it is to capture the intricate details of the smallest subjects. But to truly succeed in this fascinating genre, there are a few essential tips that will help elevate your macro images to the next level.
From choosing the right lens to mastering lighting techniques, understanding depth of field to nailing the perfect composition, there is so much to learn and discover.
So, if you're ready to unlock the secrets of macro photography and take your skills to new heights, then let's dive in together and explore these top beginner tips for success.
Key Takeaways
- Choose the appropriate macro lens based on focal length and working distance
- Use wider apertures for more light and shallow depth of field
- Consider using image stabilization for handheld shots
- Experiment with different lighting techniques to enhance the quality of your macro photos
Choosing the Right Macro Lens
When it comes to capturing stunning macro photographs, choosing the right macro lens is essential for achieving optimal results. As a passionate photographer myself, I understand the importance of macro lens selection in bringing out the finest details in your subjects. Whether you're capturing the delicate petals of a flower or the intricate patterns on a butterfly's wings, having the right macro lens can make all the difference.
When considering macro lens features, there are a few key factors to keep in mind. First and foremost, you'll want to consider the focal length. Macro lenses typically come in a range of focal lengths, such as 50mm, 100mm, or 200mm. The focal length you choose will depend on your shooting style and the level of magnification you desire. A shorter focal length, like 50mm, is great for capturing subjects at a closer distance, while a longer focal length, like 200mm, allows for greater working distance between you and your subject.
Another important feature to consider is the maximum aperture of the lens. A wider aperture, such as f/2.8, allows for more light to enter the lens, which is particularly useful when shooting in low-light conditions. It also offers a shallower depth of field, resulting in a beautifully blurred background that helps your subject stand out.
Additionally, it's worth considering the lens's build quality and image stabilization capabilities. Look for lenses made with high-quality materials that are durable and able to withstand the rigors of outdoor shooting. Image stabilization can also be a valuable feature, as it helps to reduce camera shake and produce sharper images, especially when shooting handheld.
Understanding Depth of Field in Macro Photography
Now that we've covered the importance of choosing the right macro lens, let's dive into the fascinating world of depth of field in macro photography. Understanding depth of field is crucial for capturing stunning macro shots with sharp focus. Here are three key factors to consider when it comes to depth of field in macro photography:
- Aperture: The aperture setting on your camera determines the depth of field in your macro shots. A wider aperture (smaller f-number) will result in a shallow depth of field, with only a small portion of the subject in focus. On the other hand, a narrower aperture (larger f-number) will increase the depth of field, allowing more of the subject to be in focus. Experiment with different aperture settings to achieve the desired effect in your macro photography.
- Distance to subject: The distance between your camera and the subject plays a significant role in determining the depth of field. When shooting at a very close distance, the depth of field becomes extremely shallow, making it challenging to achieve sharp focus. To increase the depth of field, try moving slightly further away from the subject. This will help ensure more of the subject is in focus, while still maintaining the desired level of magnification.
- Focus stacking: In macro photography, focus stacking is a technique used to increase the depth of field by combining multiple images with different focus points. By capturing a series of images focused at different distances and blending them together using specialized software, you can achieve an extended depth of field that would be impossible to capture in a single shot. This technique is particularly useful when photographing subjects with intricate details and a shallow depth of field.
Understanding the importance of aperture, the distance to the subject, and the technique of focus stacking will greatly enhance your macro photography skills. By mastering these techniques and utilizing the right macro photography equipment, you can capture stunning images with sharp focus and incredible depth of field. Happy shooting!
Mastering Lighting Techniques for Macro Shots
To capture stunning macro shots, it's essential to master lighting techniques that will enhance the details and textures of your subjects. Lighting plays a crucial role in macro photography, as it can make or break the overall impact of your images. By understanding how to manipulate light effectively, you can create visually striking and captivating macro photographs.
One technique to consider is using reflectors for creative macro lighting. Reflectors help redirect and manipulate natural or artificial light to achieve the desired effect. They come in various sizes and materials, such as silver, gold, or white, each producing a different quality of light. Experimenting with reflectors allows you to control the intensity, direction, and warmth of the light, adding depth and dimension to your macro subjects.
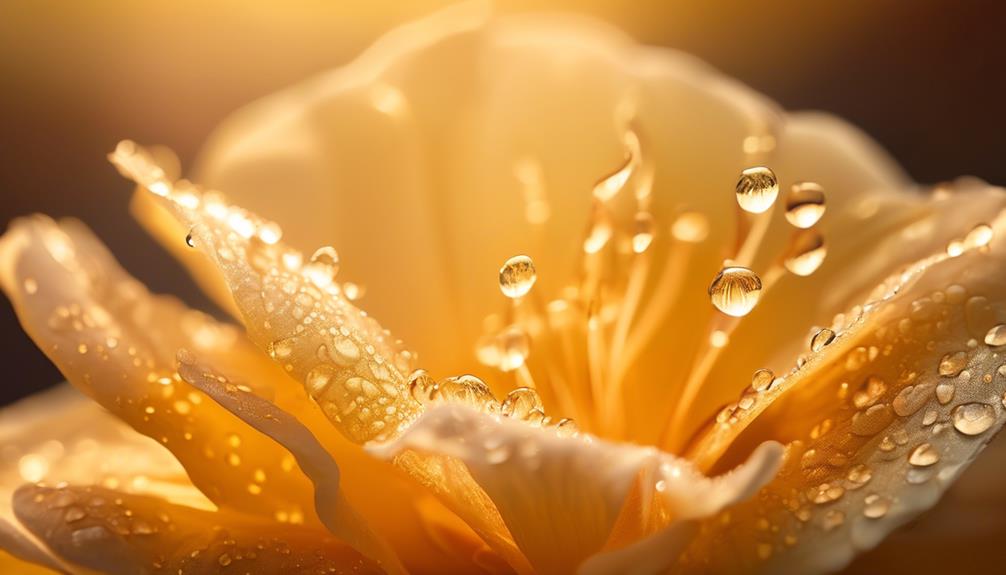
In addition to reflectors, exploring different sources of natural light can greatly enhance your macro photography. One of the most popular sources is natural sunlight. By shooting outdoors during the golden hour or in a shaded area, you can achieve soft, diffused lighting that brings out intricate details and textures in your subjects. You can also experiment with backlighting, where the light source is positioned behind your subject, creating a beautiful glow and highlighting its contours.
Furthermore, you can utilize artificial light sources, such as LED panels or off-camera flash, to create unique and dramatic lighting effects in your macro shots. These tools allow you to have more control over the intensity, direction, and color temperature of the light, enabling you to create visually stunning and innovative images.
Mastering lighting techniques in macro photography is an ongoing process of experimentation and learning. By incorporating reflectors, exploring natural light sources, and experimenting with artificial lighting, you can elevate your macro shots and capture the intricate beauty of your subjects. So, grab your camera, embrace the endless possibilities of light, and unleash your creativity in the world of macro photography.
Essential Camera Settings for Macro Photography
One of the key factors in achieving stunning macro photographs is mastering the essential camera settings. These settings play a crucial role in capturing the intricate details and vibrant colors that make macro photography so captivating.
So, let's dive into the world of camera settings and explore the three essential ones for macro photography success:
- Aperture: When shooting macro, a wide aperture is essential to create a shallow depth of field. This helps to isolate your subject and blur the background, making it appear soft and dreamy. Experiment with different aperture values, such as f/2.8 or f/4, to achieve the desired effect.
- Shutter Speed: Macro photography often requires shooting up close, which makes camera shake more noticeable. To combat this, you need to use a faster shutter speed to freeze the motion and ensure sharpness. Start with a shutter speed of 1/250th of a second and adjust accordingly based on the subject and lighting conditions.
- ISO: The ISO setting determines the sensitivity of your camera's sensor to light. In macro photography, natural light is often limited, so you may need to increase the ISO to capture well-exposed images. However, be cautious not to set it too high, as it can introduce noise and reduce image quality. Aim for the lowest ISO possible while maintaining a well-exposed image.
Composition Tips for Stunning Macro Images
Mastering the art of composition is essential for capturing stunning macro images that truly stand out. When it comes to macro photography, the composition plays a crucial role in creating visually striking and captivating images. By understanding and applying some composition tips, you can take your macro photography to the next level and create images that aren't only technically proficient but also artistically appealing.
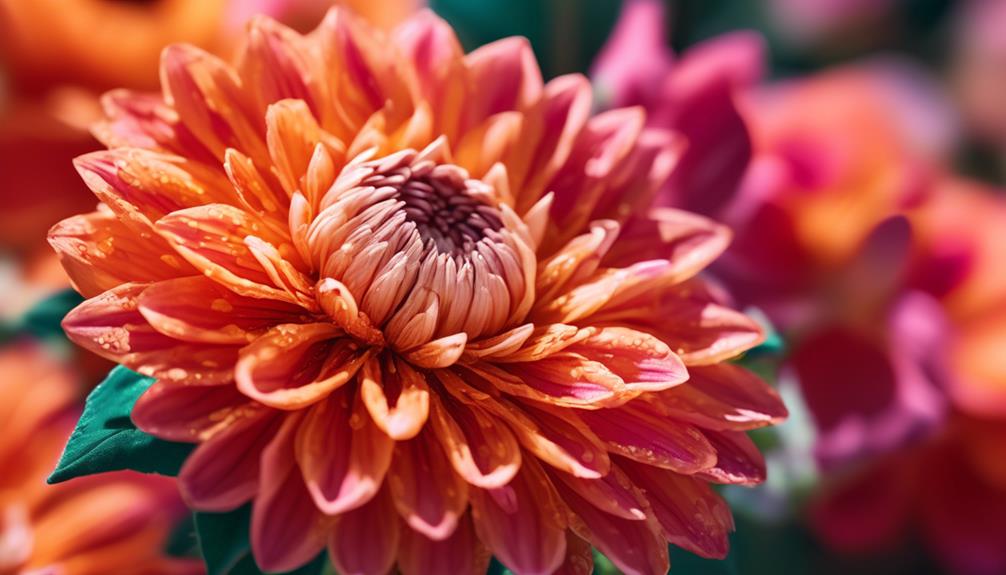
One of the keys to composition in macro photography is to find creative macro subjects. Look for interesting patterns, textures, and colors that can be magnified and emphasized in your macro shots. It could be the delicate petals of a flower, the intricate details of an insect, or the abstract shapes found in everyday objects. By exploring different subjects, you can add a unique touch to your macro images and create a visual impact.
However, it's important to avoid common macro photography mistakes that can detract from your composition. One common mistake is cluttered backgrounds. When shooting macro, pay attention to the background and ensure that it complements your subject. Look for simple and unobtrusive backgrounds that allow your subject to take center stage.
Another mistake to avoid is poor framing. Make sure to position your subject in a way that creates a balanced and visually pleasing composition. Use the rule of thirds or leading lines to guide the viewer's eye and create a sense of depth in your images.
Frequently Asked Questions
What Are Some Common Challenges in Macro Photography and How Can They Be Overcome?
In macro photography, common challenges include getting the lighting just right and choosing the perfect lens. Lighting techniques can greatly enhance the details and textures in your macro shots. Experiment with different angles, diffusers, and reflectors to achieve the desired effect.
When it comes to lenses, opt for a dedicated macro lens with a high magnification ratio for crisp and detailed close-up shots.
Are There Any Specific Post-Processing Techniques That Can Enhance Macro Images?
There are plenty of post-processing techniques that can enhance macro images.
One effective method is to use sharpening tools to bring out the fine details in your subject.
Adjusting the contrast and saturation levels can also make your macro shots pop with vibrant colors.
Don't forget about cropping and straightening your images to improve composition.
And if you want to get creative, try experimenting with different filters or adding a subtle vignette effect.
These techniques can truly take your macro photography to the next level.
How Important Is Having a Tripod for Macro Photography?
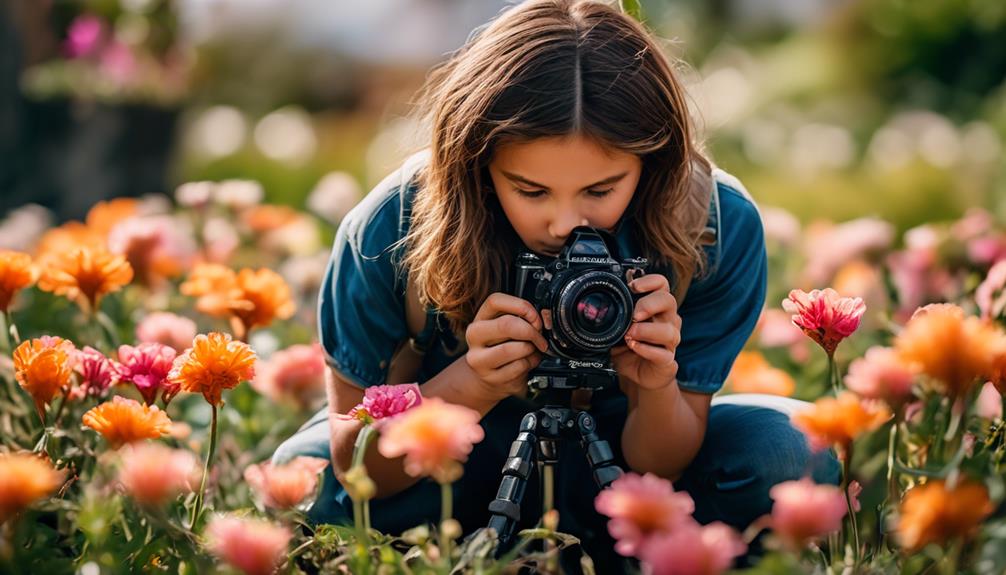
Having a tripod is crucial for macro photography. It provides stability and eliminates camera shake, resulting in sharper and more detailed images.
The importance of lighting can't be overstated either. Proper lighting helps to highlight the intricate details of your subject and adds depth to your photos.
When it comes to lenses, the best ones for macro photography are those with a high magnification ratio and a close focusing distance. These lenses allow you to capture subjects up close with stunning clarity.
Are There Any Specific Camera Accessories That Can Help Improve Macro Photography?
Camera accessories for macro photography can greatly enhance your results. One essential piece of equipment is a macro lens, which allows you to get up close and capture intricate details.
Additionally, a ring light or macro flash can provide the necessary lighting for close-up shots.
Extension tubes can also be used to increase the magnification of your lens.
These accessories open up a whole new world of creativity and innovation in macro photography.
Can You Recommend Any Books or Online Resources for Further Learning About Macro Photography Techniques?
Sure, I can definitely recommend some resources for further learning about macro photography techniques.
There are some great books and online platforms that provide valuable insights.
When it comes to lighting techniques, 'Mastering Macro Photography' by David Taylor is a fantastic read.
For composition tips, I highly recommend checking out online resources like Digital Photography School and Macro Photography Tips.
These platforms offer a wealth of knowledge and innovative techniques to help you excel in your macro photography journey.
Conclusion
In conclusion, macro photography is a captivating and rewarding genre that allows us to explore the intricate details of the world around us. By choosing the right lens, understanding depth of field, mastering lighting techniques, and utilizing essential camera settings, we can capture stunning macro images.
Remember, as the saying goes, 'The devil is in the details,' so don't be afraid to get up close and personal with your subjects to reveal their hidden beauty. Let your creativity flourish and enjoy the fascinating world of macro photography!


