Please note this post may contain affiliate links picked by me (Jay) that I have deemed may be of interest or relevant to you the reader of this.
These links do not affect the cost of the thing if you decide to purchase but i may get a little money if you choose to purchase.
For more information on my affiliate link policy click here.
As a shutterbug fascinated by the cosmos, I've always yearned to capture the beauty of the night sky in all its celestial glory. But mastering astrophotography can seem as elusive as catching a shooting star.
Fear not, fellow stargazers, for I have stumbled upon six essential steps that will catapult your astronomical images to stratospheric heights.
From selecting the perfect gear to uncovering the secrets of long exposure, and even diving into the mystical realm of post-processing, each step will unravel the mysteries of astrophotography, leaving you longing for more.
So, dust off your tripod and prepare to embark on a cosmic journey that will transform your nightscapes into visual masterpieces.
Key Takeaways
- The right equipment is crucial for astrophotography, including wide-angle lenses, lenses with wide apertures, and a sturdy tripod.
- Understanding the exposure triangle (aperture, shutter speed, and ISO) is essential for achieving the desired results in astrophotography.
- Planning and researching locations is important, considering factors like weather conditions, light pollution, and accessibility.
- Long exposure techniques and post-processing/editing techniques can enhance astrophotography images, including capturing star trails, experimenting with exposure times, and utilizing color grading and noise reduction methods.
Choosing the Right Equipment
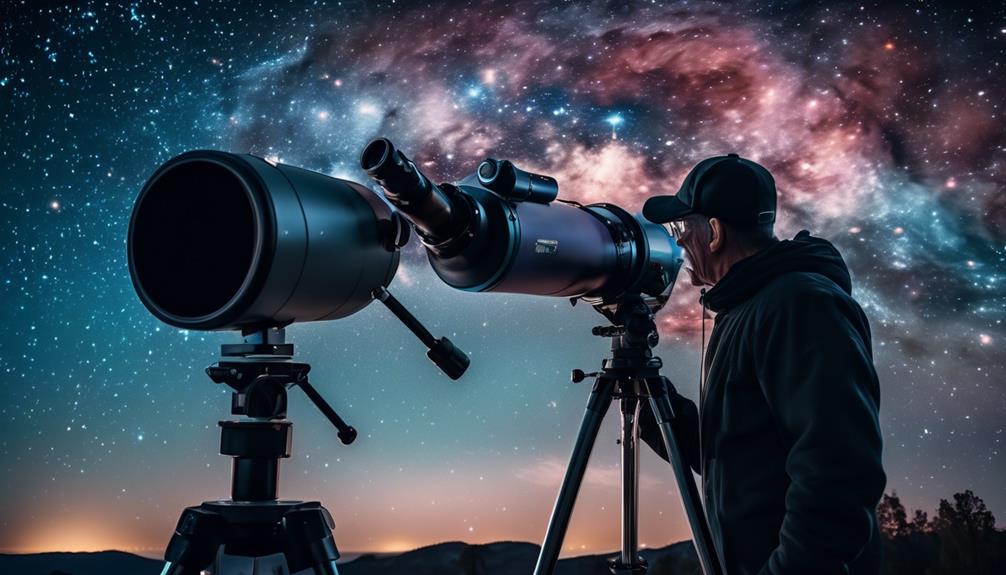
When it comes to mastering astrophotography, choosing the right equipment is crucial for capturing stunning celestial images. One of the most important pieces of gear to consider is your camera lens.
A wide-angle lens with a low focal length, such as a 24mm or 35mm, is ideal for capturing vast starry landscapes. These lenses allow you to capture a larger field of view, making it easier to include the Milky Way or other celestial objects in your shot. Additionally, lenses with a wide aperture, like f/1.4 or f/2.8, are great for astrophotography, as they allow more light to enter the camera sensor, resulting in brighter and sharper images.
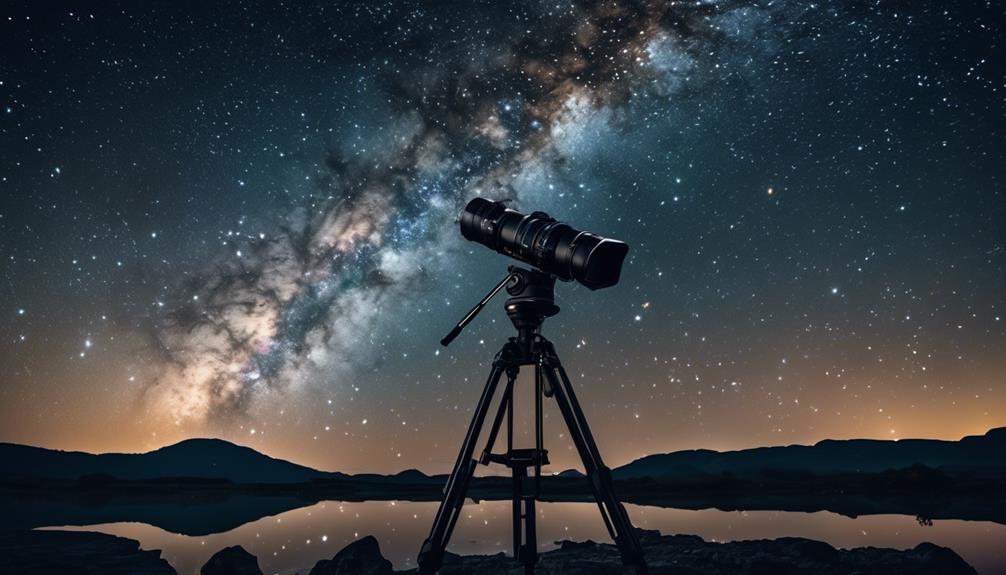
Another essential piece of equipment for astrophotography is a sturdy tripod. A tripod is necessary to keep your camera steady during long exposure shots, as any movement can cause blurry images. Look for a tripod that's lightweight yet durable, and can withstand windy conditions. Consider features like adjustable legs and a ball head for easy positioning and stability. Some tripods even come with a built-in level, which can be helpful for ensuring your shots are perfectly straight.
Choosing the right camera lenses and tripod options is just the beginning of your astrophotography journey. With the right gear, you'll be well on your way to capturing breathtaking images of the night sky. So, get out there, experiment with different lenses and tripods, and let your creativity shine among the stars.
Understanding Camera Settings
Now that we've our ideal camera lens and tripod in hand, it's time to dive into understanding the camera settings that will take our astrophotography to the next level.
One of the key concepts to grasp is the exposure triangle, which consists of three elements: aperture, shutter speed, and ISO. These settings work together to determine the amount of light that enters the camera sensor.
When shooting in low light conditions, such as capturing the beauty of the night sky, it's crucial to find the right balance between these settings.
The aperture controls the amount of light by adjusting the size of the lens opening. A wider aperture allows more light to enter, but it also decreases the depth of field.
Shutter speed, on the other hand, controls the duration of the exposure. A longer shutter speed lets in more light, but it can also introduce motion blur if not stabilized properly.
Lastly, ISO determines the camera's sensitivity to light. Increasing the ISO can help in low light situations, but it can also introduce noise or graininess to the image.
Understanding how these settings interact with each other and with the available light will allow us to capture stunning astrophotography shots. Experimentation and practice will be key in finding the perfect balance for each unique situation.
Planning and Researching Locations
To capture breathtaking astrophotography shots, it is essential to meticulously plan and research the perfect locations. Location scouting plays a crucial role in determining the success of your astrophotography endeavors. By carefully selecting your shooting spots, you can maximize your chances of capturing stunning images of the night sky.
One important factor to consider when planning your astrophotography location is the weather conditions. Clear skies are essential for capturing the beauty of the stars and galaxies. Clouds and atmospheric conditions can obstruct your view and affect the quality of your images. It is advisable to check weather forecasts and choose nights with low cloud cover and minimal light pollution.
To help you choose the best locations for your astrophotography sessions, I have created a table below that highlights key factors to consider:
| Location | Light Pollution | Accessibility | Safety |
|---|---|---|---|
| Remote | Minimal | Easy | Secure |
| Dark Sky | Low | Moderate | Safe |
| High Elevation | Negligible | Challenging | Secure |
Mastering Long Exposure Techniques
Mastering long exposure techniques is the key to capturing stunning and ethereal astrophotography images that will leave viewers in awe. With the right skills, you can transform a simple night sky into a mesmerizing canvas of cosmic wonders.
Here are some techniques that will help you take your astrophotography to the next level:
- Capturing star trails:
By using a long exposure, you can capture the movement of the stars across the night sky, creating beautiful trails of light. This technique adds a sense of motion and dynamism to your images, evoking a sense of wonder and awe. Experiment with different exposure times to achieve the desired effect. Longer exposures will result in longer trails, while shorter exposures will capture less movement.
- Light painting techniques:
Light painting involves illuminating your foreground or subject with artificial light during a long exposure. This technique can add depth, dimension, and a touch of magic to your astrophotography. Use a flashlight or a portable light source to selectively paint light onto specific areas, highlighting details and creating interesting contrasts.
- Experiment and innovate:
Don't be afraid to try new techniques and push the boundaries of traditional astrophotography. Combine different exposure lengths, experiment with different light sources, and let your creativity soar. Innovation is key to capturing truly unique and captivating astrophotography images that will leave a lasting impression on your viewers.
Post-processing and Editing Techniques
Post-processing and editing techniques are essential tools in transforming your astrophotography images from raw captures to stunning works of art. These techniques allow you to enhance the colors, reduce noise, and bring out the intricate details of the cosmos.
When it comes to color grading techniques, there are several methods you can employ to give your images a vibrant and captivating look. One popular technique is to adjust the white balance, which can dramatically alter the overall color tone of your photo. You can also experiment with selective color adjustments to emphasize certain hues or create a more harmonious color palette. Additionally, using gradient maps can help enhance the contrast and bring out the subtle variations in color.
In astrophotography, noise reduction is crucial for achieving clear and crisp images. High ISO settings and long exposure times can introduce unwanted noise, which can obscure the details of the stars and galaxies. To combat this, you can utilize noise reduction methods such as stacking multiple exposures, using dedicated noise reduction software, or applying selective noise reduction techniques in post-processing.
Frequently Asked Questions
How Do I Deal With Light Pollution When Shooting Astrophotography?
When shooting astrophotography, dealing with light pollution can be a challenge. However, there are solutions to overcome this obstacle and capture stunning night sky images.
By adjusting camera settings such as increasing the exposure time and lowering the ISO, you can reduce the impact of light pollution.
Additionally, using light pollution filters or shooting in remote locations away from city lights can greatly improve the quality of your astrophotography.
Don't let light pollution discourage you; with the right techniques, you can still create breathtaking images of the night sky.
What Are Some Common Challenges I May Face When Photographing the Night Sky?
When photographing the night sky, I've encountered several common challenges.
One of them is getting the right camera settings to capture the stars and galaxies in all their glory. It's crucial to find the balance between exposure time, aperture, and ISO to achieve stunning results.
Another challenge is post-processing the images to bring out the fine details and enhance the colors. With the right techniques, though, these challenges can be overcome, resulting in breathtaking astrophotography.
How Can I Achieve Sharp Focus in My Astrophotography Images?
To achieve accurate focus in my astrophotography images, I employ various techniques for sharp images.
It's all about capturing the beauty of the night sky with precision. By utilizing manual focus and zooming in on a bright star, I can ensure that my subject is perfectly sharp.
Additionally, using a sturdy tripod and a remote shutter release helps minimize any camera movement, resulting in crisp and stunning photos that showcase the wonders of the universe.
Are There Any Specific Weather Conditions That Are More Favorable for Astrophotography?
In my experience, finding the ideal weather conditions for astrophotography is like chasing shooting stars on a clear night. The best locations for astrophotography are typically away from city lights, where the sky is darker and the stars shine brighter.
When it comes to weather, clear skies with minimal light pollution are essential for capturing stunning celestial images. Keep an eye on the forecast, plan your shoot accordingly, and get ready to capture the wonders of the universe.
What Are Some Safety Precautions I Should Consider When Shooting Astrophotography in Remote Locations?
When shooting astrophotography in remote locations, nighttime safety and equipment protection are crucial.
It's important to be aware of your surroundings and take necessary precautions to ensure your own safety. This can include bringing a flashlight, wearing appropriate clothing and footwear, and having a first aid kit on hand.
Additionally, protecting your equipment from the elements is essential. Use protective covers or cases to shield your camera and lenses from moisture, dust, and other potential hazards.
Conclusion
Mastering astrophotography requires a combination of technical knowledge and artistic skill. By following the six essential steps outlined in this article, you can capture breathtaking images of the night sky.
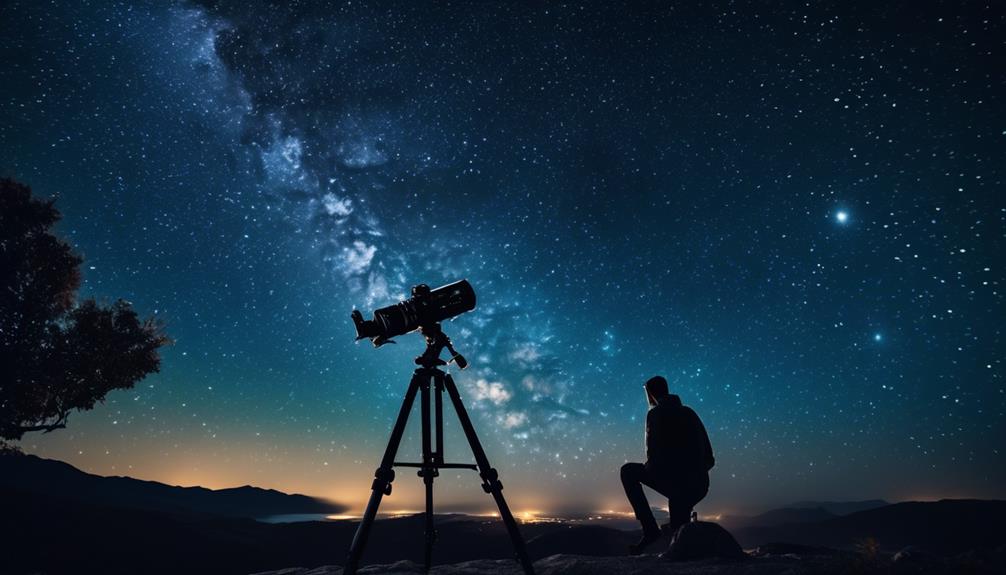
For example, imagine setting up your camera in a remote location with minimal light pollution, capturing the vibrant colors of the Milky Way against a backdrop of twinkling stars.
With practice and dedication, you too can create stunning astrophotography that will leave viewers in awe. So go out there and start capturing the beauty of the universe!


