Please note this post may contain affiliate links picked by me (Jay) that I have deemed may be of interest or relevant to you the reader of this.
These links do not affect the cost of the thing if you decide to purchase but i may get a little money if you choose to purchase.
For more information on my affiliate link policy click here.
As I step into the world of photography, I'm immediately struck by the way light dances through the lens, illuminating every detail and creating a symphony of colors. It's like capturing a fleeting moment of pure magic.
But as a beginner, I quickly realized that understanding and mastering lighting techniques is essential to truly bring my photographs to life. So join me on this journey as we uncover seven essential photography lighting techniques that will transform your images from ordinary to extraordinary.
Get ready to unlock the secrets of:
- Natural lighting
- On-camera flash
- Off-camera flash
- Studio lighting
- The power of light modifiers
With these techniques in your arsenal, you'll be able to capture those breathtaking moments in a whole new light.
Key Takeaways
- Natural lighting techniques, such as golden hour and window lighting, can add warmth and atmosphere to photographs.
- On-camera flash techniques, including using flash diffusers and adjusting flash exposure compensation, can help create a more natural and balanced look.
- Off-camera flash techniques allow for greater control and creativity in lighting, with the ability to create unique effects and sync with different methods.
- Studio lighting techniques provide full control over lighting in photographs, with the ability to experiment with different setups and modifiers for desired effects.
Natural Lighting
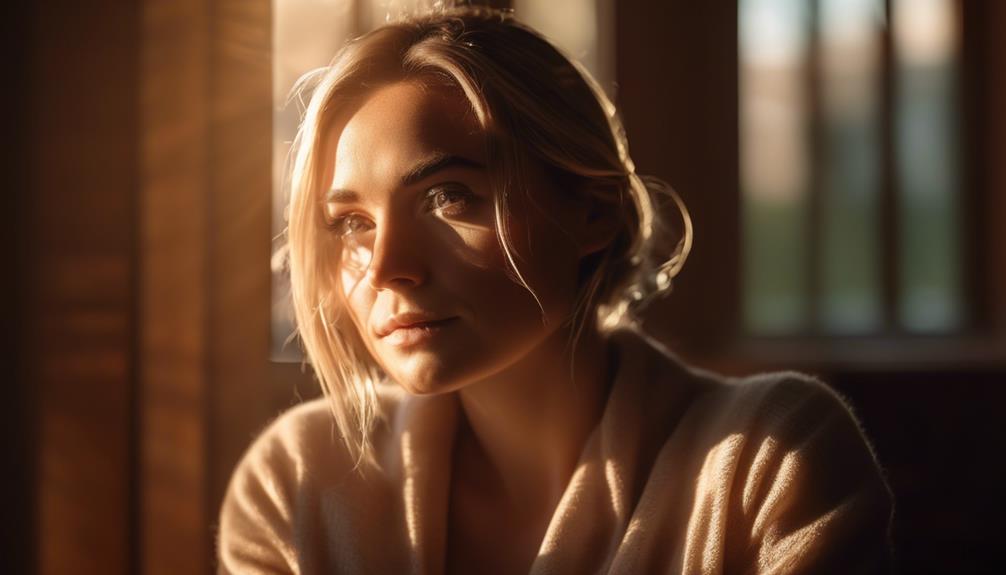
When it comes to photography, natural lighting is like the holy grail of illumination – it can make or break a photo. One of the most magical times to capture natural light is during the golden hour. This is the hour after sunrise or before sunset when the sun is low in the sky, casting a warm, golden glow. The light during this time is soft and diffused, creating a dreamy atmosphere that can bring a touch of magic to your photos.
To make the most of natural lighting, window lighting techniques can be incredibly useful. Utilizing the light that comes through a window can create stunning effects. For example, placing your subject near a window can result in a beautiful play of shadows and highlights on their face, creating depth and dimension. You can also experiment with different curtains or blinds to control the amount of light that enters the room, allowing for more flexibility in your shots.
On-Camera Flash
Let's shed some light on the topic of on-camera flash and discover its role in photography. When it comes to capturing the perfect shot, lighting is everything. While natural lighting can work wonders, there are times when you need a little extra boost. That's where on-camera flash comes in.
Flash diffusers are a must-have accessory for any photographer using on-camera flash. These handy tools soften the harsh light emitted by the flash, creating a more natural and flattering look. They come in various shapes and sizes, allowing you to customize the lighting to suit your needs. Whether you're shooting portraits or still life, a flash diffuser can make a world of difference.
Another essential technique to master is flash exposure compensation. This feature allows you to adjust the power of your flash to achieve the desired lighting effect. Sometimes, the flash can overpower the scene, resulting in washed-out or overly bright images. By using flash exposure compensation, you can dial down the intensity and create a more balanced exposure.
On-camera flash may not be the most innovative lighting technique, but it's a reliable and versatile tool in any photographer's arsenal. With the right accessories and know-how, you can take your photography to the next level.
Off-Camera Flash
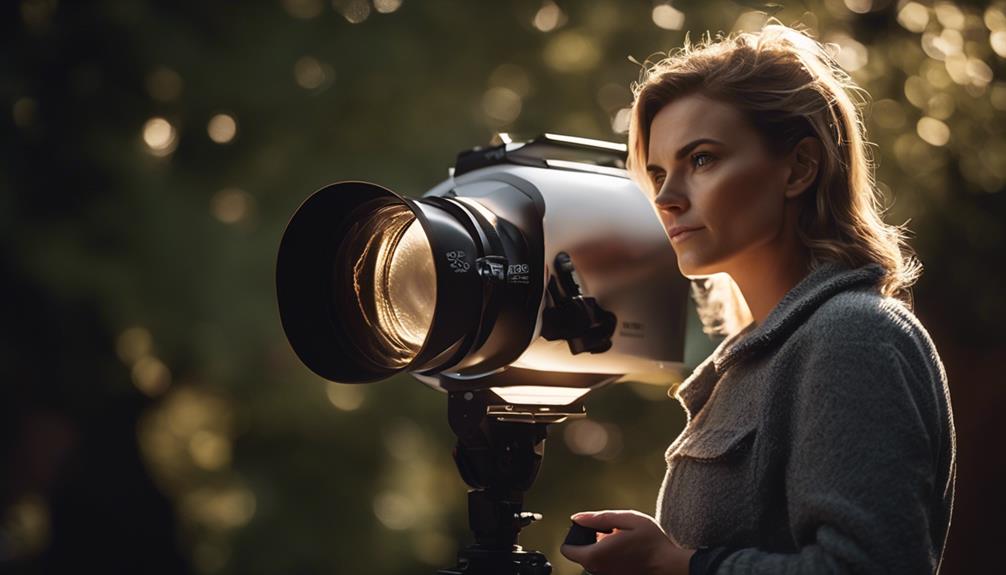
To take your photography to the next level, explore the creative potential of off-camera flash. Off-camera flash allows you to have more control over the lighting in your photos, resulting in stunning and professional-looking images. There are two key aspects to consider when using off-camera flash: positioning and sync techniques.
Positioning your off-camera flash is crucial to achieving the desired lighting effect. Experiment with different angles and distances to create unique and dramatic lighting. Placing the flash to the side of your subject can create interesting shadows, while positioning it above can add depth and dimension. Don't be afraid to get creative and try unconventional placements to achieve the desired result.
In addition to positioning, mastering off-camera flash sync techniques is essential. Syncing your flash with your camera ensures that the flash fires at the right moment, resulting in perfectly exposed images. There are various methods for syncing, including using a cable, wireless triggers, or utilizing the built-in flash commander mode on some cameras.
Table: Off-Camera Flash Positioning and Sync Techniques
| Off-Camera Flash Positioning | Off-Camera Flash Sync Techniques |
|---|---|
| Experiment with angles and distances for unique lighting effects | Use cables, wireless triggers, or built-in flash commander mode for syncing |
| Place the flash to the side for interesting shadows | Ensure the flash fires at the right moment for perfectly exposed images |
| Position the flash above for added depth and dimension | Master different sync techniques to achieve the desired result |
| Try unconventional placements for creative lighting | Explore various syncing methods to find what works best for you |
Studio Lighting
Curious about how to transform your photography with stunning studio lighting? Well, you're in for a treat! Studio lighting opens up a world of possibilities for creating professional-looking images that will make your audience go 'wow!' But before we dive into the nitty-gritty of lighting setups and equipment, let's take a moment to appreciate the magic of studio lighting.
Studio lighting gives you full control over the light in your photographs. It allows you to create the perfect ambiance, highlight the subject's best features, and eliminate any unwanted shadows. The key to a successful studio lighting setup lies in understanding the different types of lighting equipment and how to use them effectively.
First, you'll need to invest in a good quality studio lighting kit. This typically includes a set of strobe lights, light stands, umbrellas or softboxes, and reflectors. Strobe lights are essential for producing powerful bursts of light, while softboxes and umbrellas help to diffuse and soften the light, creating a more flattering effect.
Once you have your equipment ready, it's time to experiment with different lighting setups. Start by positioning your main light at a 45-degree angle to your subject, slightly above eye level. This will create natural-looking highlights and shadows. Then, add a fill light on the opposite side to reduce the contrast and fill in any shadows.
Don't forget about the background! You can use a separate light to illuminate it or play around with colored gels to add a creative touch.
Studio lighting may seem intimidating at first, but with practice and experimentation, you'll soon become a lighting wizard. So, grab your gear, get creative, and let your photography shine!
Light Modifiers
Now that you have your studio lighting setup ready to go, let's explore the world of light modifiers and how they can take your photography to the next level. Light modifiers are essential tools that allow you to shape and control the light in your scene, giving you the power to create stunning and professional-looking images.
One of the most common light modifiers is the softbox. It's like a mini room for your light, diffusing it and creating a soft, flattering illumination. It's perfect for portrait photography, as it helps to minimize harsh shadows and produce a more even lighting.
Another popular light modifier is the umbrella. It's simple yet effective. By bouncing the light off the inside of the umbrella, you can create a softer and more diffused light source. It's great for achieving a natural and flattering light for both indoor and outdoor shoots.
Lastly, we have the DIY light modifiers. These are for the creative and innovative photographers who love to experiment. You can easily create your own light modifiers using everyday objects like tin foil, cardboard, or even a shower curtain. Not only is it a fun and cost-effective way to enhance your lighting, but it also allows you to customize your modifiers to suit your specific needs.
Light Modifiers | Description | Best For |
— | — | — |
Softbox | Diffuses light for a soft and even illumination | Portrait photography |
Umbrella | Bounces light for a softer and more diffused light source | Indoor and outdoor shoots |
DIY Light Modifiers | Customizable light modifiers made from everyday objects | Experimentation and cost-effectiveness |
With these light modifiers in your arsenal, you can transform your artificial lighting techniques into something truly innovative. So go ahead, get creative, and take your photography to new heights with the power of light modifiers.
Frequently Asked Questions
What Are Some Common Mistakes to Avoid When Using Natural Lighting for Photography?
When it comes to using natural lighting for photography, there are a few common mistakes to avoid.
One of them isn't paying attention to the direction of the light, which can result in unflattering shadows or washed out subjects.
Another mistake isn't utilizing reflectors or diffusers to control the light and create more balanced exposures.
Lastly, forgetting to consider the time of day and the quality of the light can also lead to less than ideal results.
How Can I Effectively Diffuse the Light From an On-Camera Flash to Avoid Harsh Shadows?
To effectively diffuse the light from an on-camera flash and avoid harsh shadows, I highly recommend using light diffusers or softbox alternatives. These handy tools help to soften the intensity of the flash, resulting in a more flattering and natural-looking light.
By dispersing the light evenly, you can eliminate those unflattering dark patches and create a more professional and polished image.
What Are Some Tips for Using Off-Camera Flash to Create Dramatic Lighting Effects?
When it comes to creating those jaw-dropping, cinematic lighting effects, off-camera flash techniques are where it's at.
By freeing your flash from the confines of your camera, you have the power to sculpt light in ways you never thought possible.
With a little experimentation and a lot of creativity, you can create dramatic shadows, add depth to your subjects, and make your images pop like never before.
Can You Recommend Any Affordable Studio Lighting Kits for Beginners?
Sure!
When it comes to setting up a home photography studio on a budget, affordable studio lighting kits for beginners are a game-changer. They provide the perfect lighting conditions to capture stunning shots without breaking the bank.
With these kits, you can experiment with different lighting techniques and create professional-looking photos right from the comfort of your own home.
Are There Any DIY Light Modifiers That I Can Easily Create at Home for My Photography Projects?
Sure, there are plenty of DIY light modifiers that you can easily create at home for your photography projects.
From using aluminum foil to create a makeshift reflector, to repurposing household items like shower curtains or parchment paper to diffuse light, the options are endless.
These creative lighting techniques not only save you money, but also allow you to experiment and achieve unique effects in your photos.
Conclusion
So there you have it, fellow shutterbugs! These seven essential photography lighting techniques are your ticket to capturing stunning shots.
From harnessing the power of natural lighting to mastering the art of off-camera flash, you now have the knowledge to take your photography to new heights.
Remember, practice makes perfect, so grab your camera, get out there, and let your creativity shine!
Don't let the light at the end of the tunnel fade away – let it illuminate your photographic journey!


