Please note this post may contain affiliate links picked by me (Jay) that I have deemed may be of interest or relevant to you the reader of this.
These links do not affect the cost of the thing if you decide to purchase but i may get a little money if you choose to purchase.
For more information on my affiliate link policy click here.
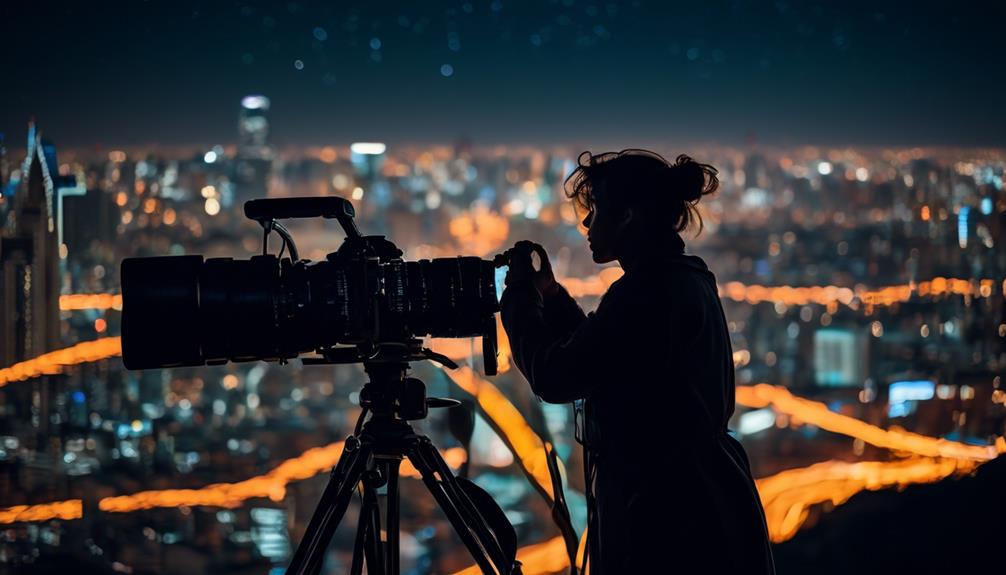
Have you ever wondered how photographers capture stunning images in the dark? The world transforms when the sun goes down, revealing a magical landscape of twinkling lights and mysterious shadows.
But capturing these moments can be challenging, especially if you're new to night and low-light photography. Fear not, for I am here to guide you on your journey into this captivating realm.
From the essential equipment you'll need to the techniques that will bring your images to life, this discussion will equip you with the knowledge and skills to kickstart your night and low-light photography adventure.
So, let's dive in and unlock the secrets of capturing the beauty that emerges when the sun sets.
Key Takeaways
- Choosing the right equipment and settings is crucial for night and low-light photography, including using a wide aperture lens, experimenting with long exposures, and using a tripod.
- Mastering long exposure techniques involves investing in a sturdy tripod, experimenting with different shutter speeds, using a remote shutter release, and exploring light painting.
- Paying attention to composition and framing is essential in low-light situations, including subject placement, leading lines, angles, and utilizing the rule of thirds.
- When editing and post-processing low-light photos, try different techniques such as color grading, adjusting white balance, enhancing details, reducing noise, and experimenting with different editing tools and filters.
Equipment You'll Need
When embarking on a night and low-light photography journey, the right equipment is crucial to capturing stunning images that will make your heart skip a beat. One of the most important aspects of low-light photography is having the right lens.
A lens with a wide aperture is essential for shooting in low-light conditions. Look for lenses with an aperture of f/1.4 or f/1.8, as they allow more light to enter the camera and result in sharper, brighter images. These lenses are perfect for capturing the vibrant colors and intricate details that make night photography so captivating.
Another important consideration when choosing a lens is its focal length. Wide-angle lenses are great for capturing expansive night scenes, while telephoto lenses are ideal for bringing distant subjects closer. Having a range of focal lengths in your lens collection will give you the flexibility to capture a variety of low-light scenes.
In addition to the right lens, there are several low light photography techniques you can use to enhance your images. Experiment with long exposures to capture the movement of light and create stunning light trails. Use a tripod to keep your camera steady and avoid blurry images. And don't be afraid to play with different angles and perspectives to add depth and interest to your shots.
Understanding Exposure and ISO
Now that we have the right equipment in hand, let's dive into the exciting world of understanding exposure and ISO for night and low-light photography. When it comes to capturing stunning images in low light conditions, getting the exposure right is crucial. Exposure refers to the amount of light that reaches the camera sensor, and it is determined by three factors: aperture, shutter speed, and ISO. Aperture controls the amount of light entering the camera through the lens, while shutter speed determines how long the sensor is exposed to that light. ISO, on the other hand, measures the sensitivity of the camera sensor to light.
To help you understand the relationship between these three elements, let's take a look at the table below:
| Aperture | Shutter Speed | ISO |
|---|---|---|
| Wide | Slow | Low |
| Narrow | Fast | High |
As you can see, when shooting in low light conditions, it is important to choose a wider aperture to let in more light, use a slower shutter speed to allow more time for light to reach the sensor, and increase the ISO to compensate for the lack of light. However, it's important to strike a balance, as using a high ISO setting can introduce noise in your images.
Speaking of noise, managing noise in high ISO settings is another crucial aspect of night and low-light photography. Noise refers to the grainy or speckled appearance that can occur in images taken at high ISO settings. To minimize noise, you can try using noise reduction software, shooting in RAW format, or experimenting with different camera settings.
Lastly, don't forget about the importance of white balance in low light photography. White balance ensures that the colors in your images appear accurate and natural. As light temperature can vary greatly in low light conditions, adjusting the white balance setting on your camera can help you achieve the desired color temperature.
Understanding exposure and ISO is key to capturing stunning night and low-light photographs. By mastering these concepts and experimenting with different settings, you'll be able to unleash your creativity and capture breathtaking images in even the darkest of environments.
Mastering Long Exposure Techniques
Let's delve into the captivating world of mastering long exposure techniques and unlock the secrets to capturing breathtaking images in low light conditions. With the right night photography techniques, you can turn a starry sky into a mesmerizing work of art.
Here are five key tips to help you succeed:
- Invest in a sturdy tripod: Keeping your camera steady is crucial for long exposure shots. A good tripod will ensure sharp and blur-free images.
- Experiment with different shutter speeds: Long exposure photography allows you to play with time and create stunning effects. Try different shutter speeds, from a few seconds to several minutes, to capture light trails or smooth water.
- Use a remote shutter release: Minimize camera shake by using a remote shutter release or the self-timer function on your camera. This eliminates the need to physically press the shutter button.
- Master the art of light painting: Light painting is a technique where you use a light source to paint or draw in the frame during a long exposure. It adds a touch of magic to your images.
- Don't forget about the composition: While long exposure techniques can create captivating effects, composition is still important. Pay attention to leading lines, symmetry, and framing to create visually pleasing images.
With these techniques in your arsenal, you'll be able to capture stunning starry skies and create images that truly stand out. So grab your camera, head out into the night, and let your creativity soar!
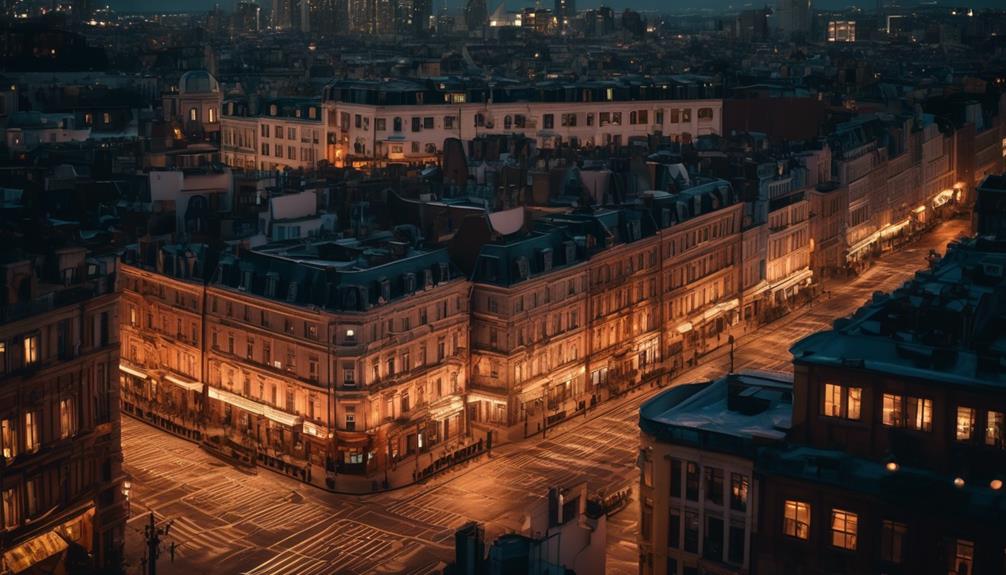
Composition and Framing in Low Light
To create visually stunning images in low light conditions, mastering the art of composition and framing is essential. When it comes to low light photography techniques, proper composition can make a world of difference in capturing night landscapes. It's all about finding the right balance and creating a compelling visual story.
In low light situations, it's important to pay attention to the placement of your subjects within the frame. Look for leading lines or strong points of interest that can guide the viewer's eye through the image. Experiment with different angles and perspectives to add depth and dimension to your shots.
One technique that can be particularly effective in low light is the rule of thirds. Imagine dividing your frame into a grid of nine equal parts, and position your subject along these lines or at the intersections. This creates a dynamic and visually pleasing composition.
Another important aspect to consider is the use of negative space. In low light photography, darkness can be just as important as light. Leaving empty spaces in your frame can create a sense of mystery and intrigue, drawing the viewer's attention to the main subject.
Ultimately, composition and framing in low light photography is about experimentation and creativity. Don't be afraid to break the rules and try new things. With practice and a keen eye, you'll be able to capture stunning night landscapes that leave a lasting impression.
Editing and Post-Processing Tips
Enhance your low light photographs to their full potential with these editing and post-processing tips. When it comes to capturing stunning low light images, the work doesn't end after you click the shutter button. The editing and post-processing stage is where you can truly transform your photos and make them shine.
Here are some techniques to help you take your low light images to the next level:
- Color grading techniques: Experiment with different color tones and hues to create a mood or enhance the atmosphere of your low light photos. Play with the white balance, saturation, and split toning to achieve the desired effect.
- Noise reduction methods: Low light photography often results in noisy images. Reduce the noise in your photos using techniques like selective denoising, adding grain, or using noise reduction software. This will help you achieve cleaner and sharper images.
- Adjust exposure and contrast: Fine-tune the exposure and contrast to bring out the details in your low light photos. Use tools like curves, levels, or shadows/highlights adjustments to control the brightness and contrast in different areas of your image.
- Enhance details: Bring out the intricate details in your low light photos by using sharpening techniques. Be careful not to over-sharpen, as it can create unnatural-looking images. Experiment with different sharpening tools and settings to find the right balance.
- Creative cropping: Experiment with different cropping techniques to improve the composition and focus of your low light photos. Cropping can help eliminate distractions, highlight specific elements, or create a more balanced composition.
Frequently Asked Questions
How Can I Effectively Capture Night Landscapes Without Investing in Expensive Equipment?
To effectively capture night landscapes without splurging on expensive gear, here are some night photography tips and low light photography hacks that have worked wonders for me.
First, try shooting during the blue hour, when the sky has a beautiful deep blue hue. Experiment with long exposures and use a tripod to keep your camera steady.
Additionally, make use of natural light sources like streetlights and the moon to add a touch of magic to your photos.
Happy shooting!
Are There Any Specific Settings I Should Use for Shooting in Low-Light Situations?
Are there any specific settings I should use for shooting in low-light situations?
Absolutely! When it comes to night photography techniques, having the right camera settings is crucial.
To capture stunning images in low-light conditions, I recommend using a wide aperture (like f/2.8 or lower) to let in more light, increasing the ISO for better sensitivity, and using a longer shutter speed to allow more light to enter the camera.
These settings will help you kickstart your night and low-light photography journey with incredible results.
What Are Some Creative Ways to Incorporate Light Trails Into My Long Exposure Photographs?
To incorporate light trails into your long exposure photographs, there are some creative techniques you can try.
First, you can use a tripod to keep your camera steady during the long exposure.
Then, find a busy street or highway where cars will create light trails as they pass by.
Experiment with different shutter speeds to capture the trails in different ways.
Additionally, you can use camera accessories like LED lights or flashlights to create your own light trails and add a unique touch to your photos.
How Can I Improve the Composition of My Low-Light Photographs?
Improving the composition of low-light photographs requires mastering lighting techniques for dramatic effects. Experiment with different angles and positions to capture the best lighting conditions.
Additionally, using reflections can enhance the composition of your photos, adding depth and interest. Look for reflective surfaces like water, glass, or shiny objects to create unique compositions.
By incorporating these techniques, your low-light photographs will become visually striking and elevate your photography to the next level.
Get ready to capture breathtaking images in the dark!
Are There Any Specific Editing Techniques I Should Use to Enhance My Night Photographs?
When it comes to enhancing your night photographs, there are some specific editing techniques that can really make them shine.
Playing around with contrast and exposure can help bring out the details in the darker areas, while adjusting the white balance can give your photos a more natural look.
Don't be afraid to experiment with different filters and presets to add a unique touch to your low light photos.
Conclusion
As the sun sets and darkness descends, the world transforms into a canvas of mystery and beauty. With the right equipment, knowledge of exposure and ISO, and mastering long exposure techniques, you can capture stunning low-light photographs.
Remember, composition and framing play a crucial role in telling a captivating story through your images. And don't forget the magic of editing and post-processing to truly bring your night photography to life.
So grab your camera, step into the night, and let your creativity shine like a shooting star.