Please note this post may contain affiliate links picked by me (Jay) that I have deemed may be of interest or relevant to you the reader of this.
These links do not affect the cost of the thing if you decide to purchase but i may get a little money if you choose to purchase.
For more information on my affiliate link policy click here.
Night photography, the captivating convergence of darkness and light, has long held a mesmerizing allure for photographers. As the sun sets and the world transforms into a wonderland of shadows and shimmering stars, the opportunity to capture breathtaking images presents itself.
But how does one navigate the intricate dance of exposure and composition in the absence of daylight? Fear not, for I have embarked on a quest to unlock the secrets of night photography, armed with expert tips and techniques that are sure to elevate your skills to new heights.
So, prepare to embark on a nocturnal journey where creativity and technical prowess converge, revealing the hidden beauty that awaits in the depths of the night.
Key Takeaways
- Adjust ISO and aperture settings to allow more light into the camera sensor and avoid noise in night photography
- Experiment with long exposure techniques to capture unique light painting effects and movement
- Choose the right gear, including full-frame DSLRs or mirrorless cameras with good low-light performance and wide-angle lenses with a wide maximum aperture
- Utilize available light sources and experiment with different angles and positions to achieve desired lighting effects in night photography
Essential Camera Settings for Night Photography
When it comes to capturing stunning night photographs, mastering the essential camera settings is crucial. As an avid night photographer, I understand the importance of getting those settings just right to achieve breathtaking results. To help you enhance your night photography skills, I'll share with you some of the essential camera settings that can make a world of difference in your images.
First and foremost, adjusting your ISO is key. In low light conditions, you'll want to increase your ISO to allow more light into your camera sensor. However, be cautious not to set it too high, as this can introduce unwanted noise into your images. Experiment with different ISO settings to find the perfect balance between capturing enough light and maintaining image quality.
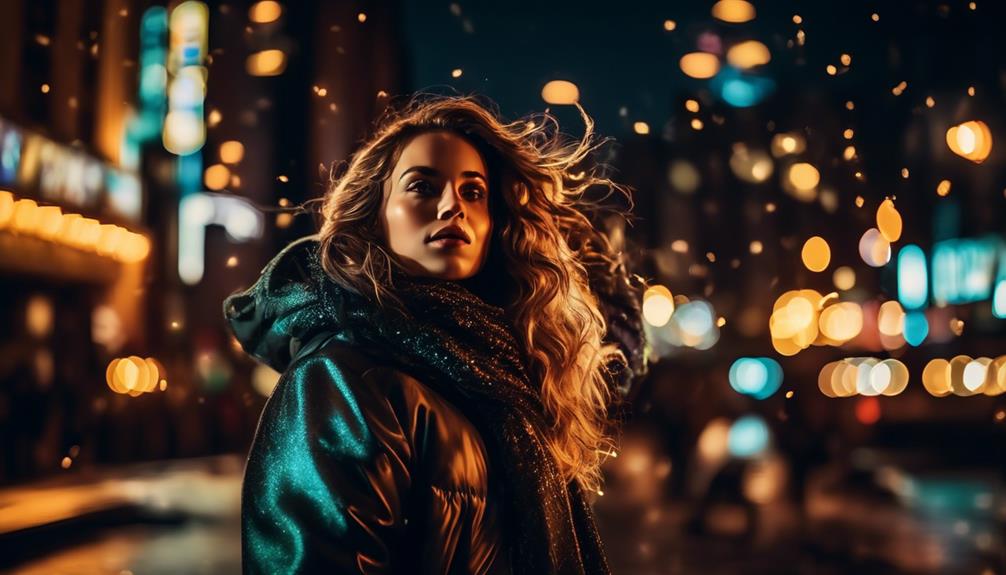
Next, let's talk about aperture. Shooting at a wide aperture, such as f/2.8 or lower, will let in more light and create a shallow depth of field, which can add a beautiful bokeh effect to your night shots. Keep in mind that shooting at wide apertures may result in a softer focus, so manual focusing or using autofocus with careful attention is crucial.
Lastly, shutter speed plays a vital role in night photography. To capture sharp images without any motion blur, it's generally recommended to use a tripod and opt for longer shutter speeds. This allows for more light to be captured, resulting in well-exposed images. However, if you're trying to capture light trails or create intentional motion blur, experimenting with slower shutter speeds can yield fantastic results.
Mastering Long Exposure Techniques
Mastering long exposure techniques is the key to capturing mesmerizing and dynamic night photographs that will leave viewers in awe. Night photography offers a whole new world of creative possibilities, and with the right techniques, you can transform ordinary scenes into extraordinary works of art. Here are four tips to help you master long exposure techniques and take your night photography to the next level:
- Creative light painting techniques:
Light painting is a technique where you use a handheld light source to paint or draw in the air while the camera's shutter is open. This allows you to add unique and captivating elements to your photographs. Experiment with different light sources, such as flashlights or LED panels, and let your creativity flow.
- Using filters for unique long exposure effects:
Filters are essential tools for long exposure photography. Neutral density (ND) filters can help you achieve longer exposures by reducing the amount of light entering the camera. This is particularly useful when photographing in bright conditions or during the day. Additionally, using a polarizing filter can enhance colors and reduce reflections, adding a touch of magic to your long exposure shots.
- Planning your compositions:
Long exposures require careful planning and composition. Take the time to scout your location during the day and visualize the potential shots. Look for interesting subjects, leading lines, and captivating foregrounds that will add depth and interest to your photographs.
- Experiment with different exposure times:
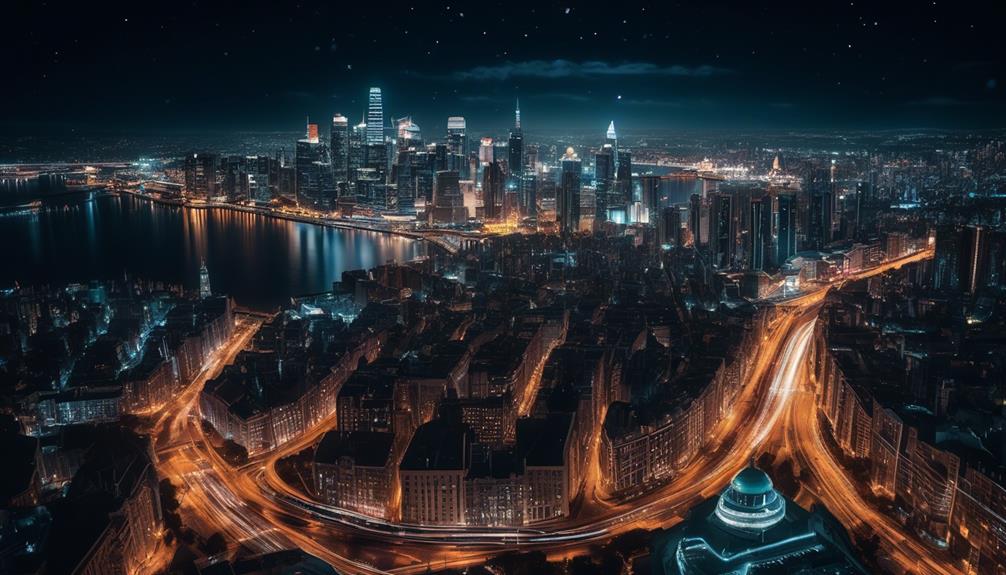
Long exposure photography allows you to play with time and capture movement in unique ways. Experiment with different exposure times, ranging from a few seconds to several minutes, to achieve different effects. For example, a short exposure can capture the movement of stars in the night sky, while a longer exposure can create dreamy light trails from moving cars or waves crashing on the shore.
Selecting the Right Gear for Night Photography
Now that we have explored the art of mastering long exposure techniques in night photography, let's dive into the crucial aspect of selecting the right gear to elevate your nocturnal captures to new heights. The right gear can make all the difference in capturing stunning night photos that truly stand out. As an avid night photographer, I have experimented with various gear options and can provide you with valuable insights to help you make the best choices.
When it comes to night photography, there are three key gear components to consider: the camera body, the lens, and the tripod. Each of these elements plays a vital role in capturing sharp, well-exposed images in low light conditions. Let's take a closer look at each one:
| Gear Component | Importance | Recommendations |
|---|---|---|
| Camera Body | High | Full-frame DSLRs or mirrorless cameras with good low-light performance and high ISO capabilities. |
| Lens | Medium | Wide-angle lenses with a wide maximum aperture (f/2.8 or lower) for capturing more light and creating depth in your compositions. |
| Tripod | High | Sturdy tripods are essential for keeping your camera stable during long exposures, preventing blur and ensuring sharpness. Look for lightweight yet sturdy options for easy portability. |
Understanding and Utilizing Available Light
Understanding and harnessing the power of available light is an essential skill that can take your night photography to the next level. As a photographer, I've learned that capturing stunning images in low light conditions requires a deep understanding of how light behaves and how to make the most of it. Here are four tips to help you master the art of utilizing available light in your night photography:
- Embrace the Darkness: Don't be afraid of shooting in low light conditions. Instead, see it as an opportunity to create dramatic and moody images. Experiment with different exposures and settings to capture the essence of the scene while maintaining the integrity of the shadows.
- Find the Sweet Spot: Look for areas where the available light is the strongest. This could be a street lamp, a lit window, or even the moon. By positioning your subject in this sweet spot, you can create a beautifully lit image while still incorporating creative use of shadows.
- Use Reflectors and Diffusers: In situations where the available light isn't sufficient, you can enhance it by using reflectors or diffusers. Reflectors bounce light onto your subject, while diffusers soften and spread the light, creating a more even and natural look. Experiment with different angles and positions to achieve the desired effect.
- Experiment with Light Sources: Don't limit yourself to traditional sources of light. Get creative and explore unconventional light sources such as car headlights, street signs, or even smartphones. These sources can add a unique and captivating element to your photographs, allowing you to tell a compelling visual story.
Techniques for Capturing Starry Nightscapes
As a photographer who's embraced the darkness and harnessed the power of available light, I've discovered an equally captivating realm to explore in the world of night photography: the art of capturing starry nightscapes. Shooting under the night sky presents unique challenges and opportunities for photographers. To truly capture the beauty of the starry night, it's essential to understand the techniques and tools that can help you overcome these challenges.
One of the biggest challenges when shooting starry nightscapes is the lack of light. This requires longer exposures, often leading to noise in the final image. To combat this, I recommend using a low ISO setting to minimize noise, and a wide aperture to allow as much light as possible into the camera. Additionally, using a tripod to stabilize the camera is crucial for capturing the fine details of the stars.
Another technique that can greatly enhance your starry nightscapes is post-processing. With the right post-processing tips, you can bring out the details of the stars and create a more visually appealing image. One useful technique is to increase the contrast and clarity of the stars, which helps to make them stand out against the dark background. Additionally, adjusting the white balance can help to bring out the natural colors of the night sky.
Shooting in challenging conditions, such as in areas with light pollution or during adverse weather, can also add a unique element to your starry nightscapes. To minimize the impact of light pollution, try shooting in remote locations away from city lights. Likewise, shooting during different weather conditions, such as during a storm or with fog, can create dramatic and atmospheric images.
Frequently Asked Questions
How Can I Reduce Noise in My Night Photographs?
To reduce noise in your night photographs, I suggest adjusting your night photography camera settings.
Use a lower ISO setting to minimize digital noise and select a wider aperture to allow more light into the camera.
Additionally, try using long exposure for night photography. By keeping the shutter open for a longer period, you can capture more light and reduce noise.
Experiment with different settings to find what works best for your desired effect.
What Is Light Painting and How Can I Incorporate It Into My Night Photography?
Light painting is a technique that can add a touch of magic to your night photography. By using various light painting tools, such as flashlights or LED sticks, you can create stunning and surreal effects in your images.
This technique allows you to 'paint' with light, illuminating specific areas or objects in your frame. It's a creative way to enhance the visual appeal of your night photographs and add a unique and innovative touch to your work.
Are There Any Specific Post-Processing Techniques I Should Use for Night Photography?
I have learned some amazing post-processing techniques for night photography that have really elevated my images.
By using specific software and filters, I'm able to enhance the details and colors in my photos, creating stunning and dramatic effects.
These techniques have allowed me to take my night photography to the next level and truly capture the beauty of the night.
It's incredible how a few simple adjustments can make such a big difference in the final result.
What Are the Best Locations for Capturing Starry Nightscapes?
Finding the perfect locations for capturing starry nightscapes is crucial in night photography.
To begin, understanding the ideal camera settings is essential. Using a wide aperture, high ISO, and long exposure will help capture the details of the night sky.
Additionally, finding the perfect composition is key. Look for interesting foreground elements such as trees, mountains, or buildings to create depth and interest in your images.
Experimentation and creativity are key in capturing breathtaking nightscapes.
How Can I Achieve Sharp Focus in My Night Photographs?
To achieve sharp focus in my night photographs, I've learned two key techniques:
- Long exposure: By utilizing long exposure, I'm able to capture the intricate details of the night sky and bring out the stars in all their glory.
- Manual focus: Manual focus allows me to precisely adjust the focus point, ensuring every element in my image is crisp and clear.
These techniques have truly revolutionized my night photography, taking it to a whole new level of brilliance.
Conclusion
In the captivating realm of night photography, mastering the art of capturing starry nightscapes requires a combination of essential camera settings, long exposure techniques, and the right gear.
By understanding and utilizing available light, photographers can create breathtaking images that transport viewers to a mesmerizing nocturnal world.
So, immerse yourself in the wonders of the night sky and let your creativity soar as you enhance your night photography skills and unlock a universe of possibilities.


