Please note this post may contain affiliate links picked by me (Jay) that I have deemed may be of interest or relevant to you the reader of this.
These links do not affect the cost of the thing if you decide to purchase but i may get a little money if you choose to purchase.
For more information on my affiliate link policy click here.
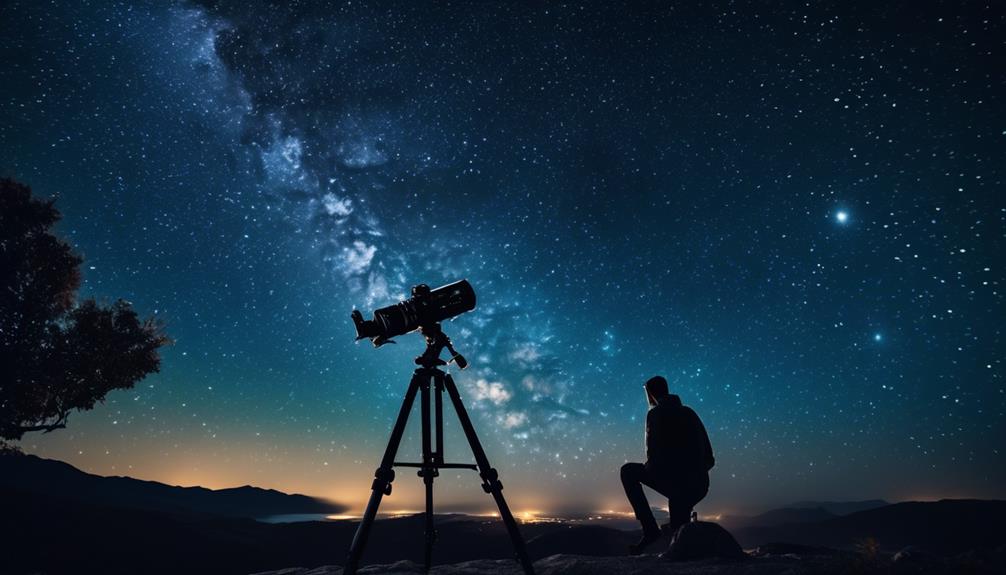
So there I was, standing under the vast night sky, camera in hand, ready to capture the beauty of the cosmos.
As a newbie to astrophotography, I quickly realized that it takes more than just pointing and shooting to capture those stunning celestial moments. Luckily, I've discovered seven essential tips that have transformed my astrophotography game.
From choosing the right equipment to mastering long exposure techniques, these tips have helped me unlock the secrets of capturing the stars in all their glory.
But that's not all—there's still so much more to learn and explore in the world of astrophotography. Join me on this journey as we uncover the key to mastering astrophotography and take our skills to new heights.
Key Takeaways
- Prioritize essential equipment and gear, such as a good quality camera with manual controls and the ability to attach different lenses, and invest in a sturdy tripod for long-exposure shots.
- Understand the importance of proper ISO settings, balancing aperture and shutter speed, and experimenting with exposure settings to capture sharp and detailed astrophotography images.
- Research and plan for locations with minimal light pollution, use light pollution filters or post-processing techniques to minimize unwanted effects, and make use of smartphone apps for real-time information on celestial events and light pollution levels.
- Employ techniques such as using a remote shutter release or built-in timer, experimenting with exposure times, using a wide-angle lens with a low aperture, and post-processing techniques like aligning and stacking images and adjusting contrast, brightness, and saturation for enhanced astrophotography results.
Choosing the Right Equipment
When it comes to venturing into astrophotography, choosing the right equipment is crucial for capturing stunning celestial images. As a newbie in this exciting field, I understand the importance of making an informed equipment purchase. However, budget constraints can often pose a challenge. But fear not! There are plenty of options available that cater to both your passion for astrophotography and your wallet.
To begin with, it's essential to prioritize the essentials. Focus on acquiring a good quality camera with manual controls and the ability to attach different lenses. This will allow you to experiment with various focal lengths and capture different aspects of the night sky. Additionally, investing in a sturdy tripod is crucial for capturing long-exposure shots without any blurring.
Now, let's address the elephant in the room: budget constraints. Astrophotography can be an expensive hobby, but there are ways to make it more affordable. Consider purchasing used equipment from reputable sellers or exploring entry-level options from reputable brands. These alternatives can provide excellent results while being easier on your pocket.
Understanding Exposure Settings
Understanding exposure settings is a fundamental aspect of astrophotography that will allow you to capture breathtaking images of the night sky. When it comes to astrophotography, getting the exposure right is crucial in order to capture the beauty of the stars and galaxies. Here are three important things to keep in mind when setting your exposure:
- Importance of proper ISO settings: ISO determines the sensitivity of your camera's sensor to light. For astrophotography, it's recommended to use a high ISO setting to capture the faint light of the stars. However, be cautious not to set it too high, as it can introduce noise into your images.
- Balancing aperture and shutter speed: Aperture controls the amount of light that enters your camera, while shutter speed determines how long the sensor is exposed to that light. To capture sharp and detailed images of the night sky, it's important to find the right balance between a wide aperture and a longer shutter speed.
- Experiment and adjust: Every astrophotography session is unique, so it's important to experiment with different exposure settings to find what works best for your specific conditions. Don't be afraid to make adjustments and try different combinations of ISO, aperture, and shutter speed until you achieve the desired results.
Mastering Long Exposure Techniques
Now that we've got a solid understanding of exposure settings, let's dive into the exciting world of mastering long exposure techniques in astrophotography. Long exposure photography allows us to capture stunning nighttime landscapes and reveal the beauty of the cosmos in ways that the naked eye can't perceive. It's a technique that requires patience, precision, and a touch of creativity.
One of the challenges we face when photographing the night sky is light pollution. It can hinder our ability to capture clear and detailed images of the stars. However, with the right techniques, we can mitigate the effects of light pollution and create breathtaking astrophotography.
To start, finding a location away from city lights is crucial. Look for areas with minimal light pollution, such as national parks or remote countryside. Additionally, using light pollution filters or post-processing techniques can help minimize the unwanted effects of artificial lighting.
When it comes to long exposure, it's essential to have a sturdy tripod to keep your camera stable. This is especially important when shooting in low light conditions where longer exposures are necessary. Using a remote shutter release or the camera's built-in timer can also prevent any camera shake during the exposure.
Experimenting with different exposure times is key to achieving the desired effect in your astrophotography. Longer exposure times, typically ranging from 15 to 30 seconds or more, allow more light to be captured, resulting in brighter and more detailed images of the night sky.
Mastering long exposure techniques in astrophotography opens up a world of possibilities for capturing the beauty of the cosmos. With a little practice and experimentation, you can create stunning images of nighttime landscapes while mitigating the effects of light pollution. So grab your camera, find a dark sky location, and let your creativity soar among the stars.
Finding the Perfect Location
To capture breathtaking astrophotography, the first step is to find the perfect location away from the glare of city lights. Here are three essential tips to help you discover the best spots for your nighttime photography adventures:
- Seek out astrophotography workshops: Attending workshops dedicated to astrophotography can provide you with valuable insights and guidance on finding the perfect location. These workshops often take place in areas known for their exceptional nighttime photography opportunities, giving you the chance to learn from experienced photographers and explore stunning locations.
- Research nighttime photography locations: Take the time to research and identify specific areas that are renowned for their dark skies and clear views of the stars. Look for places with minimal light pollution and open horizons. National parks, remote rural areas, and coastal regions are often excellent choices for astrophotography.
- Make use of smartphone apps: Innovative smartphone apps can be incredibly helpful in finding ideal astrophotography locations. Apps like Dark Sky Finder and Star Walk can provide real-time information on light pollution levels, celestial events, and the best times to photograph the night sky.
Capturing Star Trails
For capturing mesmerizing star trails in your astrophotography, there's a simple yet captivating technique that will bring the night sky to life. Star trail photography techniques allow you to capture the movement of the stars as they trace beautiful arcs across the celestial canvas. It's a breathtaking way to showcase the Earth's rotation and the vastness of the universe.
To capture stunning star trails, you'll need a few essential tools. First, a sturdy tripod is crucial to keep your camera steady during long exposure shots. Next, choose a wide-angle lens with a low aperture to capture as much of the night sky as possible. Set your camera to manual mode and select a longer shutter speed, typically ranging from 30 seconds to several minutes.
Once you've captured your star trail images, the post-processing phase is where the magic truly happens. Start by importing your images into photo editing software, such as Adobe Photoshop or Lightroom. Align the images to ensure the stars are in the same position across all frames. Then, stack the images to create a composite that highlights the star trails. Adjust the contrast, brightness, and saturation to enhance the overall look.
With the right star trail photography techniques and post-processing tips, you can create awe-inspiring images that showcase the beauty of the night sky. So grab your camera, head out under the stars, and let your creativity soar. The universe is waiting to be captured through your lens.
Enhancing Your Images With Editing
Enhance the beauty and impact of your star trail images with these editing techniques that will bring out the true essence of the night sky.
- Color correction techniques: Adjusting the color balance of your astrophotography images can make a significant difference in the final result. By fine-tuning the colors, you can create a more accurate representation of the night sky. Experiment with different color temperature settings to achieve the desired effect. Don't be afraid to play around with saturation levels to bring out the richness of the stars and the celestial objects.
- Noise reduction methods: Noise can be a common issue when capturing long exposures of the night sky. To reduce noise in your astrophotography images, consider using noise reduction software or techniques. One effective method is to take multiple exposures and stack them together, which helps to smooth out any noise present in the individual frames. Another approach is to use noise reduction filters in post-processing software, which can selectively reduce noise while preserving important details.
- Selective adjustments: To enhance specific areas of your star trail images, consider making selective adjustments. Use tools like masks and brushes to target certain parts of the image for adjustments in brightness, contrast, or sharpness. This allows you to bring out the details in the stars, galaxies, or other celestial objects, making them stand out more prominently against the night sky.
Editing your astrophotography images is an essential step in bringing out the true beauty and magic of the night sky. By employing color correction techniques, noise reduction methods, and selective adjustments, you can transform your star trail images into captivating works of art that showcase the wonders of the universe.
Tips for Photographing the Milky Way
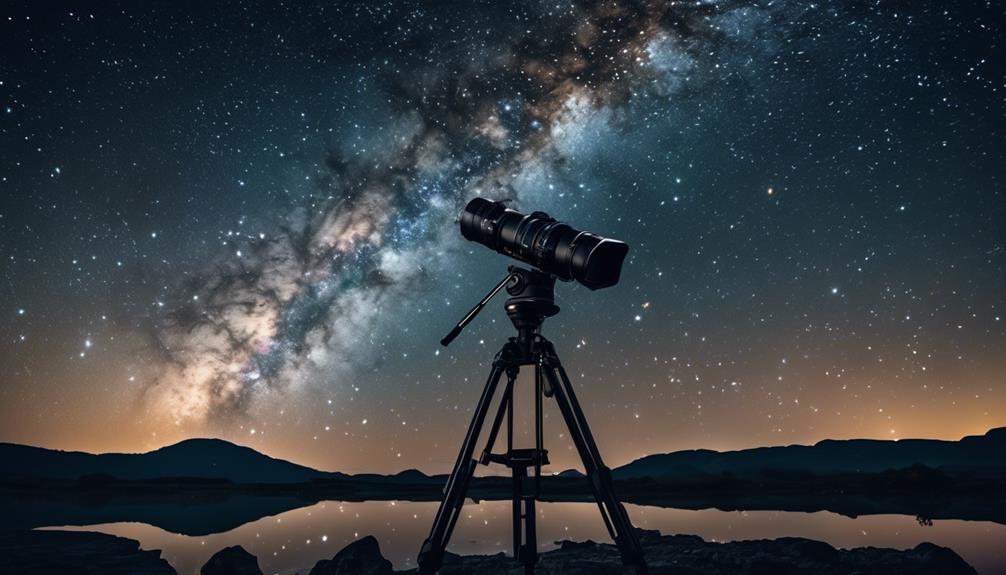
Now let's delve into the exciting realm of capturing the mesmerizing beauty of the Milky Way through astrophotography. When it comes to photographing the Milky Way, nighttime photography and astrophotography techniques play a crucial role in achieving stunning results. Here are some essential tips to help you capture the magic of our galaxy.
Firstly, finding a location with minimal light pollution is key. The darker the sky, the more vibrant the Milky Way will appear in your photographs. Use apps or websites to locate areas with low light pollution.
Next, timing is everything. Plan your shoot during a new moon or when the moon is below the horizon to avoid excessive light interference. Additionally, check for weather conditions to ensure clear skies.
To capture the Milky Way's intricate details, use a wide-angle lens with a low aperture, such as f/2.8 or lower. This will allow more light to enter the camera and create sharp, detailed images.
The use of a sturdy tripod is essential for long exposure shots. It will help eliminate camera shake and ensure your images are crisp and clear.
Experiment with different exposure settings to find the perfect balance between capturing the Milky Way's details and avoiding overexposure. Start with a shutter speed of around 20-30 seconds and adjust accordingly.
Lastly, don't forget to incorporate interesting foreground elements to add depth and context to your Milky Way photographs. This could be a tree, a mountain, or any other striking feature that complements the night sky.
Frequently Asked Questions
How Can I Avoid Light Pollution When Photographing the Night Sky?
To avoid light pollution when photographing the night sky, I've discovered a few tricks.
First, I research and find dark sky locations away from city lights.
Then, I use light pollution filters on my camera lens to block unwanted artificial light.
Additionally, I adjust my camera settings to longer exposure times, allowing more light from the stars to be captured.
What Are the Best Post-Processing Techniques for Reducing Noise in Astrophotography Images?
Reducing noise in astrophotography images is like using a magic wand to banish imperfections. With denoising algorithms and long exposure stacking, you can turn grainy skies into smooth canvases of stars.
These techniques work their digital wizardry by analyzing and combining multiple images, effectively canceling out noise and revealing the true beauty of the cosmos.
So, wave your editing wand and watch as your astrophotography images transform into masterpieces that rival the heavens themselves.
It's innovation at its finest!
Are There Any Specific Camera Accessories That Can Enhance Astrophotography Results?
Camera accessories play a crucial role in enhancing astrophotography results. Filters like light pollution filters can help reduce unwanted light and enhance the visibility of celestial objects.
Tripods provide stability, minimizing camera shake for sharper images. A remote shutter release allows for hands-free operation, reducing the risk of blurring the image.
Tracking mounts enable capturing long-exposure shots of stars and galaxies, resulting in stunning details.
These accessories are essential for taking your astrophotography to the next level and capturing the wonders of the universe with precision and clarity.
How Can I Accurately Focus on Stars and Other Celestial Objects in My Photographs?
Focusing on stars and other celestial objects in your photographs can be a challenge, but with the right techniques, it becomes easier.
The night sky photography presents unique challenges, but there are ways to accurately focus on the stars. By using manual focus, zooming in on a bright star, and using the live view mode, you can ensure crisp and clear images of the night sky.
These star focusing techniques will take your astrophotography to new heights!
What Are Some Recommended Resources or Websites for Learning More About Astrophotography Techniques and Equipment?
Looking for recommended resources to enhance your astrophotography skills? Look no further!
I highly recommend checking out some top-notch astrophotography books and diving into the vast knowledge they offer.
Additionally, joining astrophotography forums and communities is a fantastic way to connect with fellow enthusiasts and gain valuable insights and tips.
These resources will propel your astrophotography journey to new heights, helping you capture breathtaking images of the cosmos.
Get ready to unlock your full potential in the world of astrophotography!
Conclusion
After reading these essential tips for astrophotography, you'll feel like a shooting star in the night sky.
Armed with the right equipment, knowledge of exposure settings, and mastery of long exposure techniques, you'll capture breathtaking images of the universe.
Whether you're chasing star trails or photographing the mesmerizing Milky Way, don't forget to enhance your images with editing.
Remember, the cosmos is your canvas, so let your creativity shine and ignite your passion for astrophotography!


