Please note this post may contain affiliate links picked by me (Jay) that I have deemed may be of interest or relevant to you the reader of this.
These links do not affect the cost of the thing if you decide to purchase but i may get a little money if you choose to purchase.
For more information on my affiliate link policy click here.
As a budding astrophotographer, you may be surprised to learn that capturing mesmerizing images of the night sky is not as daunting as it may seem. With the right tips and techniques, you can embark on a journey that unveils the wonders of the universe through your camera lens.
From choosing the perfect equipment to mastering long exposures and finding the ideal dark sky locations, there is a wealth of knowledge waiting to be discovered.
So, if you're ready to unlock the secrets of astrophotography and take your space photography to new heights, join me on this captivating adventure.
Key Takeaways
- Invest in the right equipment: Wide-angle lenses and fast lenses with low aperture are crucial for capturing expansive views of the night sky and faint light of distant galaxies and nebulae. Sturdy and lightweight tripods with center column hooks will help eliminate camera shake and ensure sharper images.
- Experiment with camera settings: Adjust exposure settings, ISO values, and use the bracketing technique to find the right balance and achieve desired effects in different lighting conditions.
- Minimize camera shake: Use remote shutter releases, the self-timer/mirror lock-up feature, stable surfaces, or tripods to reduce camera shake and capture sharper images.
- Find ideal locations: Look for areas with minimal light pollution, use light pollution maps or smartphone apps to identify dark sky locations, consider traveling to remote areas with less light pollution, and check weather forecasts for clear skies.
Choosing the Right Equipment
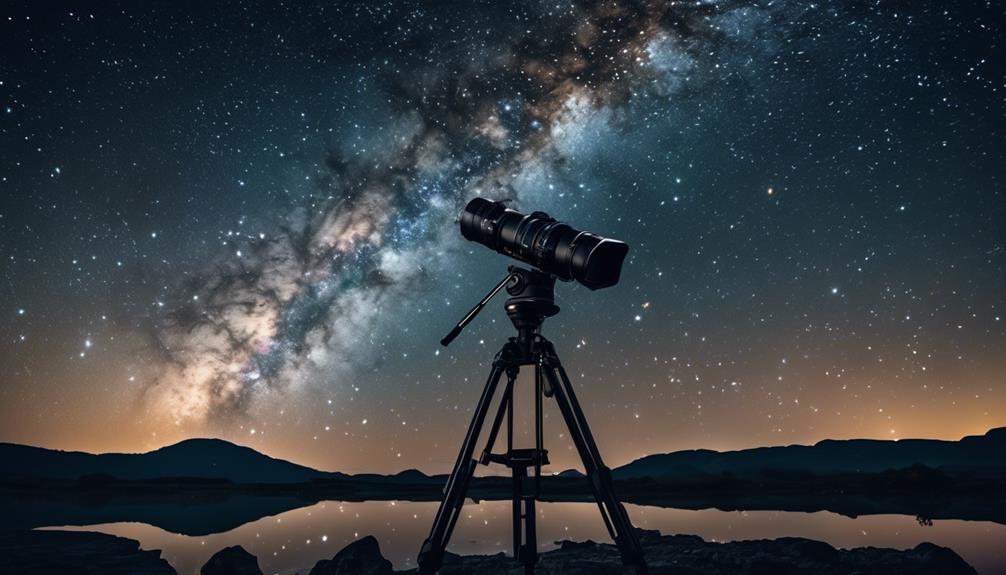
When it comes to astrophotography and space photography, choosing the right equipment is crucial for capturing stunning images of the cosmos. To achieve the best results, it's important to have the right camera lenses and tripod options.
Camera lenses play a vital role in astrophotography. Wide-angle lenses, such as those with focal lengths between 14mm and 24mm, are great for capturing expansive views of the night sky. They allow you to capture more of the stars and the Milky Way, creating truly breathtaking images. Additionally, a fast lens with a low aperture, such as f/2.8 or lower, is ideal for capturing the faint light of distant galaxies and nebulae.
In terms of tripod options, stability is key. A sturdy tripod will eliminate any camera shake, resulting in sharper images. Look for a tripod that's lightweight yet durable, making it easy to transport to different locations. It should also have a ball head for smooth and precise adjustments. For astrophotography, consider a tripod with a center column hook, allowing you to add weight to improve stability in windy conditions.
Choosing the right equipment is essential for capturing stunning images of the cosmos. With the right camera lenses and tripod options, you'll be well on your way to creating awe-inspiring astrophotography masterpieces.
Understanding Camera Settings
Understanding camera settings is essential for capturing stunning astrophotography and space photography. To achieve the best results, it's important to have a grasp of exposure and how to adjust ISO settings. Here are three key points to consider:
- Understanding exposure:
Exposure refers to the amount of light that enters the camera sensor. It determines the brightness and darkness of your images. Experiment with different exposure settings to find the right balance for capturing the beauty of the night sky. Keep in mind that longer exposure times can result in star trails, while shorter exposures can freeze the motion of celestial objects.
- Adjusting ISO:
ISO measures the sensitivity of your camera sensor to light. Higher ISO values allow for better performance in low-light conditions but can introduce more noise in your images. Start with a lower ISO setting and gradually increase it until you achieve the desired level of brightness without sacrificing too much image quality.
- Bracketing:
Bracketing involves taking multiple shots of the same scene at different exposure settings. This technique ensures that you capture a range of exposures, from underexposed to overexposed, giving you more flexibility in post-processing to create stunning astrophotography shots.
Mastering Long Exposures
To capture breathtaking astrophotography and space photography, mastering long exposures is key. Nighttime landscape photography often requires longer exposure times to capture the beauty of the night sky and the surrounding environment. By using long exposures, you can capture the faint details of stars, galaxies, and other celestial objects that aren't visible to the naked eye.
One of the essential tools for mastering long exposures is a remote shutter release. This device allows you to trigger the camera without touching it, reducing the risk of camera shake and ensuring sharp images. With a remote shutter release, you can set longer exposure times without worrying about introducing unwanted vibrations or blurriness to your photos.
When setting up for a long exposure, it's crucial to find a stable surface or tripod to mount your camera on. This will help minimize any movement and vibrations that can affect the sharpness of your images. Additionally, using the camera's self-timer or mirror lock-up feature can further reduce camera shake caused by pressing the shutter button.
Experimenting with different exposure times is also essential in mastering long exposures. Start with shorter exposure times and gradually increase them until you achieve the desired effect. Remember that longer exposure times can result in more light entering the camera, so you may need to adjust other settings like ISO and aperture accordingly to maintain proper exposure.
Mastering long exposures takes practice and patience, but the results can be truly rewarding. With the right techniques and equipment, you can capture stunning nighttime landscape photography and create images that showcase the beauty of the cosmos. So grab your camera, set up your remote shutter release, and let your creativity shine in the vastness of the night sky.
Finding Dark Sky Locations
If you're eager to capture stunning astrophotography and space photography, one of the first steps is finding dark sky locations. These are places far away from cities and light pollution, where the night sky shines brightly and you can capture the wonders of the universe.
Here are three key things to consider when searching for these ideal spots:
- Light Pollution Reduction: Look for areas with minimal light pollution. This can be determined by checking light pollution maps or using smartphone apps specifically designed to identify dark sky locations. By finding areas with low light pollution, you'll have a better chance of capturing clear and vibrant images of the night sky.
- Benefits of Remote Locations: Consider traveling to more remote locations. These areas tend to have less light pollution and offer stunning views of the night sky. Remote locations also provide an opportunity for unique compositions and perspectives that may not be possible in more populated areas.
- Weather Conditions: Keep an eye on weather forecasts. Clear skies are essential for astrophotography, so choose nights with little to no cloud cover. Research the climate of potential dark sky locations and plan your trips accordingly.
Planning for Celestial Events
When planning for celestial events, it's important to stay informed and prepared to capture the awe-inspiring moments that unfold in the night sky. Predicting celestial events is an essential step in ensuring that you don't miss out on any extraordinary occurrences.
By staying up to date with astronomical calendars, you can anticipate events such as meteor showers, lunar eclipses, and planetary alignments. These calendars provide valuable information about the dates, times, and locations where these events will be visible.
Creating a star chart is another vital aspect of planning for celestial events. Star charts are maps of the night sky that help you identify and locate specific celestial objects. They're especially useful for finding constellations, stars, and planets, which can serve as focal points for your astrophotography.
There are various tools and apps available that can generate star charts based on your location and time of observation. By using these resources, you can accurately plan your photography sessions and ensure that you capture the celestial events you're interested in.
Learning Post-Processing Techniques
Learning post-processing techniques is an essential skill for astrophotographers and space photographers to enhance and bring out the full potential of their celestial images. Once you have captured breathtaking shots of the cosmos, it's time to take your images to the next level through post-processing.
Here are three key techniques that will help you transform your astrophotography masterpieces:
- Enhancing colors: Post-processing allows you to bring out the vibrant hues present in your celestial images. By adjusting the saturation and vibrancy levels, you can make the stars and galaxies pop against the dark backdrop of space. Experiment with different color balance settings to achieve the desired effect and create images that are visually stunning.
- Removing noise: When photographing the night sky, noise can creep into your images, resulting in grainy and less sharp pictures. In post-processing, you can utilize noise reduction tools to minimize the noise while preserving the intricate details of the stars. This will result in cleaner images with smoother backgrounds, allowing the celestial objects to shine brightly.
- Fine-tuning contrast and clarity: Adjusting the contrast and clarity of your astrophotography images can make a significant difference in the overall impact of your shots. By carefully manipulating these settings, you can bring out the subtle details in the nebulae, galaxies, and other celestial objects, making them more pronounced and captivating.
Mastering these post-processing techniques will enable you to showcase the true beauty of the cosmos and create images that stand out. So, don't be afraid to experiment, learn, and let your creativity soar as you bring your celestial images to life through post-processing.
Capturing Star Trails
To capture mesmerizing star trails, I immerse myself in the darkness of the night, allowing my camera to record the majestic movement of the celestial bodies across the sky. Nighttime landscape photography is a captivating genre that allows us to showcase the beauty of the night sky. But capturing star trails takes it to a whole new level. By using the technique of time-lapse astrophotography, we can create stunning images that showcase the mesmerizing motion of the stars.
To capture star trails, you need to set up your camera on a tripod and choose a location with minimal light pollution. A wide-angle lens will allow you to capture more of the sky. Set your camera to manual mode and adjust the settings for a long exposure. This will allow the stars to leave trails as they move across the sky.
Here is a simple table to help you understand the key settings for capturing star trails:
| Setting | Recommended Value |
|---|---|
| Aperture | f/2.8 or lower |
| Shutter Speed | 30 seconds or longer |
| ISO | 800 or lower |
Remember to experiment with different settings to achieve the desired effect. The longer the exposure, the longer and brighter the star trails will be. Don't be afraid to get creative and try different compositions and angles. With practice and patience, you'll be able to capture breathtaking star trails that will leave viewers in awe. So get out there and start capturing the wonders of the night sky!
Experimenting With Different Subjects
Experimenting with different subjects in astrophotography opens up a world of possibilities, allowing you to capture the beauty of the night sky in unique and captivating ways. While capturing star trails is a popular technique, there are other subjects you can explore to push the boundaries of your creativity.
Here are three exciting subjects you can experiment with:
- Nighttime Landscapes: Incorporating elements of the Earth's landscape into your astrophotography can create stunning and dramatic images. Find interesting foregrounds such as mountains, trees, or bodies of water to capture the juxtaposition between the earthly and celestial realms. Experiment with different angles and compositions to create visually striking photographs.
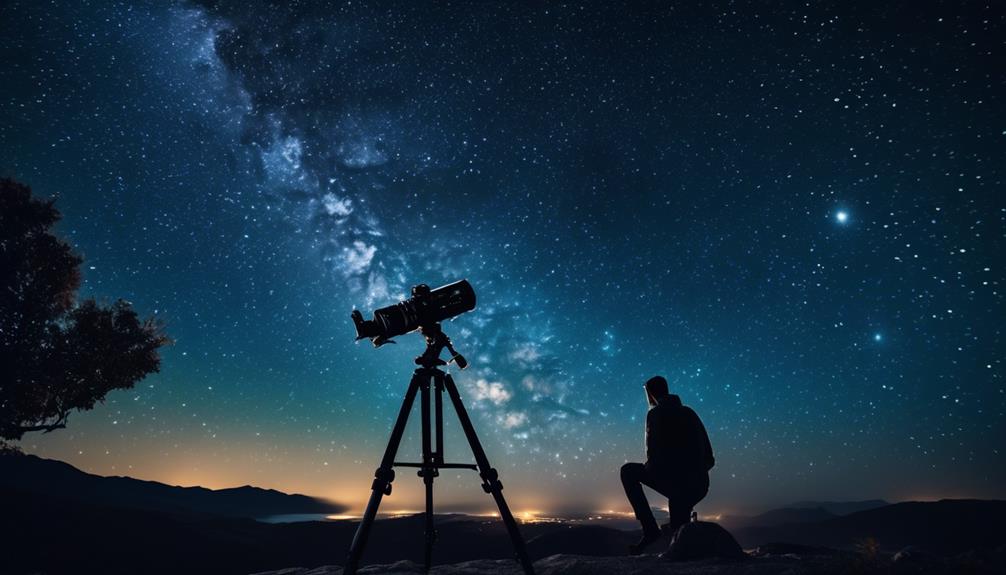
- Capturing the Milky Way: The Milky Way is a breathtaking subject that can add a sense of wonder and awe to your astrophotography. Plan your shoots in areas with minimal light pollution and on clear nights when the Milky Way is most visible. Use a wide-angle lens and longer exposures to capture the intricate details of our galaxy. Don't be afraid to experiment with different settings and techniques to achieve the desired effect.
- Light Painting: Incorporating light painting techniques into your astrophotography can result in unique and artistic images. Use a flashlight or a light source to illuminate specific areas of your composition during long exposures. This can create interesting visual effects and highlight certain elements of the scene, adding depth and dimension to your photographs.
Frequently Asked Questions
How Do I Protect My Camera From the Harsh Conditions of Astrophotography?
To protect my camera from the harsh conditions of astrophotography, I always make sure to use protective camera gear.
A sturdy camera bag with padding is essential, along with a UV filter to shield the lens.
It's also important to clean the camera and lens regularly to prevent dust and dirt from damaging the equipment.
As for camera settings, I recommend using a low ISO for less noise and a longer exposure time to capture the beauty of the night sky.
Are There Any Legal Restrictions or Permits Required for Astrophotography in Certain Areas?
Legal requirements and permits needed for astrophotography in certain areas can vary. It's important to research the specific rules and regulations of the location you plan to shoot in.
Some areas may require permits for commercial use or access to restricted areas. It's always a good idea to check with local authorities or park services to ensure you're in compliance with any legal restrictions.
Safety and respect for the environment should be top priorities when engaging in astrophotography.
Can I Capture Clear and Detailed Astrophotography Images With Just a Smartphone Camera?
Capturing clear and detailed astrophotography images with just a smartphone camera can be challenging. Smartphone cameras have limitations when it comes to capturing the vastness and intricacies of space. However, there are alternative equipment options available that can enhance your astrophotography experience.
Investing in a telescope with a smartphone adapter or a dedicated astrophotography camera can significantly improve your results. This allows you to attach your smartphone to the telescope, enabling it to capture images with the telescope's enhanced capabilities. Alternatively, a dedicated astrophotography camera is specifically designed for capturing images of celestial objects, providing better image quality and control.
How Can I Minimize Noise and Grain in My Astrophotography Images?
To minimize noise and grain in astrophotography images, it's important to use long exposure techniques. By increasing the exposure time, you allow more light to reach the sensor, resulting in a cleaner and clearer image.
Additionally, using a lower ISO setting can help reduce noise. Investing in a sturdy tripod and a remote shutter release can also eliminate camera shake, which can contribute to graininess.
With these techniques, you'll capture stunning astrophotography images with minimal noise and grain.
What Is the Best Software for Post-Processing Astrophotography Photos?
For post-processing your astrophotography photos, the best software I've found is undoubtedly the free options available. They offer a range of powerful tools and features that can enhance your images and bring out the details of the cosmos.
In terms of recommended settings, it's important to experiment and find what works best for your specific photos. Remember, post-processing is like adding the final touch of magic to your already incredible space captures.
Conclusion
In conclusion, astrophotography and space photography can be a captivating and rewarding hobby for beginners. By following these eight tips, you can enhance your skills and capture stunning images of the night sky.
Did you know that astrophotography has gained immense popularity in recent years? According to a survey, over 50% of amateur photographers have expressed interest in trying their hand at astrophotography.
So why not join this growing community and explore the wonders of the universe through your camera lens?


