Please note this post may contain affiliate links picked by me (Jay) that I have deemed may be of interest or relevant to you the reader of this.
These links do not affect the cost of the thing if you decide to purchase but i may get a little money if you choose to purchase.
For more information on my affiliate link policy click here.
I know what you're thinking: macro photography seems intimidating. The thought of getting up close and personal with tiny, intricate subjects can be overwhelming, especially for beginners.
But let me assure you, with the right techniques, equipment, and a little bit of practice, you'll be capturing stunning macro shots in no time.
In this guide, I'll walk you through the basics of macro photography, the essential tools you'll need, tips for composition and lighting, and even some post-processing techniques to make your macro images truly stand out.
So, if you're ready to uncover a whole new world of photography, join me on this journey and let's explore the fascinating realm of macro photography together.
Key Takeaways
- Macro photography allows for capturing hidden details of small subjects.
- There are various equipment options for macro photography, including macro lenses, extension tubes, and close-up filters.
- Achieving sharp focus is a challenge in macro photography, but using a tripod and remote shutter release can reduce camera shake.
- Lighting plays a crucial role in macro photography, and both natural and artificial lighting options can be used to create stunning macro shots.
Understanding Macro Photography Basics
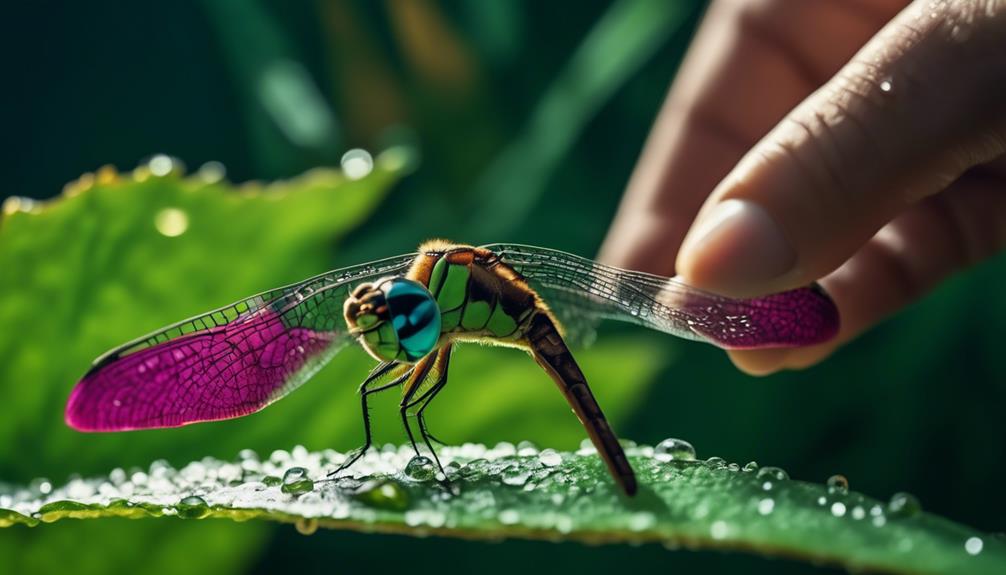
In my quest to capture the intricate details of the world around me, I've come to understand the importance of mastering the basics of macro photography.
Macro photography allows us to explore the hidden beauty of small subjects, revealing details that often go unnoticed.
To truly excel in this art form, it's crucial to understand the macro lens options available and the challenges that come with macro photography.
When it comes to macro lens options, there are several choices to consider. Dedicated macro lenses offer excellent image quality and are specifically designed for close-up photography. They provide a greater level of magnification, allowing you to capture the tiniest details with stunning clarity.
Extension tubes and close-up filters are more budget-friendly alternatives that can be used with existing lenses to achieve macro-like results. However, they may not offer the same level of image quality as dedicated macro lenses.
One of the main challenges in macro photography is achieving sharp focus. Due to the shallow depth of field inherent in macro shots, even the slightest movement can result in a blurry image. It's important to use a sturdy tripod and a remote shutter release to reduce camera shake. Additionally, focusing manually or using focus stacking techniques can help ensure that your subject is sharp from front to back.
Understanding the basics of macro photography, including the different macro lens options and the challenges they present, is crucial for capturing stunning close-up shots.
Essential Equipment for Macro Photography
To capture stunning close-up shots in macro photography, it is essential to have the right equipment at your disposal. When it comes to macro photography, two key pieces of equipment are macro lenses and accessories. Let's dive into the world of macro lens options and other essential accessories that will take your macro photography to the next level.
| Macro Lens Options | Macro Photography Accessories |
|---|---|
| 1. Prime lenses | 1. Tripod |
| 2. Zoom lenses | 2. Extension tubes |
| 3. Macro lenses | 3. Ring lights |
| 4. Lens reversing adapters | 4. Remote shutter release |
Macro lenses come in various focal lengths, ranging from 50mm to 200mm. Prime lenses offer superior image quality and are ideal for capturing intricate details. Zoom lenses provide versatility and allow you to adjust the focal length as needed. Dedicated macro lenses are designed specifically for macro photography and offer the highest magnification ratios. Consider your shooting style and budget when choosing a macro lens.
In addition to lenses, accessories play an important role in macro photography. A tripod is essential to keep your camera steady and prevent blurry images. Extension tubes can be attached between your camera body and lens to increase magnification. Ring lights provide even illumination and eliminate harsh shadows. Lastly, a remote shutter release allows you to capture images without touching the camera, minimizing any vibrations.
Investing in the right macro lens and accessories will unlock endless creative possibilities in your macro photography journey. So go ahead, explore the world of macro photography and capture stunning close-up shots like never before!
Mastering Macro Composition Techniques
Now that we've the essential equipment for macro photography, let's explore the art of mastering macro composition techniques to create captivating and visually striking images.
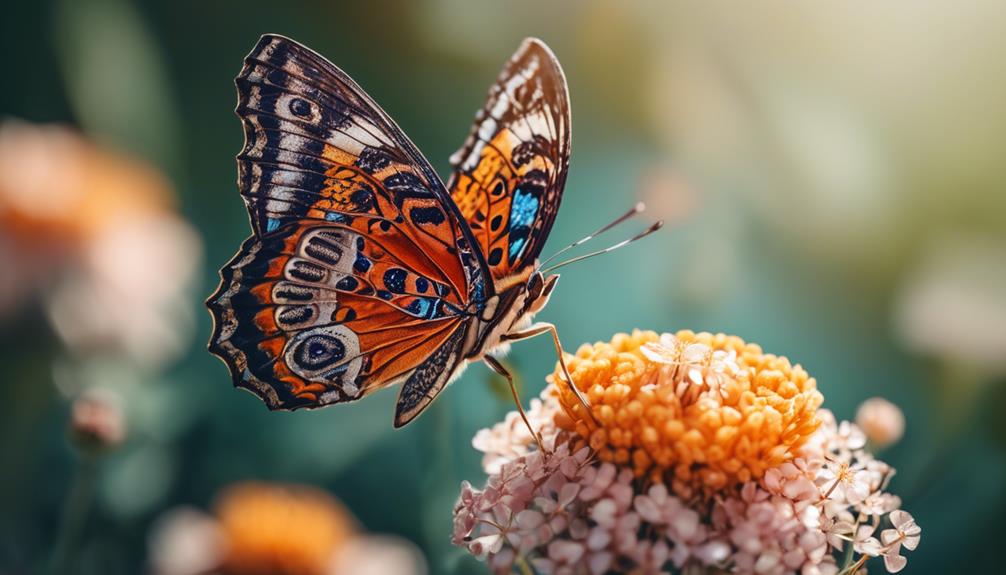
Macro photography allows us to capture intricate details and reveal hidden beauty in the small world around us. To make the most of this fascinating genre, here are two key techniques to consider:
- Framing Techniques:
- Rule of Thirds: Divide your frame into a grid of nine equal parts and position your subject along the lines or at the intersections to create a balanced and visually appealing composition.
- Negative Space: Leaving empty space around your subject can draw attention to the main focal point and add a sense of depth and simplicity to your image.
- Focus Stacking:
- Combine multiple images taken at different focus distances to achieve a greater depth of field and ensure sharpness throughout the entire subject. This technique is particularly useful when photographing small subjects with intricate details.
Lighting Tips for Stunning Macro Shots
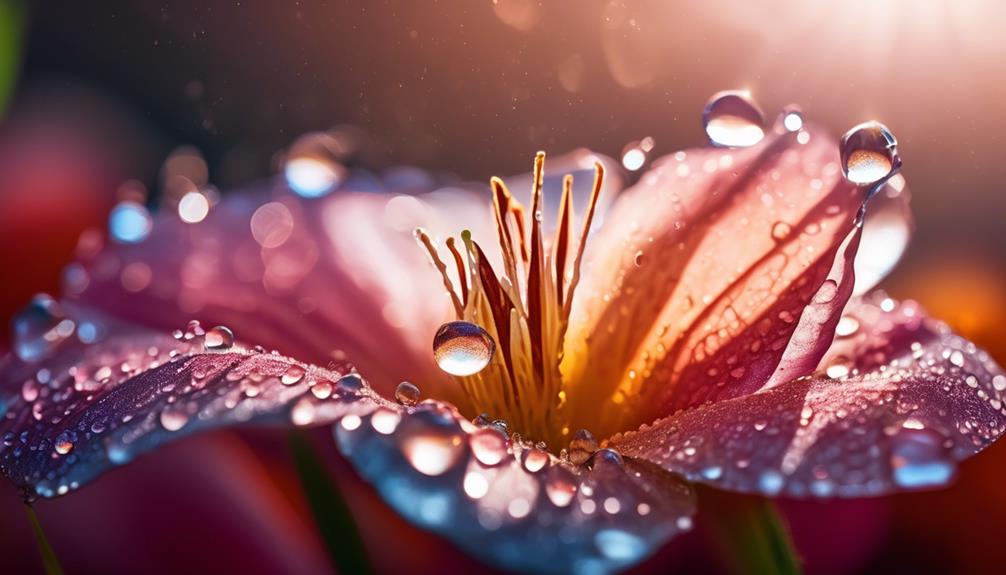
When it comes to capturing stunning macro shots, mastering the art of lighting is essential. Creative lighting techniques for macro photography can elevate your images from ordinary to extraordinary. One of the key decisions you need to make is whether to use natural lighting or artificial lighting for your macro shots.
Natural lighting can create beautiful and soft illumination, especially during the golden hours of sunrise and sunset. The warm, diffused light can add a magical touch to your subjects, highlighting their intricate details. However, natural lighting can be unpredictable, and you might've limited control over the intensity and direction of the light.
On the other hand, artificial lighting gives you complete control over the lighting conditions. You can use off-camera flash, LED lights, or even a ring light to illuminate your subjects. With artificial lighting, you can experiment with different angles and intensities to create dramatic effects and emphasize specific details. It allows you to get creative and add your personal touch to the images.
Ultimately, the choice between natural and artificial lighting depends on your artistic vision and the specific requirements of the subject. Don't be afraid to experiment with both and find the lighting technique that best suits your style.
Post-processing Techniques for Macro Images
After mastering the art of lighting in macro photography, it's time to enhance your stunning macro shots through the power of post-processing techniques. Post-processing is where you can take your images to the next level and truly make them stand out.
Here are two essential post-processing techniques that can make a big difference in your macro images:
- Enhancing sharpness in macro images:
- Use sharpening tools: Apply selective sharpening to bring out the fine details in your subject. Be careful not to over-sharpen, as it can create halos and artifacts.
- Adjust clarity and structure: Increase the clarity or structure sliders to enhance the overall sharpness of the image. This can help define the textures and details in your macro subject.
- Correcting color balance in macro photographs:
- White balance adjustment: Use the white balance tool to correct any color casts in your macro images. This will ensure that the colors in your subject appear accurate and natural.
- Color correction tools: Use selective color adjustments to fine-tune the color balance in specific areas of your macro image. This can help correct any unwanted color shifts or enhance certain colors for a more impactful result.
Frequently Asked Questions
What Are Some Common Challenges Faced While Shooting Macro Photography?
Common challenges faced while shooting macro photography include finding the right lighting techniques to capture intricate details and dealing with a shallow depth of field that can make focusing difficult.
However, these challenges can be overcome with creativity and experimentation. By using techniques like diffused lighting, reflectors, and focus stacking, you can enhance the quality of your macro shots and capture stunning images.
Don't be discouraged by these challenges, embrace them as opportunities for innovation and exploration in your photography journey.
How Do I Achieve a Greater Depth of Field in Macro Photography?
To achieve a greater depth of field in macro photography, I've discovered some fantastic techniques.
One of the most important factors is choosing the right aperture. By using a smaller aperture, like f/16 or f/22, you can ensure that more of your subject is in focus.
It's incredible how this simple adjustment can transform your macro shots, bringing every tiny detail to life.
Are There Any Specific Camera Settings That Are Recommended for Macro Photography?
Oh, camera settings, the magical key to unlocking the wonders of macro photography! Well, let me tell you, my friend, there are indeed some specific settings that can make your macro shots truly shine.
Firstly, you'll want to crank up that aperture to achieve a greater depth of field.
Then, play around with your ISO and shutter speed to find the perfect balance of light and sharpness.
Trust me, these settings will elevate your macro game to new heights!
What Are Some Creative Ways to Use Artificial Lighting in Macro Photography?
When it comes to macro photography, creative lighting techniques can really make your images stand out.
There are plenty of DIY macro lighting ideas that you can experiment with to add some unique and artistic effects to your shots.
From using LED lights and diffusers to creating your own lightbox, the possibilities are endless.
How Can I Achieve Sharp Focus in Macro Images Without Using a Tripod?
Achieving sharp focus in macro images without a tripod can be challenging, but with the right handheld techniques, it's absolutely possible.
One key is to steady yourself by leaning against a stable object or bracing your elbows against your body.
Another tip is to use a faster shutter speed to minimize camera shake.
Additionally, maximizing natural light can help increase your chances of capturing sharp details.
Experimenting with different techniques will allow you to push the boundaries of your macro photography skills.
Conclusion
As I navigate the enchanting world of macro photography, I've discovered that it's like embarking on a whimsical adventure.
With the right equipment and a solid understanding of composition, I've been able to capture the tiniest details that often go unnoticed.
Just like a treasure hunter, I've learned to play with lighting and enhance my images through post-processing.
Macro photography is a fascinating journey that unlocks a hidden world, where even the smallest subject can tell a captivating story.
So grab your camera and join me on this magical expedition!