Please note this post may contain affiliate links picked by me (Jay) that I have deemed may be of interest or relevant to you the reader of this.
These links do not affect the cost of the thing if you decide to purchase but i may get a little money if you choose to purchase.
For more information on my affiliate link policy click here.
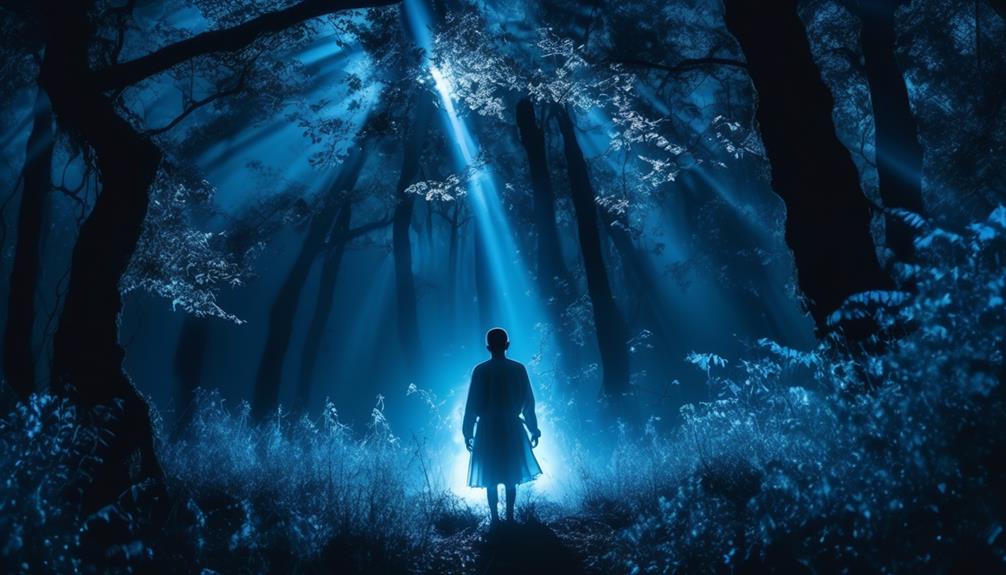
Embarking on the path of night and low-light photography is like stepping into an enchanted forest, where the darkness becomes a canvas for capturing ethereal moments.
As a newbie in this captivating realm, I find myself drawn to the challenge of capturing the beauty that unfolds when the sun sets and the world is bathed in a mysterious glow. But where do I begin? How do I navigate the complexities of shooting in low-light conditions?
Join me on this journey as we unravel the secrets of night photography, discover essential camera settings, explore creative techniques, overcome challenges, and uncover the magic hidden within each frame.
Together, let's shed light on the art of capturing the night.
Key Takeaways
- Use a sturdy tripod and remote shutter release for stability and sharp images in night and low-light photography.
- Experiment with different camera settings such as shutter speed, aperture, and ISO to achieve the desired effect in low-light situations.
- Incorporate creative techniques like long exposure, light painting, and utilizing artificial light sources to add interest and dynamic elements to your photos.
- Overcome challenges in night and low-light photography by selecting cameras with good low-light performance, shooting in RAW format for better noise reduction, and using fast lenses with wide apertures for brighter images.
Understanding Night and Low-Light Photography Basics
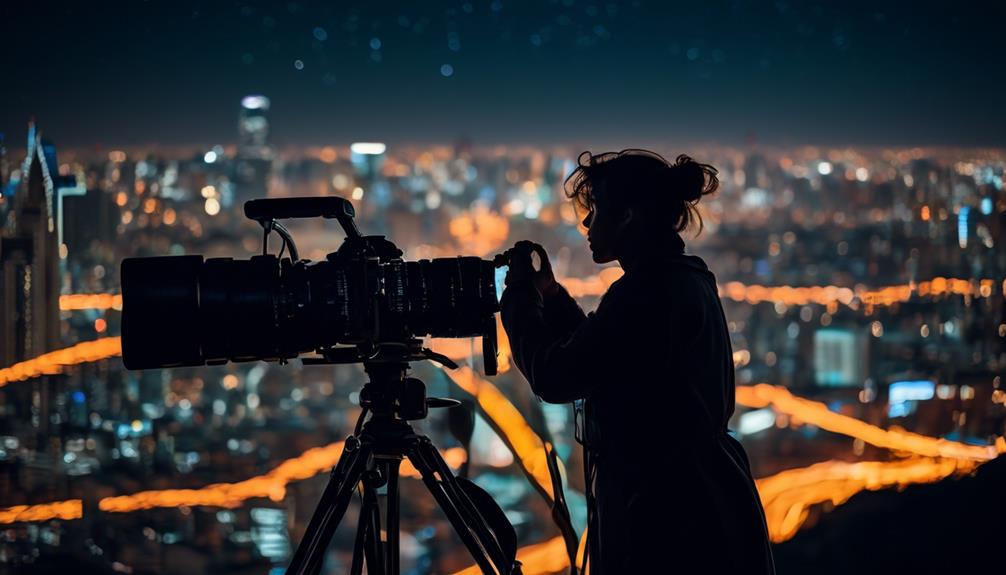
In my journey of night and low-light photography, I've come to understand the importance of grasping the basics. When it comes to capturing stunning images in the darkness, having the right equipment is crucial.
To start, a sturdy tripod is an absolute must-have. It provides stability and eliminates any unwanted camera shake, resulting in sharp images. Additionally, using a remote shutter release or the self-timer function on your camera can further reduce any potential shake caused by pressing the shutter button.
As for lenses, a wide-angle lens with a low maximum aperture, such as f/2.8 or lower, is ideal for capturing the expansive night sky or cityscapes. For those looking to capture specific subjects, a fast prime lens with a wide aperture, like f/1.4 or f/1.8, can help in achieving a shallow depth of field and stunning bokeh.
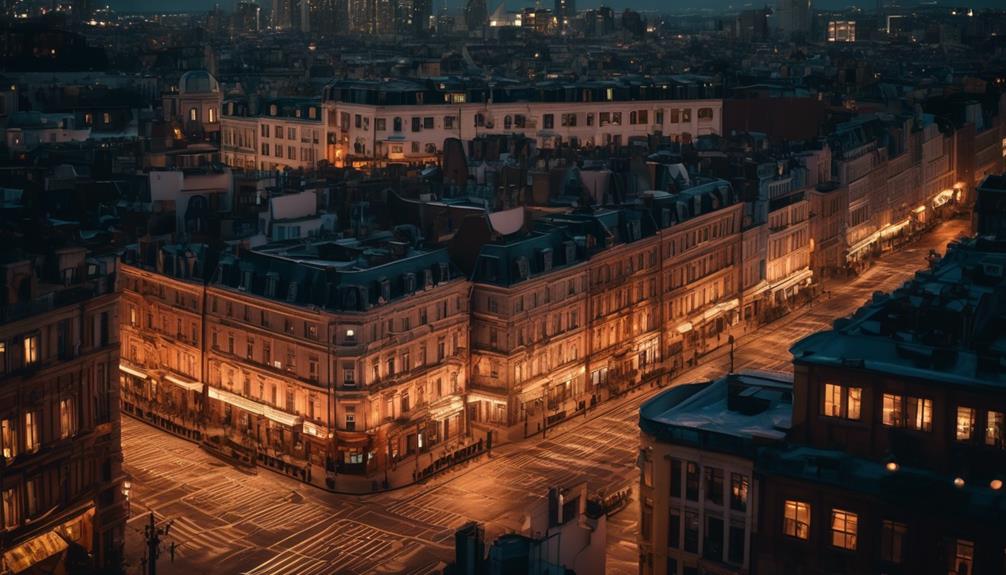
Now that we've our equipment sorted, let's talk about finding the best locations for night and low-light photography. Urban environments with bright lights and cityscapes can offer a plethora of interesting subjects to photograph. Look for areas with unique architecture, vibrant streetlights, or bustling nightlife. Natural landscapes, such as beaches, mountains, or forests, can also provide breathtaking opportunities. Seek out areas with minimal light pollution for clearer views of the stars and celestial bodies. Additionally, consider researching astronomical events, like meteor showers or lunar phases, to plan your night photography outings. Remember that scouting locations during the day can help you familiarize yourself with the surroundings and find potential compositions for your nighttime shots.
Understanding the basics of night and low-light photography is essential for capturing stunning images. By investing in the right equipment and finding the best locations, you can unlock a world of creative possibilities and capture the magic of the night.
Essential Camera Settings for Night Photography
To capture stunning night photography, adjusting your camera settings is crucial. In this essential camera settings guide for night photography, I'll walk you through the key adjustments you need to make to achieve those breathtaking shots.
First, let's talk about the night photography equipment guide. A tripod is an absolute must-have for night photography. It will keep your camera steady during long exposures, preventing any unwanted blur. Additionally, a remote shutter release or cable release will further minimize camera shake when taking the shot.
Now, let's move on to mastering long exposure techniques. One of the most important settings to adjust is the shutter speed. To capture the low-light conditions effectively, use a slow shutter speed, typically ranging from a few seconds to several minutes. Experiment with different exposure times to achieve the desired effect.
Next, pay attention to the aperture setting. Opt for a wider aperture (lower f-stop number) to allow more light into the camera sensor. This will help capture more details in the dark areas of your image.
Lastly, adjust the ISO setting. Start with a low ISO value, such as 100 or 200, to minimize noise in your images. If necessary, gradually increase the ISO until you achieve the desired exposure.
Exploring Creative Techniques for Capturing Low-Light Scenes
Now that we've mastered the essential camera settings for night photography, let's embark on an exciting journey of exploring creative techniques to capture mesmerizing low-light scenes. Here are three innovative techniques that can enhance your low-light photography:
- Long exposure techniques for capturing light trails in low-light scenes:
One way to add drama and movement to your low-light photographs is by using long exposure techniques. By setting a slow shutter speed and keeping your camera steady on a tripod, you can capture the trails of light created by moving objects such as cars or stars. This technique can create stunning and dynamic images that showcase the passage of time.
- Experimenting with different sources of artificial light in night photography:
In low-light conditions, artificial light sources can become the focal point of your photographs. By incorporating streetlights, neon signs, or even handheld flashlights, you can add pops of color and create interesting light patterns in your images. Don't be afraid to get creative and experiment with different light sources to bring your low-light scenes to life.
- Utilizing light painting techniques:
Light painting involves using a handheld light source to 'paint' light onto a subject or scene during a long exposure. This technique allows you to selectively illuminate parts of your composition, creating a sense of depth and highlighting specific elements. Whether you're highlighting the architecture of a building or adding a unique touch to a landscape, light painting can produce captivating and ethereal images.
Overcoming Challenges in Night and Low-Light Photography
Navigating the dark and challenging world of night and low-light photography requires a keen eye, technical expertise, and a touch of creativity. As a photographer, I've encountered several challenges when capturing images in these conditions. Two of the main challenges are dealing with noise and choosing the right equipment for shooting in low light conditions.
Dealing with noise in night and low-light photography can be a struggle. When shooting in low light, the camera's sensor has to work harder to capture the image, resulting in increased noise. To overcome this, I've learned to use a lower ISO setting, which helps reduce noise. Additionally, shooting in RAW format allows me to have more control over noise reduction during post-processing.
Choosing the right equipment is crucial for capturing high-quality images in low light conditions. A fast lens with a wide aperture, such as f/1.8 or wider, allows more light to enter the camera, resulting in brighter images. I've also found that a camera with good low-light performance and a high ISO range is essential. This combination of equipment helps me capture sharp and well-exposed images even in challenging lighting situations.
To summarize, overcoming challenges in night and low-light photography requires understanding how to deal with noise and choosing the right equipment. By implementing these techniques, I've been able to capture stunning images in the darkest of environments.
Tips for Editing and Enhancing Night and Low-Light Images
When editing and enhancing night and low-light images, I've discovered several techniques that can bring out the best in these challenging shots. Here are three tips that can help you elevate your night photography editing skills:
- Utilize long exposure:
Long exposure is a powerful tool in low-light photography. It allows you to capture more light and create stunning effects, such as light trails and silky smooth water. Experiment with different exposure times to find the perfect balance between capturing enough light and avoiding overexposure. Keep your camera steady by using a tripod or stabilizing the camera on a solid surface to prevent any unwanted blurriness.
- Adjust the white balance:
Nighttime scenes often have a color cast due to artificial lighting. To correct this, play around with the white balance settings in your editing software. Experiment with different color temperatures to achieve a more natural and balanced look. Don't be afraid to go beyond the typical 'daylight' setting and explore cooler or warmer tones to add a creative touch to your images.
- Avoid over-editing:
It's easy to get carried away with editing night images, especially when trying to compensate for the lack of light. However, be cautious not to overdo it. Strive for a balance between enhancing the details and maintaining a realistic look. Avoid excessive noise reduction, as it can lead to loss of sharpness and detail. Keep in mind that night photography often embraces a certain level of graininess, which adds to the atmosphere and charm of the image.
Frequently Asked Questions
How Can I Avoid Blurry Images When Shooting in Low-Light Conditions?
To avoid blurry images in low-light conditions, there are a few tips I can share.
First, using a flash can help illuminate the subject and freeze the motion.
Secondly, exploring long exposure techniques allows more light to be captured, resulting in clearer images.
Both methods have their advantages, so it's worth experimenting to find what works best for you.
What Are the Best Lenses for Night and Low-Light Photography?
The best lenses for night and low-light photography can make a huge difference in capturing sharp and clear images. Wide aperture lenses, like a 50mm f/1.8 or a 35mm f/1.4, are excellent choices as they allow more light to enter the camera sensor. This results in brighter and well-exposed photos, even in challenging lighting conditions.
Pairing these lenses with the right camera settings, such as a higher ISO and slower shutter speed, can further enhance your low-light photography skills.
Additionally, mastering techniques for using artificial lighting in low light conditions can greatly expand your creative possibilities.
How Can I Effectively Capture Starry Skies and Astrophotography?
Capturing starry skies and astrophotography is an exhilarating experience. To do so effectively, I focus on finding the right camera settings.
For capturing the Milky Way and star trails, I set my camera to manual mode and adjust the ISO to a high value, like 3200. I also use a wide aperture, around f/2.8, and a long exposure time, typically 20-30 seconds.
After capturing the images, post-processing techniques like noise reduction and adjusting the levels can enhance the astrophotography images, bringing out their full beauty.
Are There Any Specific Safety Precautions I Should Take When Shooting at Night?
When shooting at night, it's crucial to prioritize safety. There are a few tips to keep in mind for night photography safety.
First, make sure to bring a flashlight or headlamp to see your surroundings clearly.
Second, always let someone know where you're going and when you plan to return.
Additionally, be cautious of your equipment and surroundings to avoid any accidents.
How Can I Achieve Proper Exposure When Dealing With Extreme Contrast in Low-Light Scenes?
Achieving proper exposure in low-light scenes with extreme contrast is like navigating through a dark maze with sporadic bursts of light. To conquer this challenge, I employ techniques like using artificial lighting strategically to fill in shadows and highlight details.
After capturing the shot, I dive into post-processing, enhancing the image's details and reducing noise, much like a sculptor carefully chiseling away imperfections.
These tricks ensure that my low-light images shine brightly, capturing the essence of the scene.
Conclusion
Well, my journey into the world of night and low-light photography has been quite the adventure. From understanding the basics to exploring creative techniques, I've learned that capturing the beauty of darkness requires patience and skill.
And let's not forget the challenges – battling noise and finding the perfect balance of exposure. But fear not, fellow photographers, with the right camera settings and a little editing magic, we can turn the night into our canvas and create stunning works of art.
Keep shooting in the dark, my friends!