Please note this post may contain affiliate links picked by me (Jay) that I have deemed may be of interest or relevant to you the reader of this.
These links do not affect the cost of the thing if you decide to purchase but i may get a little money if you choose to purchase.
For more information on my affiliate link policy click here.
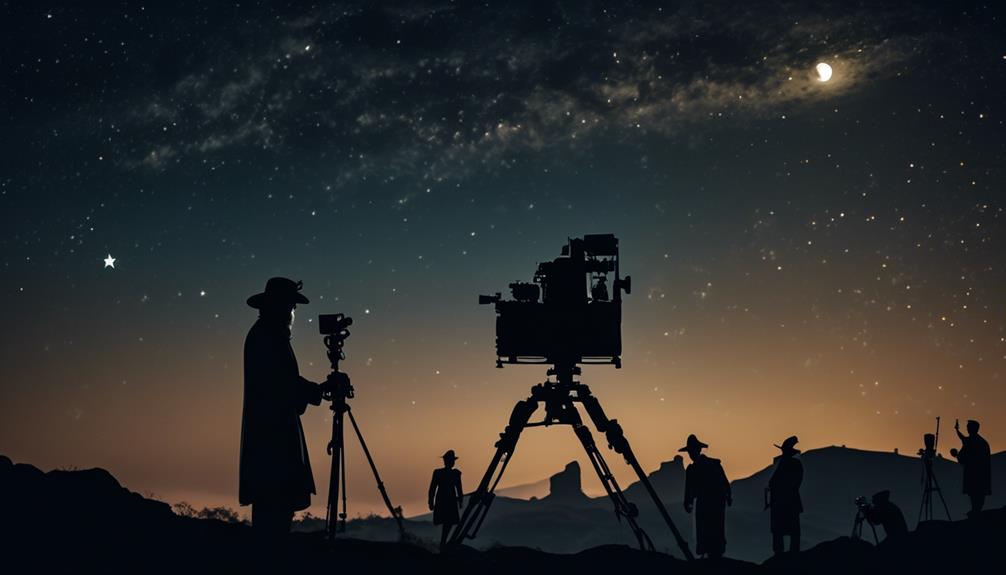
Night photography is a mysterious realm, an undiscovered treasure trove of hidden secrets waiting to be unlocked. As I embarked on a historical odyssey to uncover the mysteries behind capturing stunning images after dark, I was astounded by the wealth of knowledge and techniques that have evolved over time.
From the essential equipment needed to the intricacies of exposure and ISO settings, from mastering long exposure techniques to utilizing light painting and creative methods, and even post-processing tips to enhance the magic of night photography, this journey will take us on an enlightening adventure into the captivating world of nocturnal imagery.
Join me as we unveil the secrets that will forever change the way we perceive and capture the night.
Key Takeaways
- A sturdy tripod is essential for stability and sharp images in night photography.
- Investing in a fast lens with a wide aperture allows for capturing faint light in low light situations.
- Understanding exposure and ISO settings is crucial for finding the right balance between capturing enough light and avoiding overexposure.
- Mastering long exposure techniques, such as capturing star trails and balancing ambient and artificial light, can lead to stunning night photographs.
Essential Equipment for Night Photography
When embarking on the captivating journey of night photography, having the right equipment is absolutely essential for capturing stunning images that will leave viewers in awe. As a passionate night photographer myself, I've experimented with various gear and techniques to capture the beauty of starry skies at night. Allow me to share with you my top recommendations for night photography gear and some tips for capturing those mesmerizing star-filled scenes.
First and foremost, a sturdy tripod is a must-have for night photography. It provides stability and eliminates any unwanted camera shake, ensuring sharp and detailed images. Look for one that's lightweight and easy to carry, without compromising on stability.
In addition to a tripod, investing in a fast lens is crucial for capturing the faint light of the night sky. A wide aperture lens, such as a 24mm f/1.4 or a 35mm f/1.8, allows for more light to enter the camera, resulting in brighter and more vibrant images.
When it comes to camera bodies, opt for one with excellent low-light performance and high ISO capabilities. This will allow you to capture the finest details even in the darkest conditions. Look for cameras that offer manual settings and long exposure capabilities, as these are essential for night photography.
Lastly, don't forget to bring a remote shutter release or use the camera's built-in timer to avoid any camera shake when pressing the shutter button.
Now that you have the right gear, let's talk about some tips for capturing starry skies at night. Firstly, choose a location away from light pollution to maximize the visibility of stars. Scout the area during the day to find interesting foreground elements that can add depth and interest to your composition.
Experiment with different exposure times to capture the movement of stars. Longer exposures, ranging from 15 to 30 seconds, can create beautiful star trails, while shorter exposures, around 10 seconds, can freeze the stars in place.
To enhance the contrast and details of the stars, shoot in RAW format and consider post-processing techniques such as adjusting the exposure, contrast, and clarity.
Understanding Exposure and ISO Settings
Understanding exposure and ISO settings is crucial for achieving optimal results in night photography. By mastering these technical aspects, you can capture stunning images that showcase the beauty of the night sky. Here are some key points to consider:
- Using manual mode for night photography:
Manual mode gives you complete control over your camera settings, allowing you to adjust the exposure and ISO according to the specific lighting conditions. This is particularly important in low light situations, where automatic modes may struggle to accurately capture the scene.
- Exploring different lens options for low light situations:
Investing in a fast lens with a wide aperture can significantly improve your night photography. A lens with a larger aperture (e.g., f/1.8 or lower) allows more light to enter the camera, resulting in brighter and sharper images. Additionally, consider using a wide-angle lens to capture a broader perspective of the night sky.
- Understanding exposure:
Exposure refers to the amount of light that reaches the camera's sensor. In night photography, it's important to find the right balance between capturing enough light to illuminate the scene and avoiding overexposure. Experiment with different exposure settings to achieve the desired effect, keeping in mind that longer exposure times may introduce motion blur.
- Adjusting ISO settings:
ISO determines the sensitivity of your camera's sensor to light. In low light situations, increasing the ISO can help you capture brighter images. However, higher ISO values can also introduce noise or graininess to your photos. Finding the optimal ISO setting for a given scene requires some experimentation and understanding of your camera's capabilities.
Mastering Long Exposure Techniques
To capture breathtaking night photography, mastering long exposure techniques is essential. It allows you to create stunning images that capture the beauty of star trails and balance ambient and artificial light. Long exposure photography is all about capturing the passage of time in a single frame, and it opens up a world of creative possibilities.
When capturing star trails, long exposure techniques are crucial. By using a slow shutter speed, you can capture the movement of stars across the night sky. To achieve this, it's important to find a dark location away from city lights and use a sturdy tripod to keep your camera stable. Experiment with different exposure times to achieve the desired effect. Longer exposures will result in longer trails, while shorter exposures will capture shorter trails.
Another important aspect of mastering long exposure techniques is balancing ambient and artificial light. This allows you to capture the perfect balance between the natural light of the night sky and any artificial light sources present in your scene. By adjusting the exposure settings and using techniques like light painting or adjusting the white balance, you can achieve a harmonious blend of both types of light, resulting in stunning and unique night photographs.
When practicing long exposure techniques, it's important to experiment and push the boundaries of your creativity. Don't be afraid to try new things and explore different settings and techniques. With practice, you'll develop a unique style and the ability to capture truly mesmerizing night photographs that will leave viewers in awe.
Using Light Painting and Creative Techniques
One of the most exciting aspects of night photography is the use of light painting and other creative techniques to add a touch of magic and uniqueness to your photos. With these experimental approaches, you can capture elusive subjects and create stunning images that stand out from the crowd.
Here are four techniques that will help you unlock your creativity and take your night photography to the next level:
- Light Painting: This technique involves using a handheld light source to illuminate specific areas of your scene during a long exposure. By selectively painting light onto your subject, you can create beautiful patterns, textures, and even reveal hidden details that would otherwise go unnoticed.
- Multiple Exposures: By combining multiple exposures in-camera or during post-processing, you can create surreal and dreamlike images. This technique allows you to blend different elements together, such as capturing star trails against a landscape, or adding a person into a scene multiple times to create a sense of movement.
- Steel Wool Photography: This unique technique involves spinning burning steel wool to create mesmerizing sparks and trails of light. By using a long exposure, you can capture these fiery trails against a dark sky, resulting in stunning and dramatic images.
- Light Trails: By photographing moving light sources, such as cars or bicycles, you can create captivating light trails that add a dynamic element to your photos. Experiment with different shutter speeds and compositions to achieve the desired effect.
Post-Processing Tips for Night Photography
When it comes to enhancing the beauty and impact of your night photography, post-processing plays a crucial role in bringing out the best in your images. With the right techniques and tools, you can take your nighttime shots to the next level. Here are some post-processing tips to help you achieve stunning results.
One of the challenges of night photography is dealing with noise, which can be more prominent in low-light conditions. To combat this, there are several noise reduction techniques you can use during post-processing. One effective method is applying a noise reduction filter, such as the one available in Adobe Lightroom or other editing software. This filter analyzes the image and reduces the noise while preserving the details.
Another aspect to consider when post-processing your night photos is enhancing the starry skies. Capturing the beauty of the night sky can be a breathtaking experience, but sometimes the stars may appear faint or less vibrant in your images. To make them stand out, you can increase the contrast and saturation of the sky. Additionally, you can also use a technique called "star trail stacking" to create a more dramatic effect. This involves taking multiple photos of the starry sky and merging them together in post-processing to create trails of light.
In order to help you better understand these post-processing techniques, here is a helpful table that summarizes the key steps for noise reduction and enhancing starry skies:
| Noise Reduction Techniques | Enhancing Starry Skies |
|---|---|
| Apply noise reduction filter | Increase contrast and saturation |
| Adjust luminance and color noise sliders | Use star trail stacking technique |
| Sharpen the image after noise reduction | Enhance individual stars using dodging and burning |
Frequently Asked Questions
What Are the Best Locations for Night Photography?
When it comes to night photography, finding the best locations is key. Whether you're in a bustling city or out in the wilderness, there are plenty of options to capture stunning shots. From iconic landmarks to quiet streets, each location offers unique opportunities.
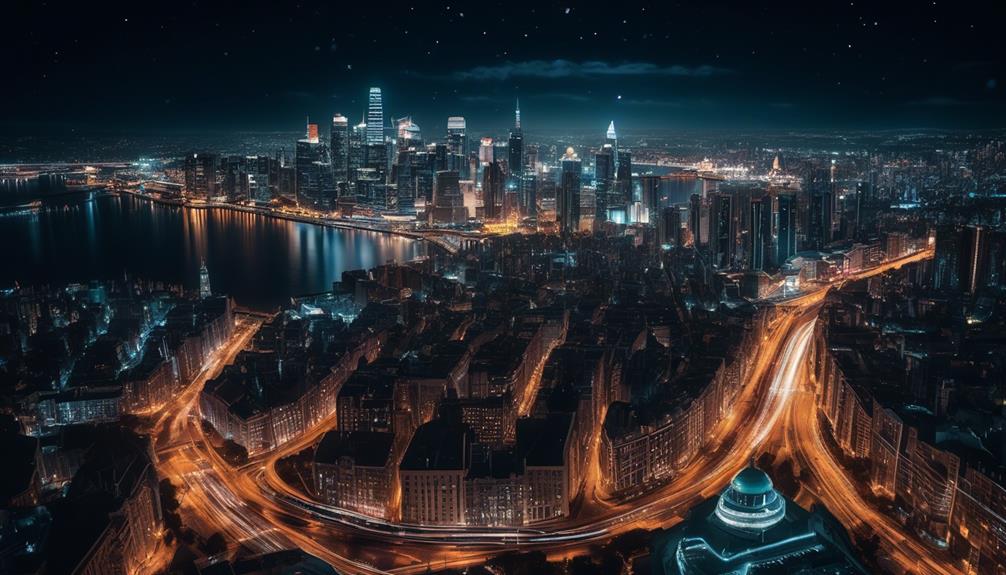
To make the most of your night photography, make sure to have the best equipment, like a tripod and a wide-angle lens. And don't forget to use these tips for shooting cityscapes at night!
How Can I Capture Star Trails in My Night Photographs?
To capture mesmerizing star trails in your night photographs, there are a few key techniques to keep in mind.
First, make sure you have the right equipment, like a sturdy tripod and a wide-angle lens.
Next, set your camera to manual mode and use a long exposure time, around 30 seconds or more.
Lastly, find a dark location with minimal light pollution.
With these tips, you'll unlock the secrets of capturing stunning star trails in your night photography.
Are There Any Specific Camera Settings I Should Use for Photographing the Moon at Night?
When capturing the moon at night, there are a few camera settings that can help you get the best shot.
First, set your camera to manual mode so you have full control.
Use a low ISO to reduce noise and a narrow aperture to achieve sharpness.
Adjust your shutter speed to ensure proper exposure, and consider using a tripod to avoid any camera shake.
With these tips, you'll be able to capture stunning moonlit photographs.
What Are Some Safety Tips to Keep in Mind When Shooting Night Photography in Remote Locations?
When shooting night photography in remote locations, it's important to prioritize safety. One essential tip is to always carry the right gear. Make sure you have a reliable flashlight and a fully charged mobile phone for emergencies.
Additionally, I recommend informing someone about your location and estimated return time. It's also crucial to be aware of your surroundings and any potential hazards.
How Can I Overcome Noise Issues in My Night Photographs During Post-Processing?
When it comes to overcoming noise issues in my night photographs during post-processing, I've found a couple of techniques that have really made a difference.
First, using long exposure techniques for night photography can help to capture more light and reduce noise.
Additionally, I've discovered that shooting in RAW format gives me more control over noise reduction in low light conditions.
By adjusting the noise reduction settings in post-processing software, I can achieve cleaner and more vibrant night photos.
It's all about experimenting and finding what works best for you!
Conclusion
In conclusion, diving into the world of night photography is like embarking on a thrilling historical odyssey. Armed with the essential equipment, a solid understanding of exposure and ISO settings, and mastery of long exposure techniques, capturing the magic of the night becomes a captivating adventure.
And let's not forget the creative techniques like light painting that add an unexpected twist to our photographs. With some post-processing magic, we unlock the secrets of the night and create timeless masterpieces.
So grab your camera and let's embark on this extraordinary journey!


