Please note this post may contain affiliate links picked by me (Jay) that I have deemed may be of interest or relevant to you the reader of this.
These links do not affect the cost of the thing if you decide to purchase but i may get a little money if you choose to purchase.
For more information on my affiliate link policy click here.
Shutter speed secrets to snap sensational shots? Seek no further!
Today, I'll share eight enchanting enhancements to elevate your photography skills. With these simple shutter speed adjustments, you'll be able to freeze time to capture every breathtaking detail or dabble in the art of motion blur for dynamic and dramatic shots.
But that's just the beginning! Stay tuned to uncover the secret techniques that will transform your photography from ordinary to extraordinary.
Key Takeaways
- Slow shutter speed can be used to capture motion of stars, flowing water, and city lights, while high shutter speed is ideal for freezing action in sports and wildlife photography.
- Motion blur techniques, such as panning and long exposure, can add a sense of movement and energy to photographs.
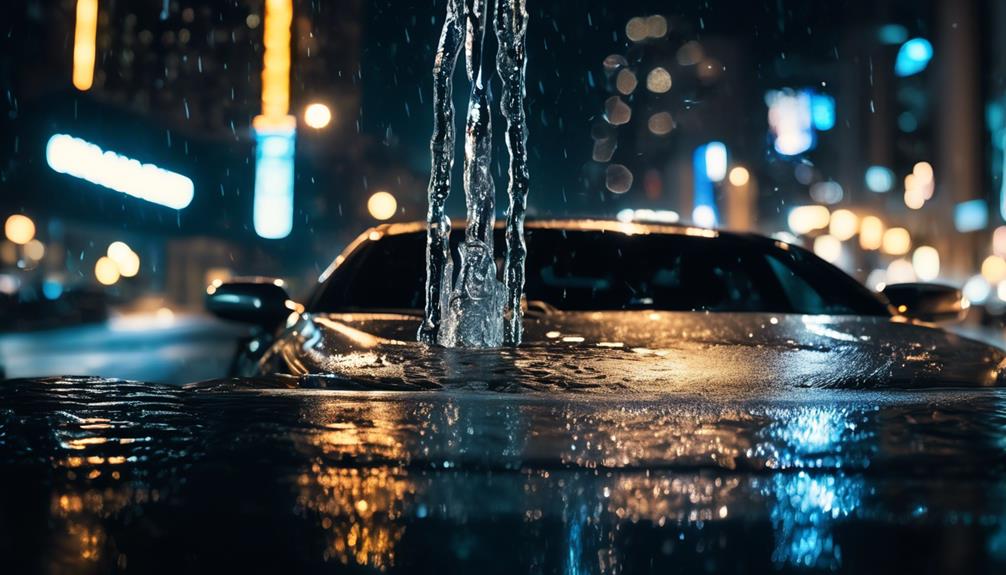
- Bulb mode provides complete control over exposure time, allowing for mesmerizing light trails and creative light painting.
- Shutter priority mode enables precise control over shutter speed, enhancing creativity and freedom in photography.
Slow Down for Stunning Long Exposures
To capture truly stunning long exposures, it's essential to slow down your shutter speed and let the magic unfold. Nighttime photography offers a whole new world of possibilities, and with the right techniques, you can create breathtaking images that showcase the beauty of the night sky and create mesmerizing blurring water effects.
When it comes to long exposures, the first thing you need to do is adjust your shutter speed. By slowing it down, you allow more time for the light to enter your camera and capture the scene. This extended exposure time is what enables you to capture the motion of the stars, the smooth flow of water, and the ethereal glow of city lights.
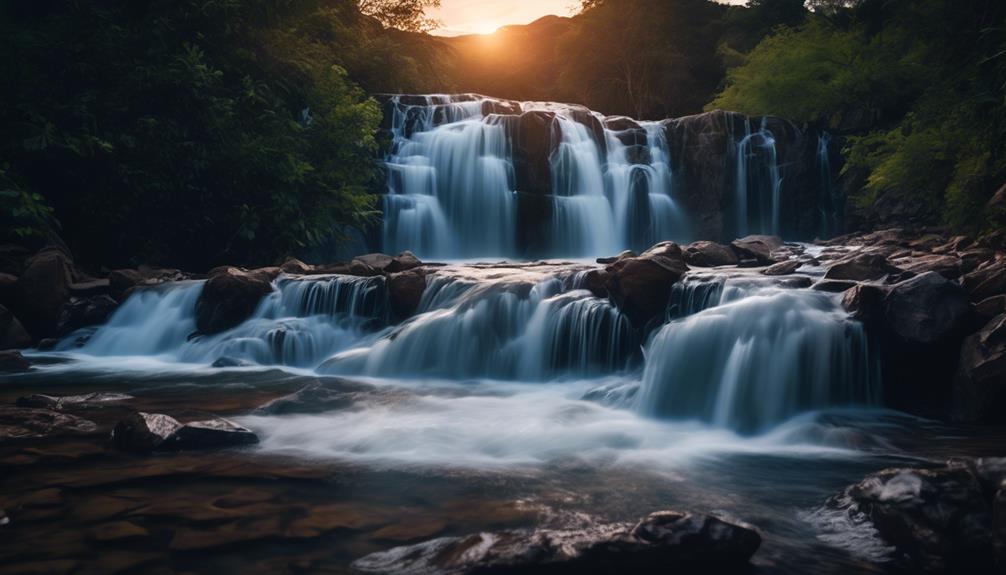
One of the key benefits of slowing down your shutter speed is the ability to create captivating blurring water effects. Whether you're photographing a rushing river or a tranquil lake, a longer exposure will transform the water into a silky, dreamy texture. The flowing water takes on a soft, ethereal quality that adds a sense of movement and tranquility to your images.
To achieve this effect, start by setting your camera on a sturdy tripod to avoid any camera shake. Then, select a slow shutter speed, typically around 1-10 seconds, depending on the desired effect. Experiment with different shutter speeds to find the perfect balance between motion and clarity. Additionally, using a neutral density filter can help further extend your exposure time, allowing for even more dramatic blurring water effects.
Freeze the Action With High Shutter Speeds
Capture the essence of fast-paced moments and preserve them in stunning detail by utilizing high shutter speeds. When it comes to action shots, timing is everything. You need to freeze the action in a split second to capture that perfect moment. This is where high shutter speeds come into play. By setting your camera to a high speed, you can capture fast-moving subjects with incredible precision.
High shutter speeds are particularly useful when photographing sports events, wildlife, or any other situation where the subject is in motion. Whether it's a soccer player kicking the ball, a bird taking flight, or a race car zooming past, high shutter speeds ensure that every movement is captured in sharp detail. With this technique, you can freeze the action and create stunning images that showcase the intensity and dynamism of the moment.
One of the advantages of high shutter speeds is that they allow you to capture action without any motion blur. Unlike long exposure photography, where a slow shutter speed is used to create light painting or capture the movement of light, high shutter speeds freeze the subject in time. This technique is perfect for capturing fast-moving objects or individuals in crisp, clear detail.
To achieve high shutter speeds, you'll need to adjust your camera settings accordingly. Start by setting your camera to the 'shutter priority' mode, which allows you to manually adjust the shutter speed while the camera automatically adjusts the aperture for proper exposure. Experiment with different shutter speeds to find the perfect balance between freezing the action and capturing enough light.
Capture Motion Blur for Dynamic Shots
Now let's explore the captivating technique of capturing motion blur to add a dynamic touch to your photographs. Motion blur can be a powerful tool in photography, allowing you to convey a sense of movement and energy in your images. By intentionally blurring certain elements of a scene while keeping others sharp, you can create visually stunning and impactful photos that grab the viewer's attention.
Here are three creative techniques to help you master the art of capturing motion blur:
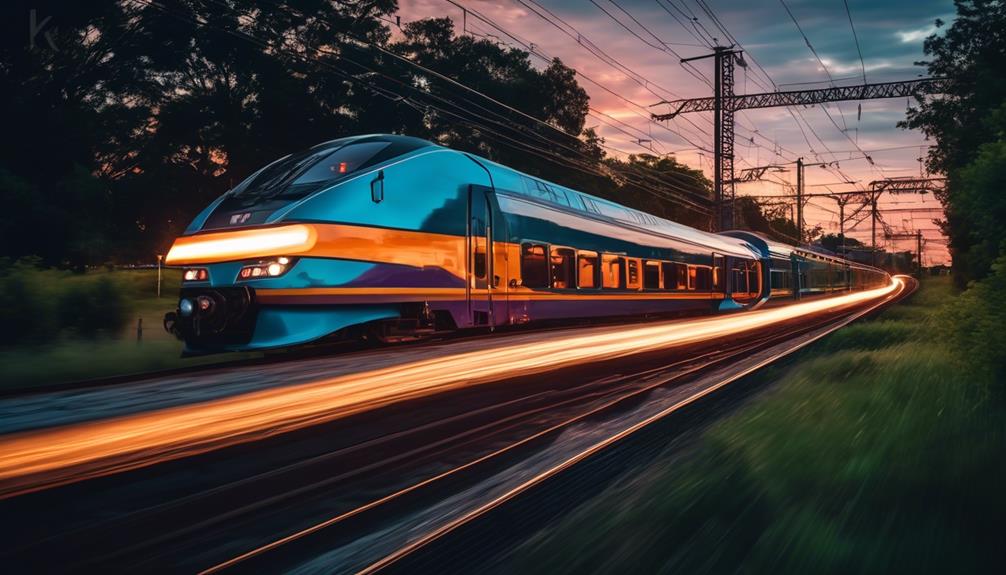
- Panning: This technique involves following a moving subject with your camera while using a slower shutter speed. By tracking the subject's movement, you can create a sharp image of the subject against a blurred background, emphasizing the sense of speed and motion.
- Long Exposure: With this technique, you use a very slow shutter speed to capture the movement of stationary subjects. For example, photographing a waterfall with a long exposure will create a silky smooth effect on the flowing water, giving your image a dreamy and ethereal quality.
- Zooming: By zooming your lens during a longer exposure, you can create a dynamic and abstract effect. This technique works best with subjects that have strong lines or patterns, as the zooming motion will blur and distort these elements, adding a sense of energy and excitement to your photos.
Use the Bulb Mode for Creative Light Trails
Using the bulb mode on your camera is a fantastic way to unleash your creativity and capture mesmerizing light trails in your photographs. This mode allows you to keep the shutter open as long as you want, giving you complete control over the exposure time. It's perfect for capturing creative nightscapes and experimenting with painting with light.
To use the bulb mode, simply set your camera to manual mode and select the bulb setting on the shutter speed dial. When you press the shutter button, the exposure will start, and it will continue as long as you keep the button pressed. This means you can capture the movement of light trails, such as car headlights or fireworks, in a single image.
To create stunning light trails, find a location with interesting light sources and set up your camera on a tripod. Then, use a remote shutter release or the built-in timer to prevent any camera shake. Experiment with different exposure times to achieve the desired effect. Longer exposures will result in longer light trails, while shorter exposures can create more defined trails.
When painting with light, you can use various tools, such as flashlights or LED lights, to add creative elements to your images. By moving these light sources around during the exposure, you can create unique patterns and shapes that enhance your composition.
Using the bulb mode opens up a world of possibilities for capturing breathtaking photos. So, grab your camera, head out into the night, and let your imagination run wild as you paint with light and create awe-inspiring images of creative nightscapes.
Experiment With Panning for Smooth Movement
After mastering the art of capturing mesmerizing light trails with the bulb mode, it's time to take your photography skills to the next level by experimenting with panning for smooth movement.
Panning is a technique that allows you to capture moving subjects in a way that creates a sense of motion and dynamism in your photographs. Here are three essential tips to help you master the art of panning:
- Panning techniques for capturing moving subjects: To create smooth movement in your images, it's important to follow the subject's motion with your camera. Start by selecting a moving subject, such as a car or a cyclist. As the subject moves, track its movement by rotating your camera in the same direction and at the same speed. This technique allows you to capture the subject in sharp focus while blurring the background, creating a sense of speed and motion.
- Finding the right shutter speed for smooth panning shots: The key to successful panning shots is balancing the shutter speed. A shutter speed that's too fast will freeze the subject, while a shutter speed that's too slow will result in a completely blurred image. Start by setting your camera to Shutter Priority mode (Tv or S mode) and select a relatively slow shutter speed, such as 1/30th of a second. Experiment with different shutter speeds to find the sweet spot where the subject is sharp, and the background is beautifully blurred.
- Practice, practice, practice: Panning requires practice to master. Start by practicing on slow-moving subjects and gradually work your way up to faster subjects. Experiment with different panning techniques and shutter speeds to see what works best for you. Remember, the more you practice, the better you'll become at capturing stunning images with smooth movement.
Incorporating these panning techniques and finding the right shutter speed will allow you to capture incredible images that showcase the excitement and energy of moving subjects. So grab your camera, head outside, and start experimenting with panning for smooth movement. Your photography skills will reach new heights, and your images will truly stand out from the crowd. Happy panning!
Master the Technique of Double Exposure
Double exposure photography is an exciting technique that allows photographers to create unique and artistic images by combining two or more exposures into a single frame. It's a creative composition technique that opens up a world of possibilities for photographers looking to push the boundaries of their craft and create truly innovative works of art.
By layering multiple exposures, you can create stunning artistic effects that are impossible to achieve with a single shot. This technique allows you to blend different elements together, resulting in images that are visually striking and thought-provoking. Whether you want to capture the ethereal beauty of nature or create a surreal and dreamlike scene, double exposure photography is the perfect tool to unleash your creativity.
The key to mastering the technique of double exposure lies in careful planning and experimentation. Start by selecting two or more images that complement each other in terms of subject matter, color palette, or mood. Consider how the elements will interact and overlap in the final composition. Experiment with different exposure settings, such as adjusting the opacity of each exposure or using different blending modes, to achieve the desired effect.
To take your double exposure photography to the next level, think outside the box and explore unconventional subjects and perspectives. Don't be afraid to break the rules and push the boundaries of traditional photography. Embrace the freedom that double exposure offers and let your imagination run wild.
Embrace the Power of the Shutter Priority Mode
Shutter priority mode is a powerful tool that allows photographers to take full control of their images and capture stunning moments with precision and creativity. As a photographer, I've found that embracing the power of the shutter priority mode has revolutionized the way I approach my craft. It has given me the ability to manipulate the shutter speed to achieve the desired effect in my photos.
Let me share with you three reasons why mastering this mode is essential for any photographer:
- Mastering exposure compensation: With shutter priority mode, you have the freedom to adjust the exposure compensation to get the perfect balance of light in your photos. This feature allows you to override the camera's automatic exposure settings and truly unleash your creativity. Whether you want to brighten up a subject or create a moody atmosphere, mastering exposure compensation will help you achieve the desired result.
- Understanding the exposure triangle: Shutter priority mode is a great way to understand the exposure triangle. By selecting the desired shutter speed, you can then let the camera choose the appropriate aperture and ISO settings to maintain a well-exposed image. This understanding of the exposure triangle is crucial for achieving properly exposed photos in various lighting conditions.
- Capturing motion with precision: One of the key advantages of shutter priority mode is the ability to freeze or blur motion. By adjusting the shutter speed, you can freeze fast-moving subjects or create stunning motion blur effects. Whether you're capturing a speeding car or a flowing waterfall, mastering this mode will give you the power to control the visual impact of motion in your photos.
Embracing the power of the shutter priority mode is a game-changer for any photographer. It allows for endless creative possibilities and gives you the freedom to capture moments exactly as you envision them. So, go ahead and dive into this mode, experiment with different settings, and watch your photography skills soar to new heights!
Fine-Tune Your Skills With Manual Adjustments
Now that you have mastered the power of shutter priority mode, it's time to take your photography skills to the next level by fine-tuning your abilities with manual adjustments.
Manual adjustments allow you to have complete control over your camera settings and unleash your creativity like never before. By making these adjustments, you can improve focus and enhance composition in your photographs, resulting in stunning and captivating images.
One of the key benefits of manual adjustments is the ability to improve focus. When shooting in auto mode, the camera may not always focus on the exact subject you want. By manually adjusting the focus, you can ensure that your subject is sharp and clear, creating a more professional and polished look. Experiment with different focus points and depth of field settings to achieve the desired effect.
In addition to focus, manual adjustments also allow you to enhance composition. Composition is the arrangement of elements within a photograph, and it plays a crucial role in creating visually appealing images. By manually adjusting settings such as aperture and shutter speed, you can control the depth of field, the amount of light, and the motion blur in your photos. This gives you the power to create unique and artistic compositions that effectively convey your desired message.
Frequently Asked Questions
What Is the Ideal Shutter Speed for Capturing a Waterfall With a Smooth, Silky Effect?
When it comes to capturing a waterfall with a smooth, silky effect, the ideal shutter speed is crucial. To achieve this, I've discovered some amazing camera settings and techniques.
How Can I Prevent Camera Shake When Using Slow Shutter Speeds?
To prevent camera shake and maximize image stability when using slow shutter speeds, I've discovered a game-changing technique.
It's like holding a steady hand while walking on a tightrope.
First, ensure a solid grip on your camera, using both hands.
Next, brace yourself against a stable surface or use a tripod for added support.
Finally, engage the camera's image stabilization feature, if available.
These steps will revolutionize your photography skills and keep your shots crystal clear, even at slow shutter speeds.
Are There Any Specific Shutter Speeds That Work Best for Capturing Fast-Moving Subjects, Such as Sports or Wildlife Photography?
When it comes to capturing fast-moving subjects like sports or wildlife, specific shutter speeds can make all the difference.
By adjusting the shutter speed, you can freeze the action or create a sense of motion in your photographs.
It's important to experiment with different speeds to find what works best for you.
Remember, a faster shutter speed will freeze the subject, while a slower speed will blur the motion.
Can I Achieve Motion Blur Without Using Slow Shutter Speeds?
Yes, you can achieve motion blur without using slow shutter speeds. There are alternative techniques that can help you achieve creative effects in your photography.
By experimenting with panning, zooming, or using a neutral density filter, you can capture movement in a unique and artistic way. These techniques allow you to convey a sense of motion while still maintaining sharpness in your subject.
How Can I Create Light Trails Using the Bulb Mode and What Are Some Creative Ideas for Light Trail Photography?
Creating light trails using the bulb mode is a fantastic way to bring your photography skills to the next level. By adjusting the shutter speed in bulb mode, you can capture the mesmerizing trails of light that add a dynamic and artistic touch to your images.
To capture amazing light trails, try experimenting in different environments like busy city streets or even with car headlights on a dark road. Get creative and let your imagination run wild!
Conclusion
In conclusion, mastering shutter speed adjustments can truly take your photography skills to the next level.
From stunning long exposures to freezing action with high shutter speeds, there's no limit to the creative possibilities.
Whether you want to capture dynamic shots with motion blur or experiment with creative light trails, the power is in your hands.
So don't be afraid to embrace the different modes and techniques, and let your creativity shine through your photographs.
Happy shooting!


