Please note this post may contain affiliate links picked by me (Jay) that I have deemed may be of interest or relevant to you the reader of this.
These links do not affect the cost of the thing if you decide to purchase but i may get a little money if you choose to purchase.
For more information on my affiliate link policy click here.
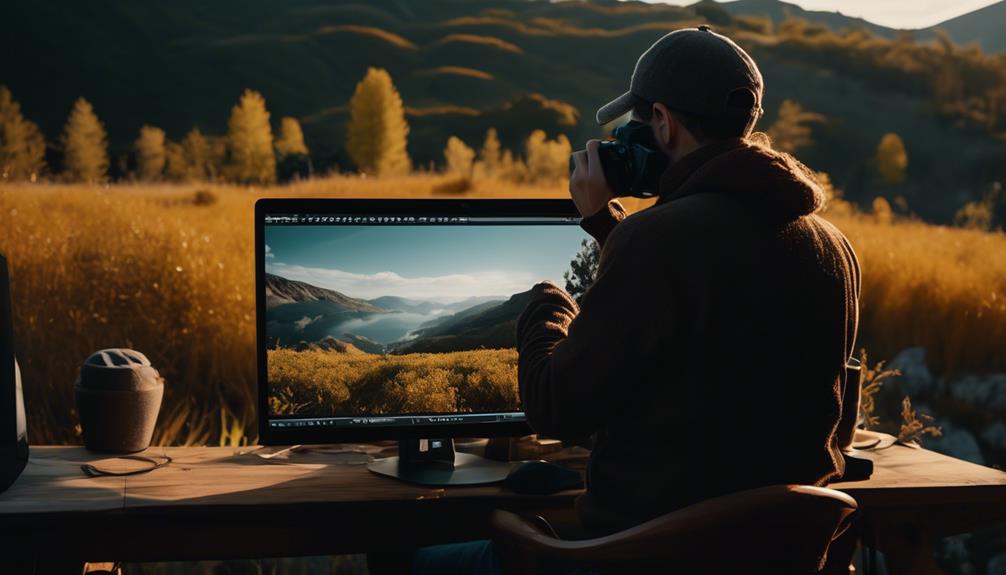
As a newbie in the world of photography, I found myself lost in a sea of unpolished images, desperately searching for that spark of magic. Like a painter with a blank canvas, I yearned to bring my photographs to life through the art of post-processing.
But where to begin? With countless techniques and tools available, it can be overwhelming to navigate this digital realm. Fear not, fellow newbies, for I have discovered the six best post-processing techniques that will transform your photographs from ordinary to extraordinary.
So, join me as we embark on a journey of discovery and unravel the secrets of:
- Basic adjustments
- Color correction
- Enhancing detail
- Adding creative effects
- Portrait retouching
- Sharpening and noise reduction.
Trust me, you won't want to miss out on these game-changing techniques that will take your photography to the next level.
Key Takeaways
- Basic adjustments such as exposure control, cropping, and composition are essential for enhancing images and bringing out their full potential.
- Color correction, including white balance adjustment and saturation enhancement, enhances the overall look and feel of photographs by bringing out true colors and making them more vibrant.
- Enhancing detail through techniques like contrast enhancement and texture enhancement adds depth and dimension to photographs, bringing out lost details in the original photo.
- Adding creative effects, such as artistic filters and vintage effects, allows for experimentation with different styles and moods, transforming ordinary images into stunning works of art.
Basic Adjustments
When it comes to post-processing your photos, basic adjustments are the foundation for enhancing your images and bringing out their full potential. Adjusting exposure, cropping, and composition are essential techniques that can truly transform your photographs.
Firstly, adjusting exposure allows you to control the brightness and darkness of your image. Whether you want to brighten up a dark scene or tone down an overexposed shot, tweaking the exposure can make a significant difference. It helps to bring out the details in the shadows and highlights, adding depth and dimension to your photos.
Next, cropping is a powerful tool for refining the composition of your images. It allows you to remove distractions, improve the overall balance, and create a stronger focal point. Cropping can also help you experiment with different aspect ratios, giving your photos a unique and artistic look.
Lastly, composition plays a vital role in the visual impact of your photographs. By adjusting the composition, you can guide the viewer's eye and create a sense of harmony and balance. Consider the rule of thirds, leading lines, and symmetry to add interest and visual appeal to your images.
Color Correction
Color correction is an essential step in post-processing that allows you to enhance the overall look and feel of your photographs. By adjusting the white balance and enhancing the saturation, you can bring out the true colors in your images and make them more vibrant and visually appealing.
To achieve accurate colors, the first step is to adjust the white balance. This ensures that the colors in your photo appear natural and true to life. Whether you're shooting indoors under artificial lighting or outdoors in different weather conditions, the white balance adjustment helps eliminate any unwanted color casts and brings out the true colors of your subject.
Once you've corrected the white balance, you can further enhance the colors in your image by increasing the saturation. This technique allows you to make the colors more vivid and intense, giving your photos a pop of color and creating a more visually striking image.
In the table below, I've summarized the key steps for color correction:
| Color Correction Tips |
|---|
| Adjust white balance |
| Enhance saturation |
Enhancing Detail
After perfecting the colors in your photographs through color correction, it's time to take your post-processing skills to the next level by enhancing the intricate details in your images. One way to do this is through contrast enhancement. By increasing the contrast in your photos, you can make the highlights brighter and the shadows darker, creating a more striking and dynamic image. This technique can help bring out details that may have been lost in the original photo.
Another way to enhance detail is through texture enhancement. This technique allows you to bring out the fine details and textures in your photos, making them more visually appealing and engaging. By using tools like sharpening and clarity adjustments, you can make the textures in your images pop, adding depth and dimension.
When enhancing detail, it's important to strike a balance. You don't want to overdo it and end up with an image that looks unnatural or overly edited. It's all about finding the right amount of enhancement that enhances the details without going overboard.
Adding Creative Effects
To add a touch of creativity and uniqueness to your photographs, explore the exciting world of adding creative effects. By applying artistic filters and vintage effects, you can transform your ordinary images into stunning works of art. These techniques allow you to experiment with different styles and moods, giving your photos a distinct and captivating look.
Creating artistic filters is a great way to add a unique twist to your images. Whether you want to enhance the colors, add a dreamy haze, or give your photos a gritty and edgy feel, there are countless options to choose from. With just a few clicks, you can completely change the atmosphere of your photograph and create a visual masterpiece.
Another popular technique is applying vintage effects. This adds a nostalgic and timeless feel to your images, giving them a classic and retro look. From faded colors to film grain, vintage effects can transport your photos back in time, evoking a sense of nostalgia and storytelling.
To help you get started, here's a table showcasing some popular post-processing software and their features for creating artistic filters and applying vintage effects:
| Software | Artistic Filters | Vintage Effects |
|---|---|---|
| Adobe Photoshop | Filter Gallery, Oil Paint, Watercolor | Camera Raw, Film Grain, Vignette |
| Lightroom | Presets, Graduated Filters, Radial Filters | Split Toning, Grain, Lens Corrections |
| Snapseed | Glamour Glow, Drama, Vintage | Vintage, Grunge, Retrolux |
Portrait Retouching
Now let's move on to the exciting world of portrait retouching, where we can enhance the beauty of our subjects and bring out their best features. In the realm of photography, portrait retouching plays a vital role in creating stunning images. It allows us to transform ordinary portraits into extraordinary works of art by applying various techniques to achieve flawless skin and remove any blemishes.
One of the key aspects of portrait retouching is skin smoothing. This technique helps to create a soft and even complexion, giving the subject a radiant and youthful appearance. By carefully adjusting the skin tones and textures, we can achieve a natural and polished look without compromising the individual's unique features.
Additionally, blemish removal is another essential element in portrait retouching. Whether it's a small pimple, a scar, or a stray hair, these imperfections can distract the viewer's attention from the subject's true beauty. With the right tools and techniques, we can easily remove these distractions and create a flawless and captivating portrait.
Sharpening and Noise Reduction
When it comes to post-processing your portraits, one crucial step is sharpening and noise reduction. These techniques can greatly enhance the overall quality of your images, improving image clarity and fine-tuning image texture.
In the world of photography, sharpness is key. It helps to bring out the details and makes your subject pop. By sharpening your images, you can make them appear crisper and more defined, giving them that professional edge.
On the other hand, noise can be a pesky problem, especially when shooting in low light conditions. It can make your images look grainy and reduce their overall quality. Thankfully, noise reduction techniques can help to minimize this unwanted distraction, resulting in smoother and cleaner images.
Frequently Asked Questions
How Can I Effectively Remove Unwanted Objects or People From My Photos?
To effectively remove unwanted objects or people from your photos, there are various object removal techniques you can use in post-processing.
One popular method is using the clone stamp tool to duplicate nearby pixels and cover up the unwanted element.
Another technique is content-aware fill, which intelligently fills the selected area with surrounding pixels.
Experiment with these tools and find what works best for you.
With practice, you'll be able to enhance your photos by removing any distractions seamlessly.
What Are Some Tips for Achieving a Consistent Look and Feel Across a Series of Photos?
When it comes to achieving a consistent look and feel across a series of photos, there are a few key tips I've found helpful.
First, creating a cohesive color palette in post-processing can really tie your images together. Experiment with adjusting the temperature, saturation, and tint to achieve the desired effect.
Additionally, using filters and presets can save you time and help maintain a consistent editing style. Find ones that align with your vision and make your photos pop.
Are There Any Specific Post-Processing Techniques That Can Make My Landscape Photos Stand Out?
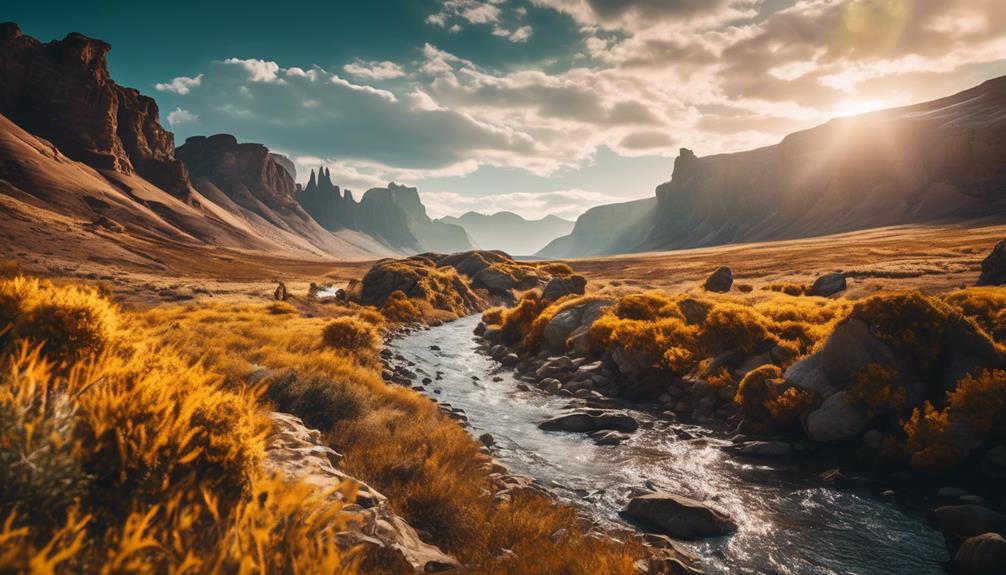
Looking to make your landscape photos stand out? Enhancing colors is key!
By adjusting saturation and vibrance, you can make those vibrant hues pop off the screen.
But don't stop there! Creating depth is equally important.
Experiment with contrast and shadows to add dimension and make your images come alive.
With these post-processing techniques, your landscapes will have that wow factor that sets them apart from the rest.
Get ready to amaze your audience with your innovative and stunning photography!
How Can I Correct Lens Distortions and Perspective Issues in My Images?
To correct lens distortions and perspective issues in my images, I've found some great post-processing techniques.
First, I use software that has a lens correction tool to fix any chromatic aberration or distortion caused by my lens.
Then, I tweak the perspective using the transform tool to ensure straight lines and eliminate any unwanted distortions.
Finally, I enhance the colors using adjustment layers and selective editing.
These techniques have truly transformed my photos and made them stand out.
What Are Some Recommended Post-Processing Techniques for Black and White Photography?
When it comes to black and white editing tips, one technique I highly recommend is enhancing the contrast in monochrome images. It adds depth and drama to your photos, making them visually striking.
By adjusting the levels or using a dedicated contrast tool, you can make the dark areas darker and the light areas lighter, creating a more dynamic composition.
This simple yet powerful technique can really elevate your black and white photography to a whole new level.
Conclusion
In the vast world of photography, post-processing techniques are essential for bringing out the best in your images. From basic adjustments to enhancing detail and adding creative effects, these techniques can truly transform your photos.
With the right tools and a bit of practice, you can unleash your creativity and capture moments that resonate with your audience.
So, embrace the power of post-processing, and let your photos speak volumes with every click of the shutter.


