Please note this post may contain affiliate links picked by me (Jay) that I have deemed may be of interest or relevant to you the reader of this.
These links do not affect the cost of the thing if you decide to purchase but i may get a little money if you choose to purchase.
For more information on my affiliate link policy click here.
As a beginner photographer, I remember the first time I stepped into a dimly lit room with only a single window as a light source. I was eager to capture the beautiful interior, but my photos turned out dark and lackluster. It was then that I realized the importance of understanding different lighting techniques to enhance my photography skills.
In this discussion, I will share with you four of the best photography lighting techniques for beginners. These techniques will help you take stunning photos in various lighting conditions, whether you're shooting indoors or outdoors.
So, let's dive in and explore the world of photography lighting together.
Key Takeaways
- Golden hour is the best time to shoot in natural light for stunning outdoor photographs.
- Indoor studio lighting allows for complete control over lighting conditions, with a three-point lighting setup being ideal for portrait photography.
- Balancing flash and ambient light is crucial in outdoor flash photography, and using diffusers or bounce cards can help soften the flash's light.
- Artificial lighting techniques, such as off-camera flash and colored gels, are essential for low light photography and can help create unique and dramatic effects.
Natural Light Photography
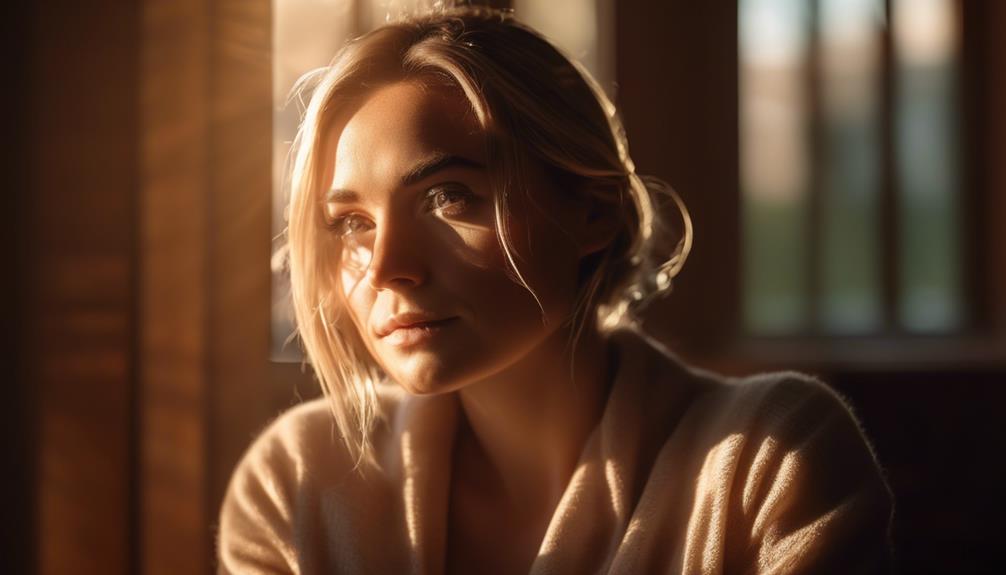
When it comes to capturing stunning photographs, nothing compares to the beauty and versatility of natural light. As a photographer, I've always been fascinated by the way light can transform an ordinary scene into something extraordinary. One of the most magical times to shoot in natural light is during the golden hour, which is the period shortly after sunrise or before sunset when the light is soft, warm, and diffused. This time of day creates a flattering and ethereal glow that can add a touch of magic to any photograph.
To make the most of natural light, I often incorporate backlighting techniques into my shots. By positioning my subject in front of the light source, whether it's the sun or a window, I can create a halo effect and a sense of depth in my images. Backlighting also helps to create a more dramatic and dynamic composition, as it can produce beautiful silhouettes and add a sense of mystery to the scene.
In order to achieve the best results with natural light photography, it's important to pay attention to the direction and quality of light. The direction of light can create interesting shadows and highlights, while the quality of light can vary depending on the time of day and weather conditions. By understanding these factors and experimenting with different lighting techniques, you can unlock the true potential of natural light and capture breathtaking photographs that will leave your audience in awe.
Indoor Studio Lighting
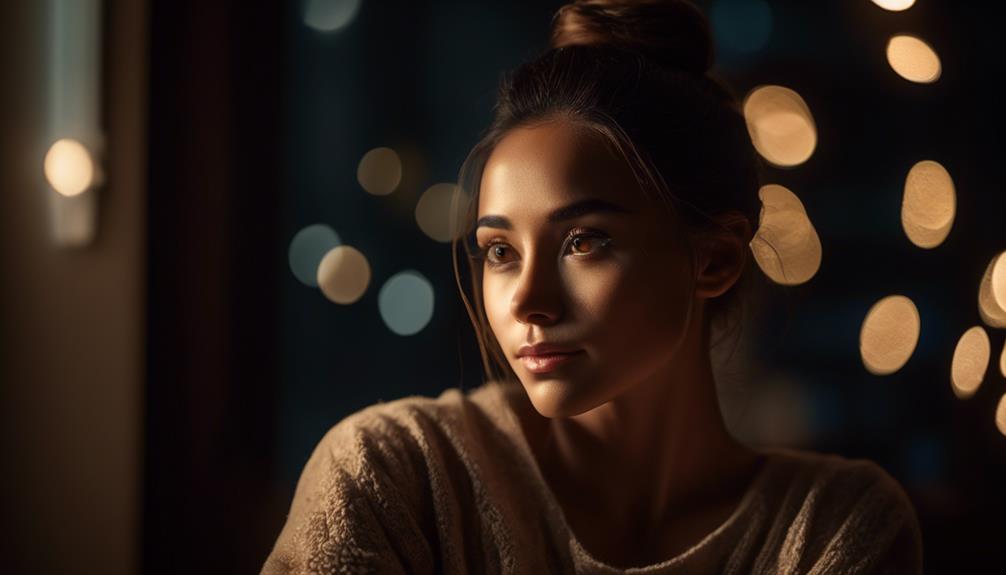
Indoor studio lighting is a crucial element in photography that allows for complete control over the lighting conditions and enables photographers to create stunning and professional-looking images. Whether you're shooting portraits or products, understanding the principles of indoor studio lighting is essential for achieving the desired results.
When it comes to portrait lighting, the key is to create a flattering and natural-looking light that accentuates the subject's features. One popular technique is using a three-point lighting setup, consisting of a key light, fill light, and hair light. The key light is the main source of illumination, positioned at a 45-degree angle to the subject. The fill light helps to fill in the shadows and soften harsh lighting, while the hair light adds dimension and separation.
For product photography, the lighting setup might differ depending on the type of product and desired effect. However, the goal is usually to showcase the product in the best possible way, highlighting its details and textures. One effective technique is using a light tent or softbox to create soft, diffused lighting that minimizes shadows and reflections. Additionally, using reflectors and bounce cards can help redirect and manipulate the light to achieve the desired effect.
Outdoor Flash Photography
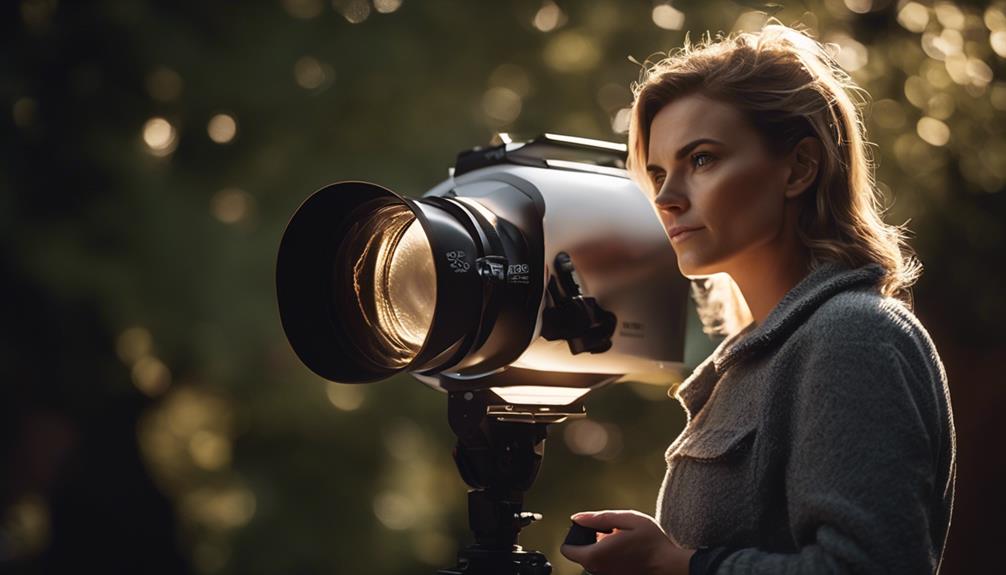
Continuing our exploration of lighting techniques, let's step outside the confines of the studio and venture into the world of outdoor flash photography. Outdoor flash photography presents its own unique set of challenges and opportunities. It allows us to capture stunning images in natural light while also adding a creative touch with the use of flash.
When it comes to outdoor flash photography, it's important to balance the flash and ambient light to achieve the desired effect. The flash can be used to fill in shadows, add a pop of light to the subject, or even freeze motion. However, it's crucial to avoid overpowering the natural light, as it can result in harsh and unnatural-looking images.
To help you navigate the world of outdoor flash photography, here are some essential tips:
| Flash Photography Tips | Balancing Flash and Ambient Light |
|---|---|
| Use a diffuser or bounce card to soften the flash's light | Adjust the flash power to match the ambient light |
| Experiment with different flash angles to create interesting shadows | Use a slower shutter speed to let in more ambient light |
| Consider using a flash modifier, such as a softbox or umbrella | Use the flash as a fill light to add dimension to the subject |
Artificial Lighting Techniques
Artificial lighting techniques offer photographers a versatile and creative way to manipulate light and enhance their images. When it comes to low light photography, artificial lighting becomes essential in order to capture well-lit and detailed shots. One popular technique is using off-camera flash to create a balanced exposure in low light situations. This involves placing the flash unit at a distance from the camera, allowing for more control over the direction and intensity of the light.
Another important aspect of artificial lighting is portrait lighting techniques. One commonly used technique is the three-point lighting setup, which consists of a key light, a fill light, and a backlight. The key light is the main source of illumination, providing the primary lighting on the subject's face. The fill light helps to reduce shadows and provide additional illumination, while the backlight adds depth and separation from the background.
In addition to these techniques, photographers can also experiment with colored gels to create unique and dramatic effects. By placing colored gels over the lights, photographers can change the mood and ambiance of their images, adding a touch of creativity and innovation.
Frequently Asked Questions
What Are the Best Camera Settings to Use When Shooting in Natural Light?
When shooting in natural light, the best camera settings can vary depending on the situation. It's important to consider factors like the time of day, the intensity of the light, and the desired effect.
Generally, using a low ISO setting will help reduce noise in the image, while a wide aperture can create a shallow depth of field.
Experimenting with different settings will allow you to find the perfect balance for capturing stunning photos in natural light.
How Can I Create a Soft and Flattering Light in an Indoor Studio Setting?
To create a soft and flattering light in an indoor studio setting, I employ a combination of reflectors and diffusion panels. By strategically placing reflectors, I can bounce and redirect natural light to achieve a more natural and flattering look.
Additionally, using diffusion panels helps to soften the light, reducing harsh shadows and creating a more pleasing overall effect. These techniques are essential for achieving professional-quality results in studio photography.
Are There Any Specific Tips for Using External Flashes in Outdoor Photography?
When using external flashes in outdoor photography, there are a few tips that can help enhance your shots.
First, consider using reflectors to bounce and diffuse the light, creating a softer and more flattering look.
Secondly, it's important to balance the ambient light with the flash to avoid harsh shadows or overexposure. Experiment with different flash power settings and angles to find the perfect balance for your desired effect.
Can You Recommend Any Affordable Artificial Lighting Options for Beginners?
Sure, I can recommend some affordable lighting options for beginners.
When it comes to artificial lighting, there are DIY solutions that won't break the bank. One option is using household lamps or desk lamps with daylight bulbs for a soft and natural light effect.
Another option is investing in affordable LED light panels or ring lights that can be easily adjusted for different lighting conditions.
These options are great for beginners looking to experiment with different lighting setups without spending a fortune.
What Are Some Creative Techniques for Using Colored Gels in Photography Lighting?
Using colored gels in photography lighting can add a whole new dimension to your images. By adjusting the color temperature, you can create unique and creative effects that can enhance the mood and atmosphere of your photos.
Whether it's warming up the scene with a red gel or adding a cool blue tone, colored gels allow you to experiment and push the boundaries of your creativity.
Conclusion
In conclusion, mastering different photography lighting techniques is essential for beginners to enhance their skills and capture stunning images.
Whether it's harnessing the beauty of natural light, experimenting with indoor studio setups, exploring outdoor flash photography, or utilizing artificial lighting techniques, each method offers unique opportunities to create captivating imagery.
By understanding and practicing these techniques, photographers can unlock their creative potential and take their photography to new heights.
So grab your camera, experiment with lighting, and let your imagination soar!


