Please note this post may contain affiliate links picked by me (Jay) that I have deemed may be of interest or relevant to you the reader of this.
These links do not affect the cost of the thing if you decide to purchase but i may get a little money if you choose to purchase.
For more information on my affiliate link policy click here.
Did you know that using an ND filter can significantly enhance your photography by reducing the amount of light that enters your camera? It's true! With the right techniques, you can capture breathtaking long-exposure shots, create stunning motion blur effects, and achieve balanced exposures even in bright, sunny conditions.
But how do you make the most of this powerful tool? In this discussion, I will reveal the three best ND filter techniques that will take your photography to the next level.
So, if you're ready to unlock the full potential of your camera and capture images that will leave others in awe, then keep reading.
Key Takeaways
- ND filters allow for control over the amount of light entering the camera, resulting in stunning effects like silky smooth waterfalls and dreamy cloud movements.
- Choosing the right ND filter, such as those offered by Lee Filters, B+W filters, or Hoya filters, ensures true colors and sharpness in images.
- Experimenting with different filter strengths and settings, as well as combining long exposure techniques with ND filters, can enhance colors and create desired effects.
- Implementing ND filter techniques unlocks the full potential of photography, elevating images to new heights and capturing breathtaking landscapes.
Understanding ND Filters
Understanding ND filters is essential for any photographer looking to enhance their photography skills and capture breathtaking images. ND filters, or Neutral Density filters, are a must-have tool for landscape photography enthusiasts. These filters offer a multitude of benefits that can take your photography to the next level.
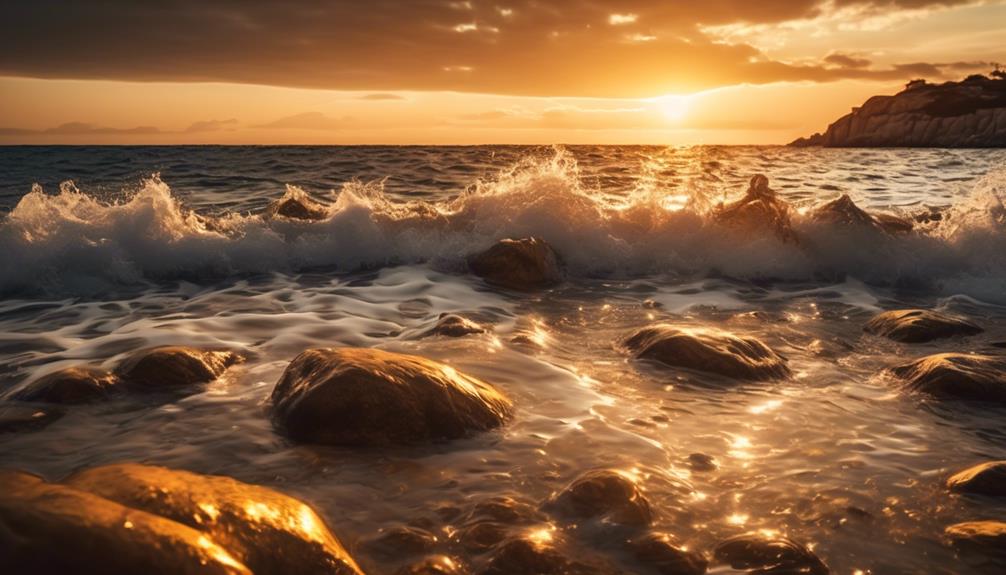
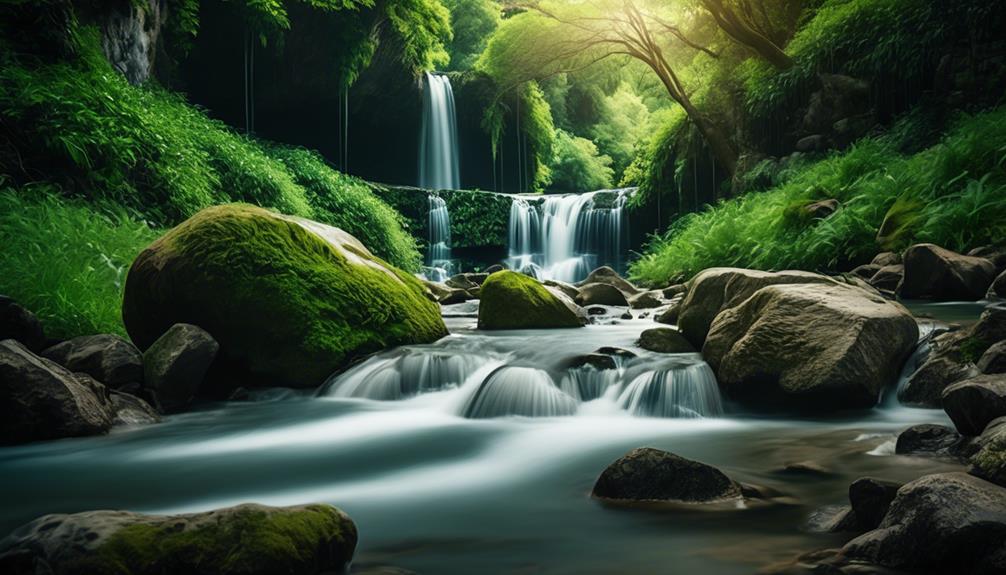
One of the primary benefits of using ND filters in landscape photography is their ability to control the amount of light entering the camera. By reducing the amount of light, ND filters allow for longer exposure times, resulting in stunning effects such as silky smooth waterfalls, dreamy cloud movements, and surreal sunsets. This technique is known as long exposure photography and can add a touch of magic to your images.
To achieve long exposure effects with ND filters, there are a few tips to keep in mind. Firstly, use a sturdy tripod to keep your camera steady during the longer exposure times. This will ensure sharpness in your images. Secondly, experiment with different filter strengths to find the perfect balance between exposure time and desired effect. Graduated ND filters are particularly useful for landscapes with a stark contrast between the sky and the foreground.
Another useful tip is to shoot during the golden hours – the hour after sunrise and the hour before sunset. The soft, warm light during these times creates a beautiful atmosphere and enhances the colors in your images when combined with long exposure techniques.
Understanding ND filters and their benefits is the first step towards mastering long exposure photography. So, grab your camera, tripod, and ND filters, and embark on a journey of capturing breathtaking landscapes that will leave viewers in awe.
Choosing the Right ND Filter
Now that we've explored the wonders of long exposure photography with ND filters, let's dive into the exhilarating task of choosing the perfect ND filter to elevate your images to new heights. When it comes to selecting an ND filter, there are a plethora of options available from various brands. To help you make an informed decision, I've put together a handy table showcasing three popular ND filter brands and their key features.
| ND Filter Brand | Key Features |
|—————–|————–|
| Lee Filters | – High-quality glass construction
- Wide range of filter sizes
- Excellent color accuracy |
| B+W | – Precision engineered brass mounts
- Multi-resistant coating to reduce reflections
- Consistent light transmission |
| Hoya | – Ultra-smooth filter surface
- Scratch-resistant coating
- Slim frame design for reduced vignetting |
Using ND filters with different lenses can be a bit tricky, but fear not! Most filter brands offer a variety of sizes to fit different lens diameters. You can either select a filter size that matches your largest lens and use step-up rings for smaller lenses, or you can buy individual filters for each lens diameter. Keep in mind that using step-up rings may cause slight vignetting at wider angles, so it's always a good idea to test your setup before heading out for a shoot.
It's important to note that investing in high-quality ND filters is crucial for achieving optimal results. Cheaper alternatives may introduce color shifts or reduce image sharpness. By choosing reputable brands like Lee Filters, B+W, or Hoya, you can ensure that your images retain their true colors and sharpness while exploring the fascinating world of long exposure photography. So go ahead, unleash your creativity, and capture breathtaking moments with the perfect ND filter for your gear!
Implementing ND Filter Techniques
To truly unlock the potential of ND filters and take your photography to the next level, mastering the art of implementing ND filter techniques is essential. Once you have chosen the right ND filter for your desired effect, it's time to put it to work.
There are a multitude of ways to utilize ND filters in your photography, and understanding the various applications can help you capture stunning images in any lighting condition.
One common application of ND filters is in landscape photography. By using a long exposure with a high-density ND filter, you can create a dreamy effect by blurring moving elements like water or clouds. This technique adds a sense of motion and creates a serene atmosphere in your images.
On the other hand, if you want to capture a cityscape during the day with a wide aperture, you can use a low-density ND filter to reduce the amount of light entering the camera. This allows you to achieve a shallow depth of field and create a beautiful bokeh effect while still maintaining the correct exposure.
When it comes to ND filter settings, it's important to experiment and find the right balance for each situation. Start by setting your camera to manual mode and adjusting the shutter speed and aperture to achieve the desired exposure without the filter. Once you have the correct exposure settings, attach the ND filter and adjust the shutter speed accordingly to compensate for the reduced light. Keep in mind that the darker the ND filter, the longer the exposure time required.
Frequently Asked Questions
Can I Use Multiple ND Filters Together to Achieve a Stronger Effect?
Yes, absolutely! Using multiple ND filters together can create a stronger effect and give you more control over your photography. It allows you to experiment with different combinations and achieve unique creative effects.
When choosing the right ND filter strength, consider the lighting conditions and the desired outcome of your shot. Don't be afraid to mix and match filters to achieve the perfect balance.
How Do I Clean My ND Filter Properly to Maintain Its Performance?
When it comes to cleaning my ND filter, I've got a little trick up my sleeve.
I start by gently blowing away any loose dust particles, like a magician revealing a secret.
Then, using a microfiber cloth and a cleaning solution specifically designed for camera lenses, I wipe away any smudges or fingerprints with precision.
It's important to be gentle yet thorough, ensuring that every speck is banished.
Are There Any Specific Camera Settings I Should Use When Using an ND Filter?
When using an ND filter, it's important to adjust your camera settings accordingly. I recommend using a lower ISO to reduce noise and a smaller aperture for a wider depth of field.
You can also experiment with longer shutter speeds to capture beautiful motion blur effects. Don't forget to use a tripod to avoid any camera shake.
And when it comes to different lenses, each one may require slight adjustments, so take some test shots and find the perfect settings for each.
Happy shooting!
Can I Use ND Filters for Video Recording as Well?
Yes, you can absolutely use ND filters for video recording! They're a game-changer when it comes to controlling light and achieving that cinematic look.
There are different types of ND filters for video recording, such as variable ND filters and fixed ND filters. They allow you to adjust the amount of light entering your camera, giving you more flexibility in various shooting conditions.
Are There Any Alternative Methods to Achieve Similar Effects as an ND Filter Without Using One?
There are indeed alternative methods to achieve similar effects as an ND filter without using one.
Long exposure techniques can help you control light and create stunning effects.
By adjusting your camera settings and using techniques like light painting or multiple exposures, you can achieve similar results to using an ND filter.
It's all about being creative and thinking outside the box to achieve the desired effect in your photography.
Conclusion
In conclusion, ND filters are essential tools for photographers looking to capture stunning images with balanced exposure. By understanding the different types of ND filters and choosing the right one for your specific needs, you can enhance your photography skills and create breathtaking shots.
Implementing techniques like long exposures, motion blur, and shallow depth of field can add an artistic touch to your photos. Remember, as the saying goes, 'The camera is an instrument that teaches people how to see without a camera.'
So go out there and start exploring the world through your lens!


